Pickled Garlic
I only started making these because my daughter asked me if I could teach her how to make pickled garlic. I can’t believe it took me so long to add these versatile little delights to my yearly canning list. I was surprised how delicious they are. They are good eaten straight out of the jar, added to a favourite pasta sauce, added as a salad garnish or placed on a charcuterie board with crackers, cheese and meats. Add a cute label to a jar of pickled garlic, pack it with a jar of hot pepper jelly and homemade butter crackers for a great homemade Christmas gift.
Pickled Garlic
Makes about 5 x 250 ml jars
Ingredients
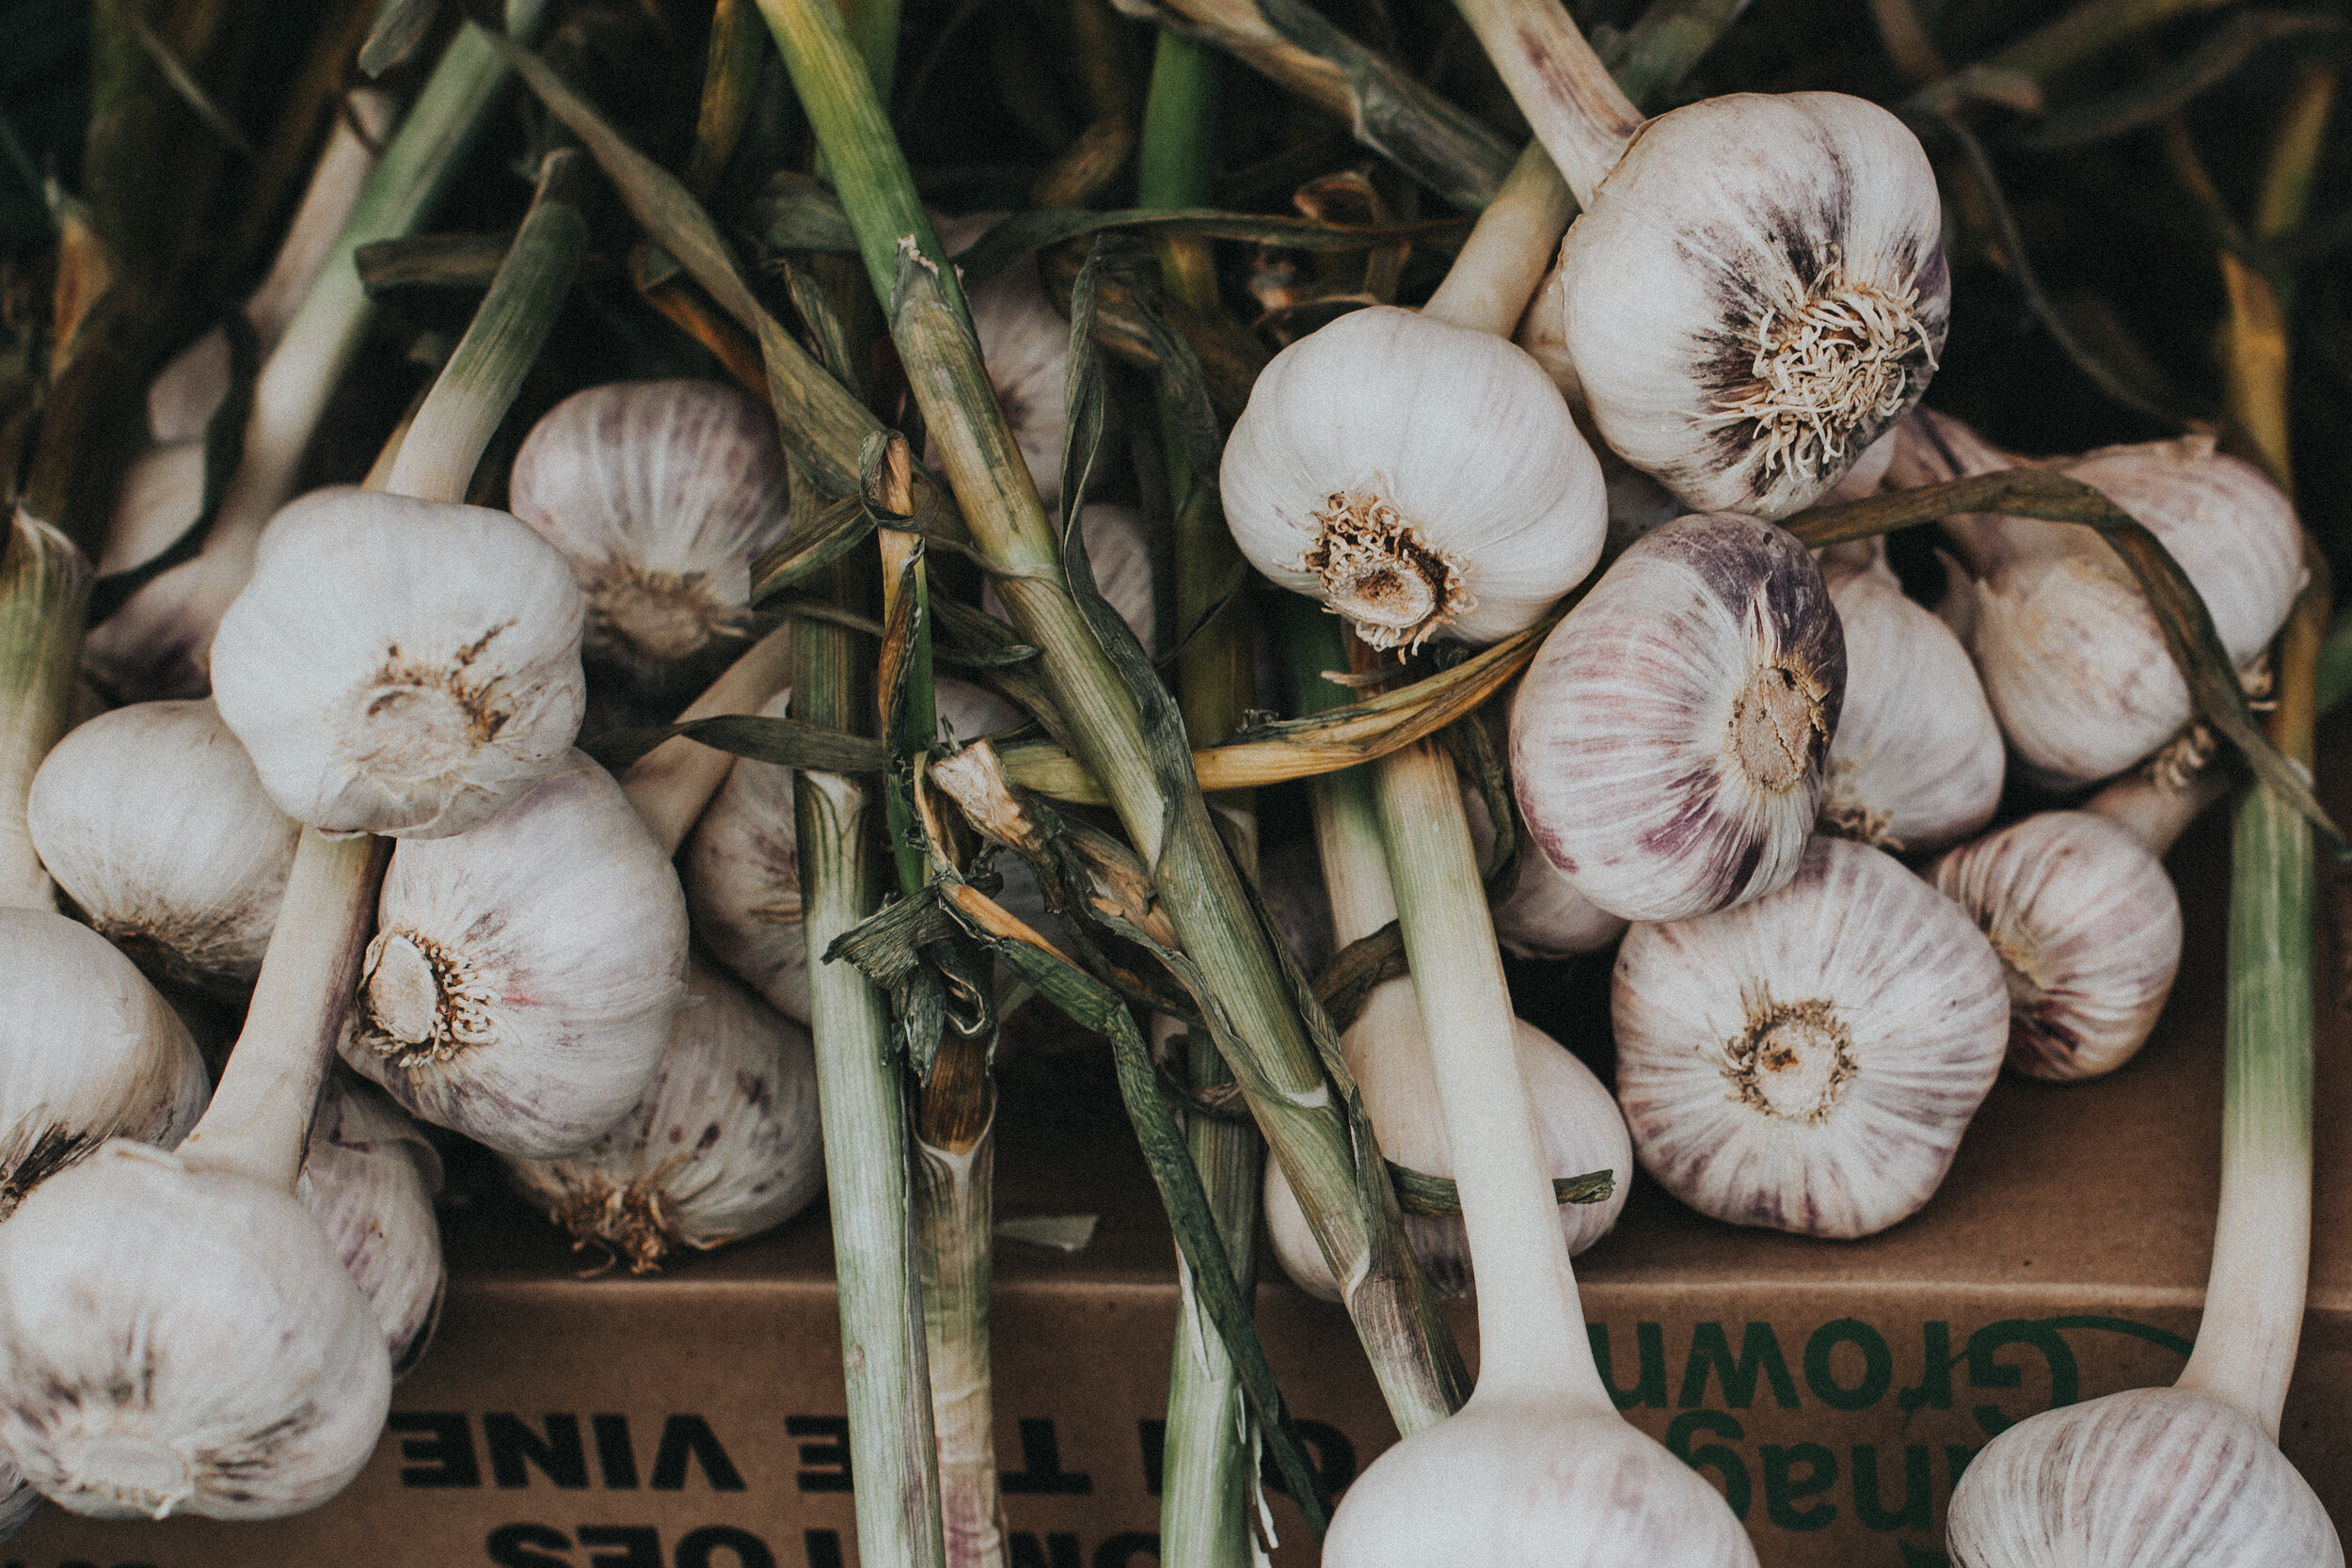
12 heads garlic (about 1 ¾ lbs)
2 ½ cups white vinegar
1 cup water
1 tbsp granulated sugar
1 tbsp pickling salt
5 tsp mustard seed
1 tbsp pickling spice
5 dill heads or 5 tsp dill seed
1 ¼ tsp crushed red chili peppers (optional)
Directions
Place water in boiling water canner. Heat to a simmer. Place 5 clean, warm mason jars on a rack in the canner, ensuring that they are covered with water. Place SNAP LIDS® in warm water. Keep both jars and lids warm until ready to use.
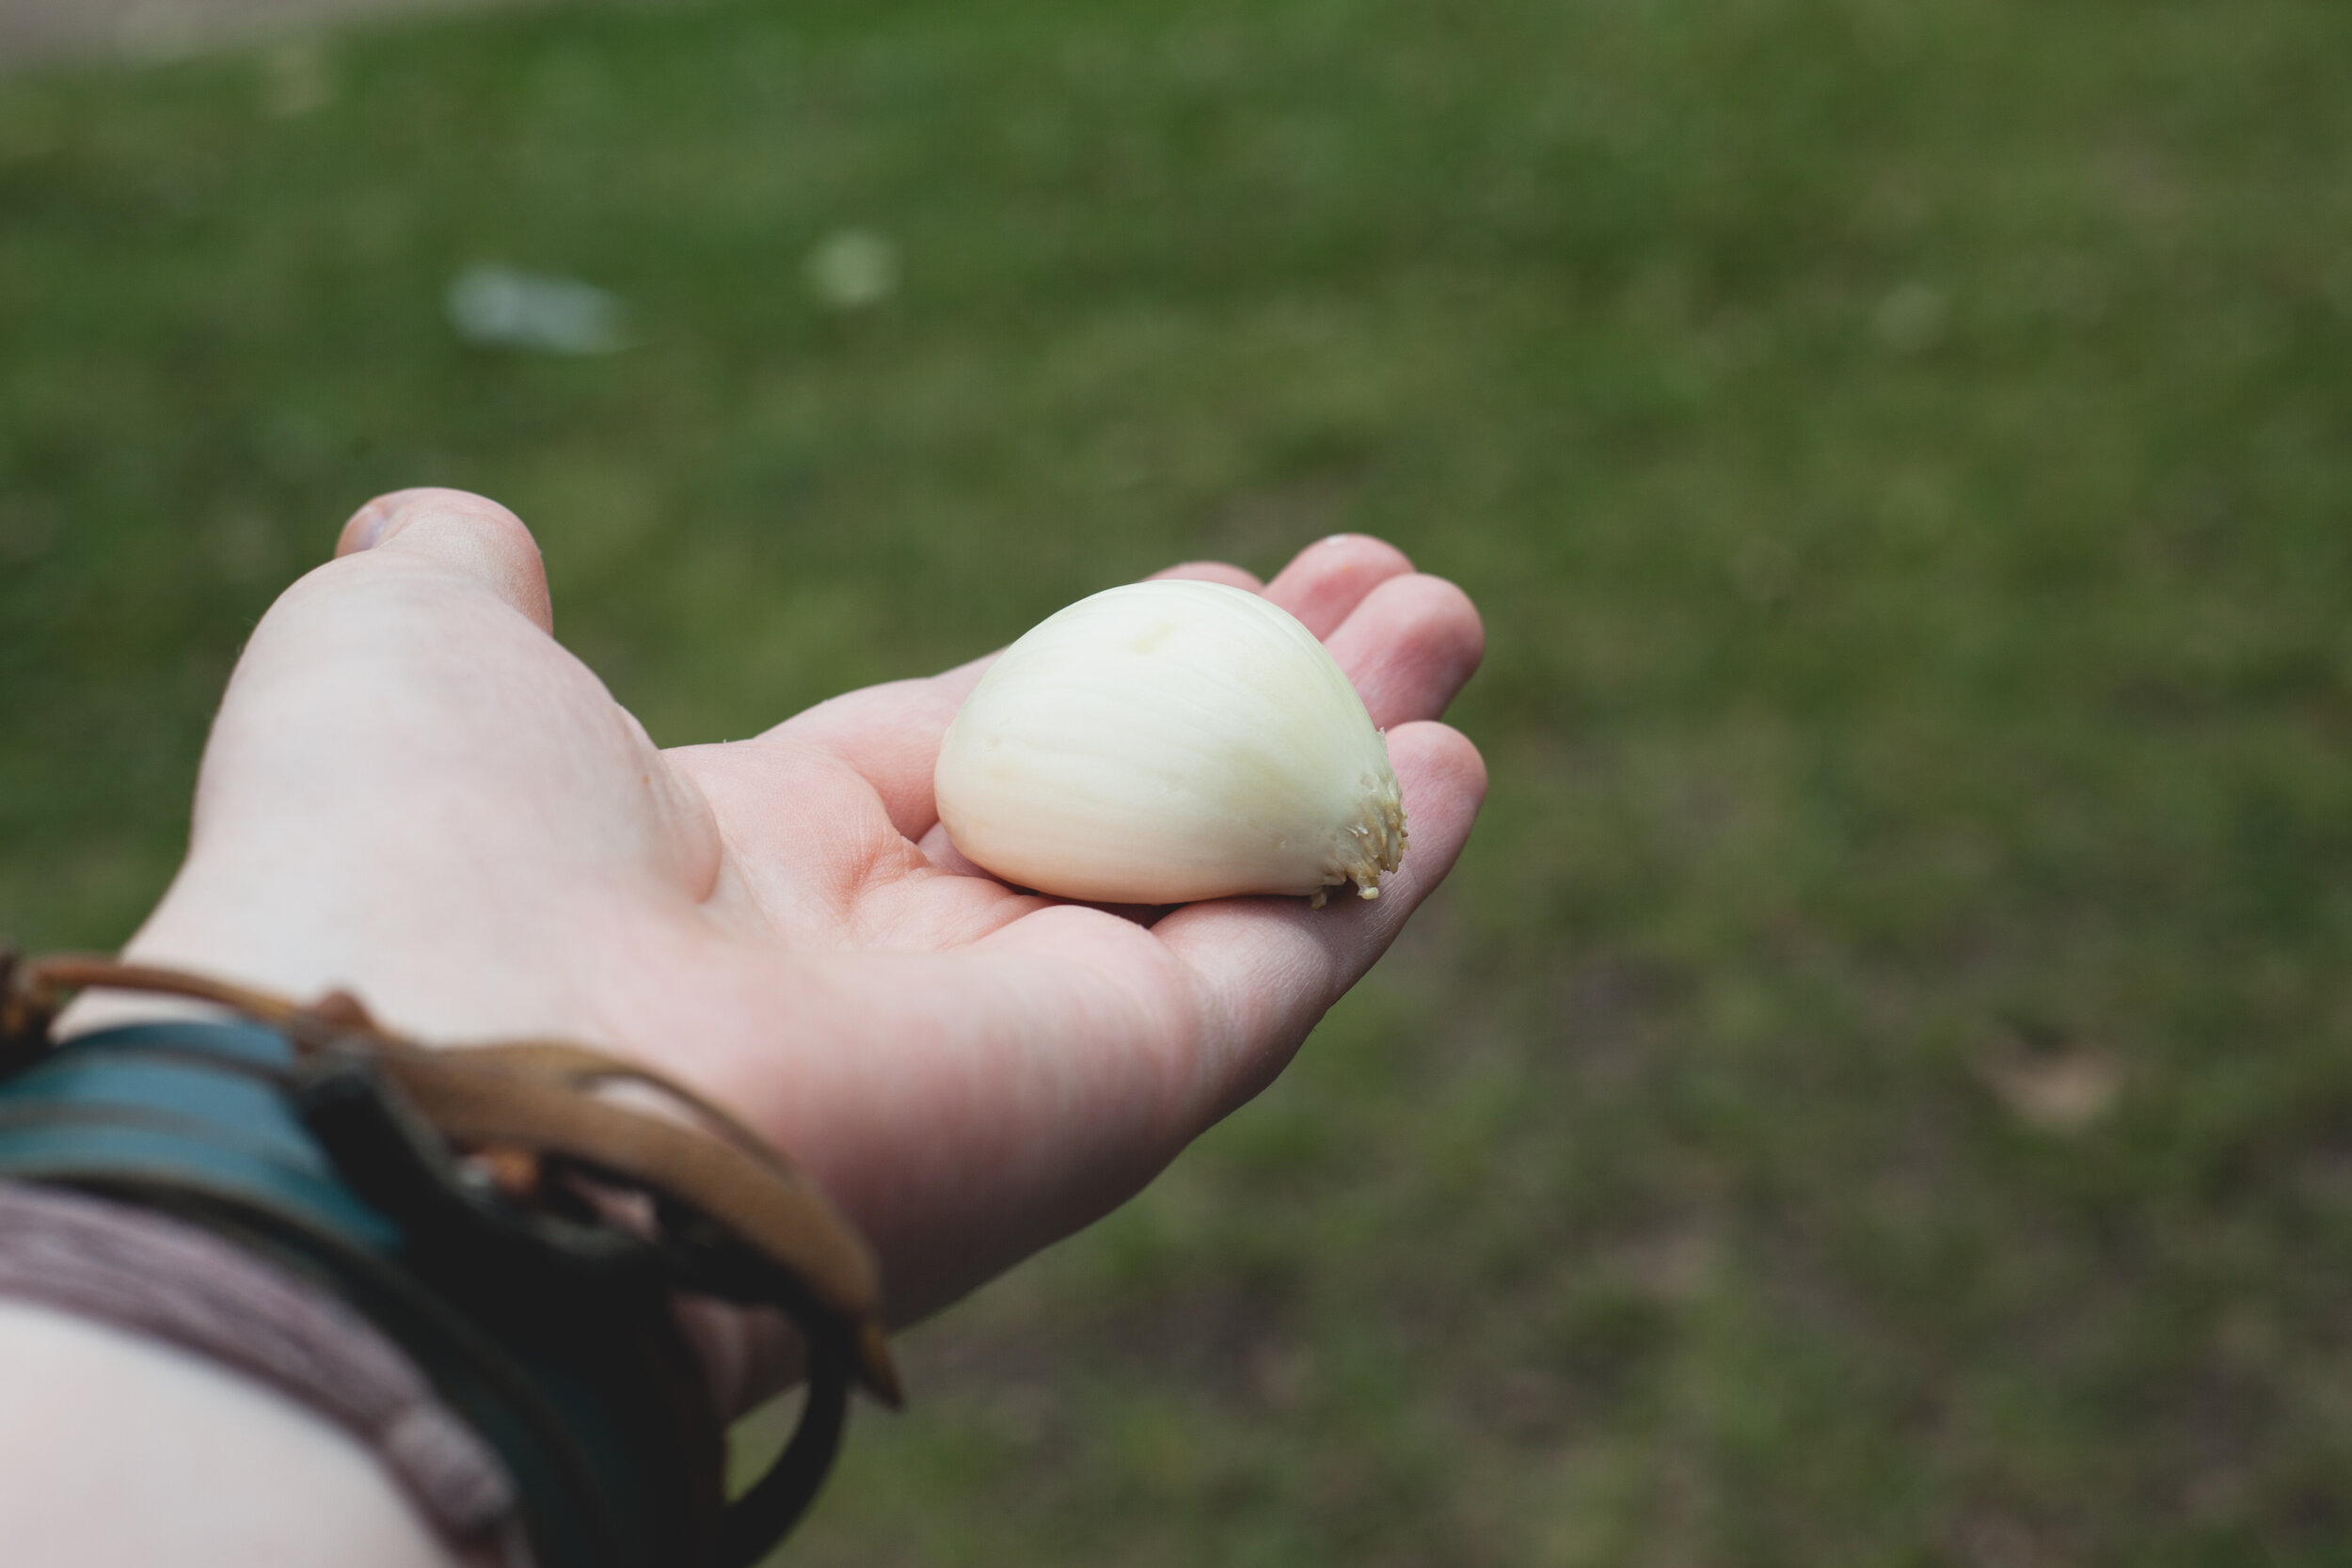
Peel and separate garlic bulbs into cloves. Set aside.
Combine vinegar, water, salt and sugar in a large stainless-steel saucepan. Tie pickling spice in a square of cheesecloth, creating a spice bag. Add to saucepan. Bring to a boil. Boil 1 minute. Keep liquid at a simmer so it remains hot. Remove and discard the pickling spice bag.
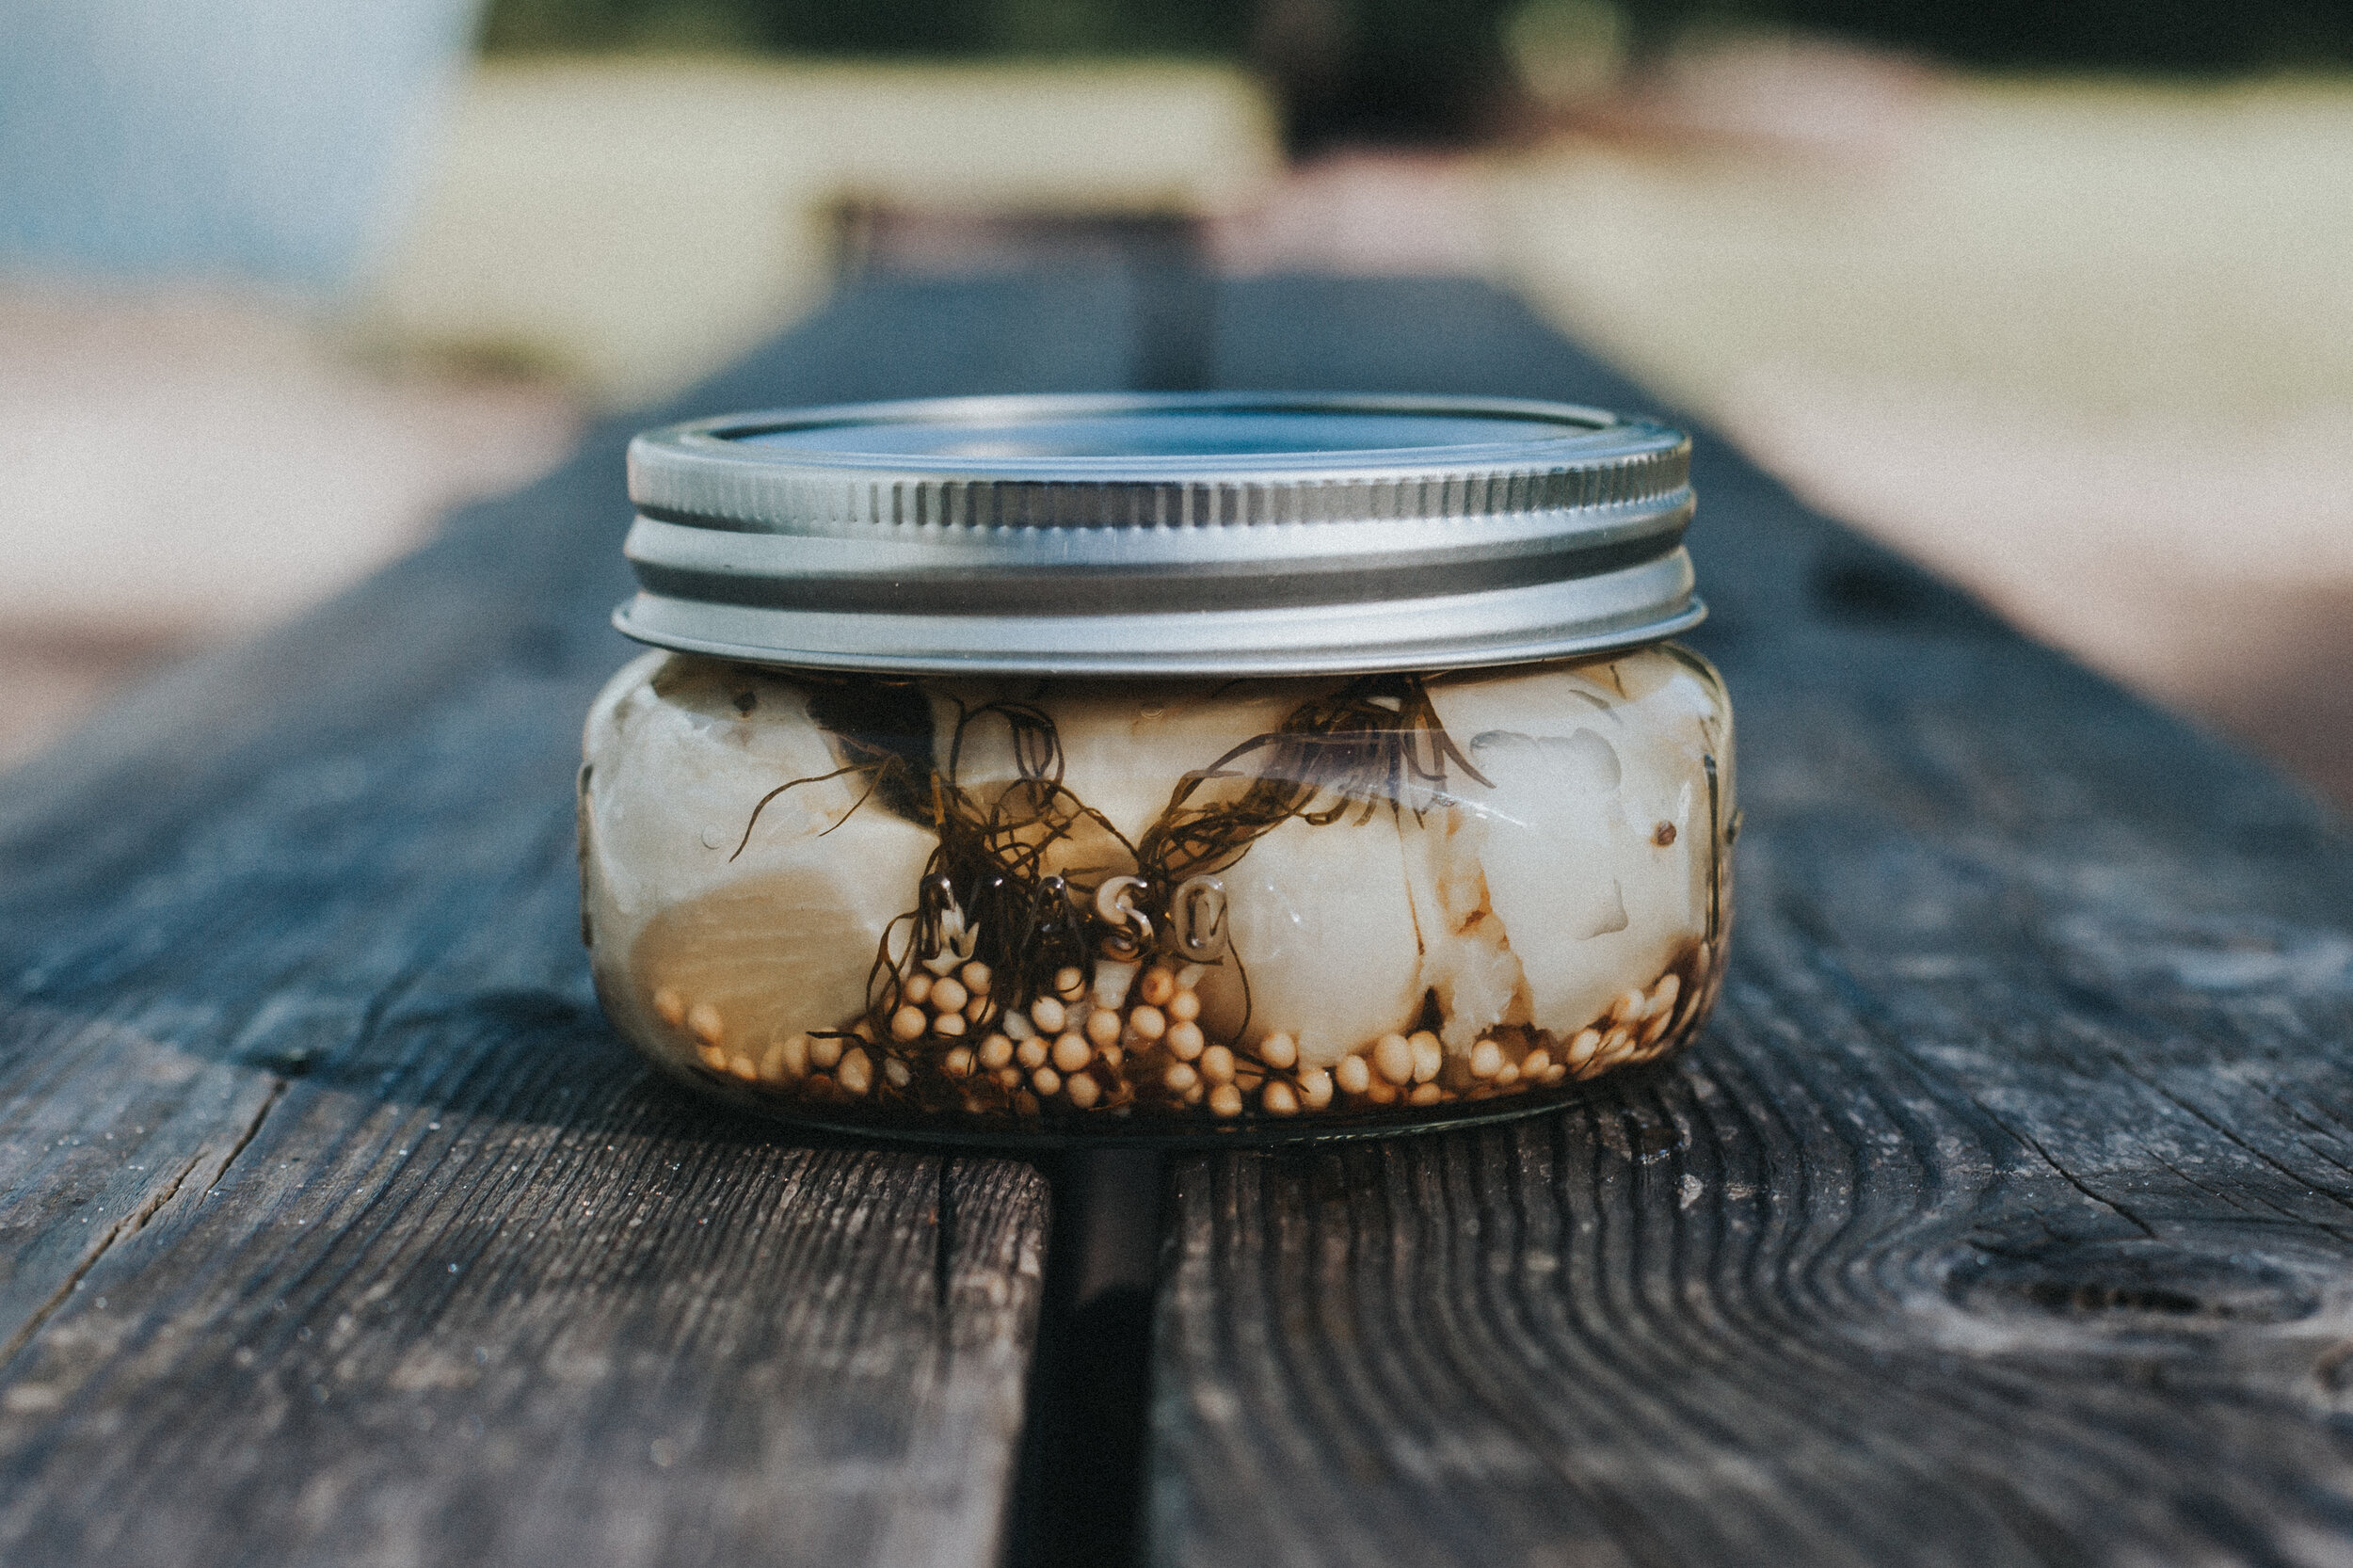
In a hot jar, place 1 head of dill (or 1 tsp dill seed), 1 tsp mustard seed and ¼ tsp crushed chili peppers (if using). Add garlic cloves to within ¾ inch of top of jar. Add hot liquid to cover garlic to within ½ inch of top of jar (headspace). Remove air bubbles by sliding a small, non-metallic utensil (I use a wooden chopstick) between the side of the jar and the garlic cloves; re-adjust head space to ½ inch. Wipe jar rim, removing any stickiness. Centre SNAP LID® on jar. Apply screw band just until fingertip tight. Place jar on rack in canner. Repeat for remaining dill heads, mustard seed, chili seeds, garlic cloves and hot liquid.
Ensure jars are covered by at least 1 inch of water. Cover canner, bring water to a boil. Process 10 minutes (adjusting for altitude) once water is at a full rolling boil.
When processing time is complete, turn stove off, remove canner lid, wait 5 minutes, then remove jars without tilting and place them upright on a protected work surface. Cool upright, undisturbed 24 hours; DO NOT RETIGHTEN screw bands.
After cooling, check jar seals. Sealed lids curve downward and do not move when pressed. Remove screw bands, wipe and dry bands and jars. Store screw bands separately or replace loosely on jars, as desired. Label and store jars in a cool, dark place. For best quality, use home canned foods within one year.
*Altitude adjustment for boiling water method
Altitude in feet Increase processing time by
1001 to 3000 5 minutes
3001 to 6000 10 minutes
6001 to 8000 15 minutes
8001 to 10000 20 minutes
