Roasted Red Peppers
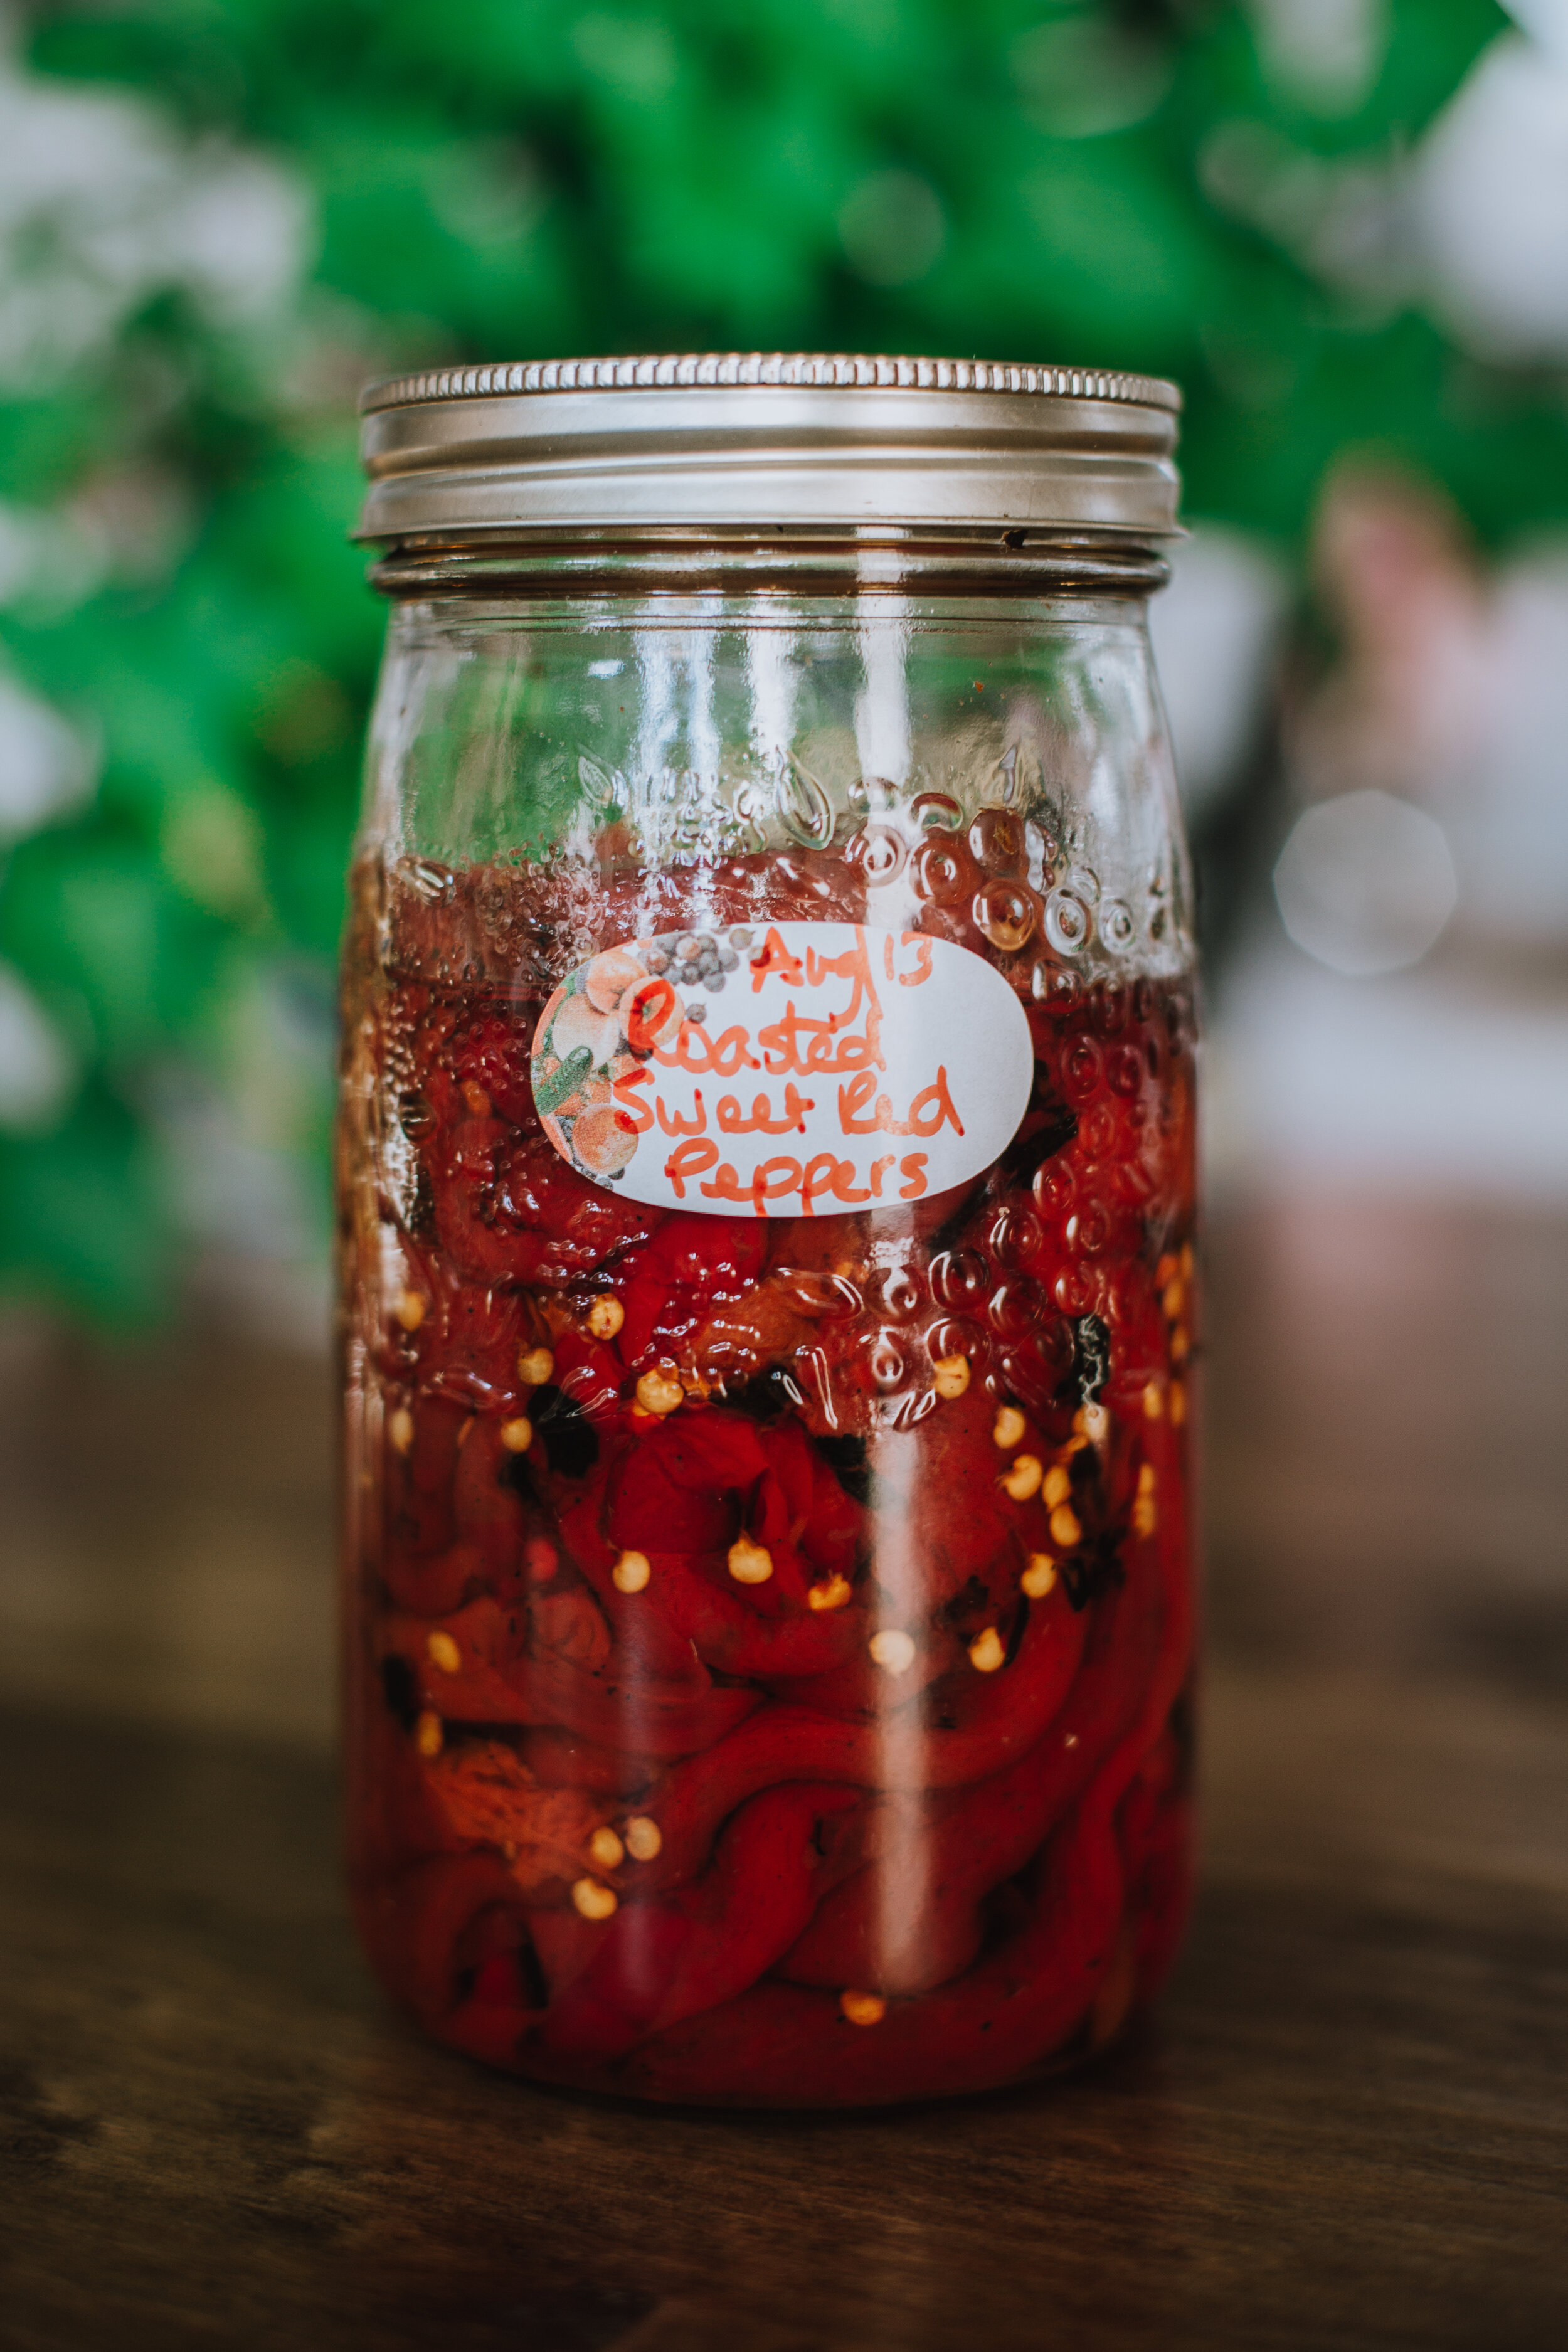
Sweet red peppers are a mainstay in my kitchen. When they are fresh, they go on every type of salad we eat. They go in pasta sauces, in Mexican dishes, in Spanish rice and of course, they are great on a pizza. They can be very expensive out of season, so I try to buy in bulk while they are in season and retain that flavour all year long by roasting and canning them in jars. Once canned, peppers are just as versatile as when fresh. There is no reason you can’t substitute green or orange peppers for red, hot peppers for sweet, or mix them all together in one jar. Just be aware that when working with hot peppers, you need to protect your hands by wearing food safe gloves and by not touching your face. Peppers are a low acid vegetable, so they need to be pressure canned.
Roasted Red Peppers
Yields 9x - 500mL jars
Ingredients
9 pounds sweet red peppers
Water
Pickling salt
Directions
Peppers can be roasted on a barbeque grill, on a gas top range or in an oven set to broil. For the barbeque grill or gas top range, use tongs and place the peppers over the flame. Turn as the pepper blisters and blackens until the entire pepper has been roasted.
Using the tongs, place the blistered peppers in a paper bag or a plastic Ziplock® bag and seal it after each pepper is added. Let the peppers sweat in the bag until they are cool.
While peppers are cooling, fill pressure canner with 2 or 3 inches of water. Heat to a simmer. To heat the jars, add water to a second large pot or canner and bring to a simmer. Place 9 clean, warm 500 mL mason jars on a rack in the large pot or boiling water canner. Cover with simmering water. Place SNAP LIDS® in a bowl full of warm water. Keep both jars and lids warm until ready to use.
Once cooled, peel the skins from the blistered and blackened peppers. Remove the stem and seeds.
Boil a kettle full of water.
Removing one jar at a time and filling, leave peppers whole or cut the peppers into strips and place loosely in jars. Add ½ teaspoon salt to each jar.
Cover peppers with boiling water to within 1 inch of top of rim. Remove air bubbles by sliding a plastic utensil between the jar side and the peppers and add boiling water to ensure 1 inch head space. Wipe jar rim. Place SNAP LID® and screw band on jar. Tighten until fingertip tight. Place in pressure canner on rack. Repeat until all jars are full.
Lock pressure canner lid in place. Vent steam for 10 minutes. Place the counterweight or weighted gauge on vent, bring pressure to 10 pounds (adjusting for altitude). Process for 35 minutes for pints in a dial gauge pressure canner at 11 pounds pressure (adjusting for altitude) or in a weighted gauge pressure canner at 10 pounds pressure (adjusting for altitude). Turn off heat. Wait for the pressure to drop to zero on a dial gauge or when no steam escapes when weight on weighted gauge canner is nudged, before removing the cover. Always tilt the cover away from your face when removing the cover from the canner. Remove jars with a jar lifter, without tilting, to a protected countertop.
Cool upright for 24 hours. After cool, check that the jars are sealed. Sealed jar lids curve downward. Remove screw bands and store separately. Clean, dry and label with contents and date. Store in a cool, dark place. It’s best to use home canned goods within 1 year for optimum quality.
*Altitude adjustment for pressure canner
| Altitude in Feet | Weighted Gauge | Dial Gauge |
|---|---|---|
| 0 to 1000 | 10 | 11 |
| 1,001 to 2,000 | 15 | 11 |
| 2,001 to 4,000 | 15 | 12 |
| 4,001 to 6,000 | 15 | 13 |
| 6,000 to 8,000 | 15 | 14 |
| 8,001 to 10,000 | 15 | 15 |
