
Preparing Jars and Lids
It is imperative that jars are washed, rinsed and heated to prevent thermal shock. Thermal shock can result in jar breakage when hot food is inserted into cold jars, or when cold jars are immersed into hot boiling water. I was taught that all jars needed to be sterilized before using them,but that isn’t necessarily the case any longer. There are two different scenarios, one where they need to be sterilized and one where they don’t.
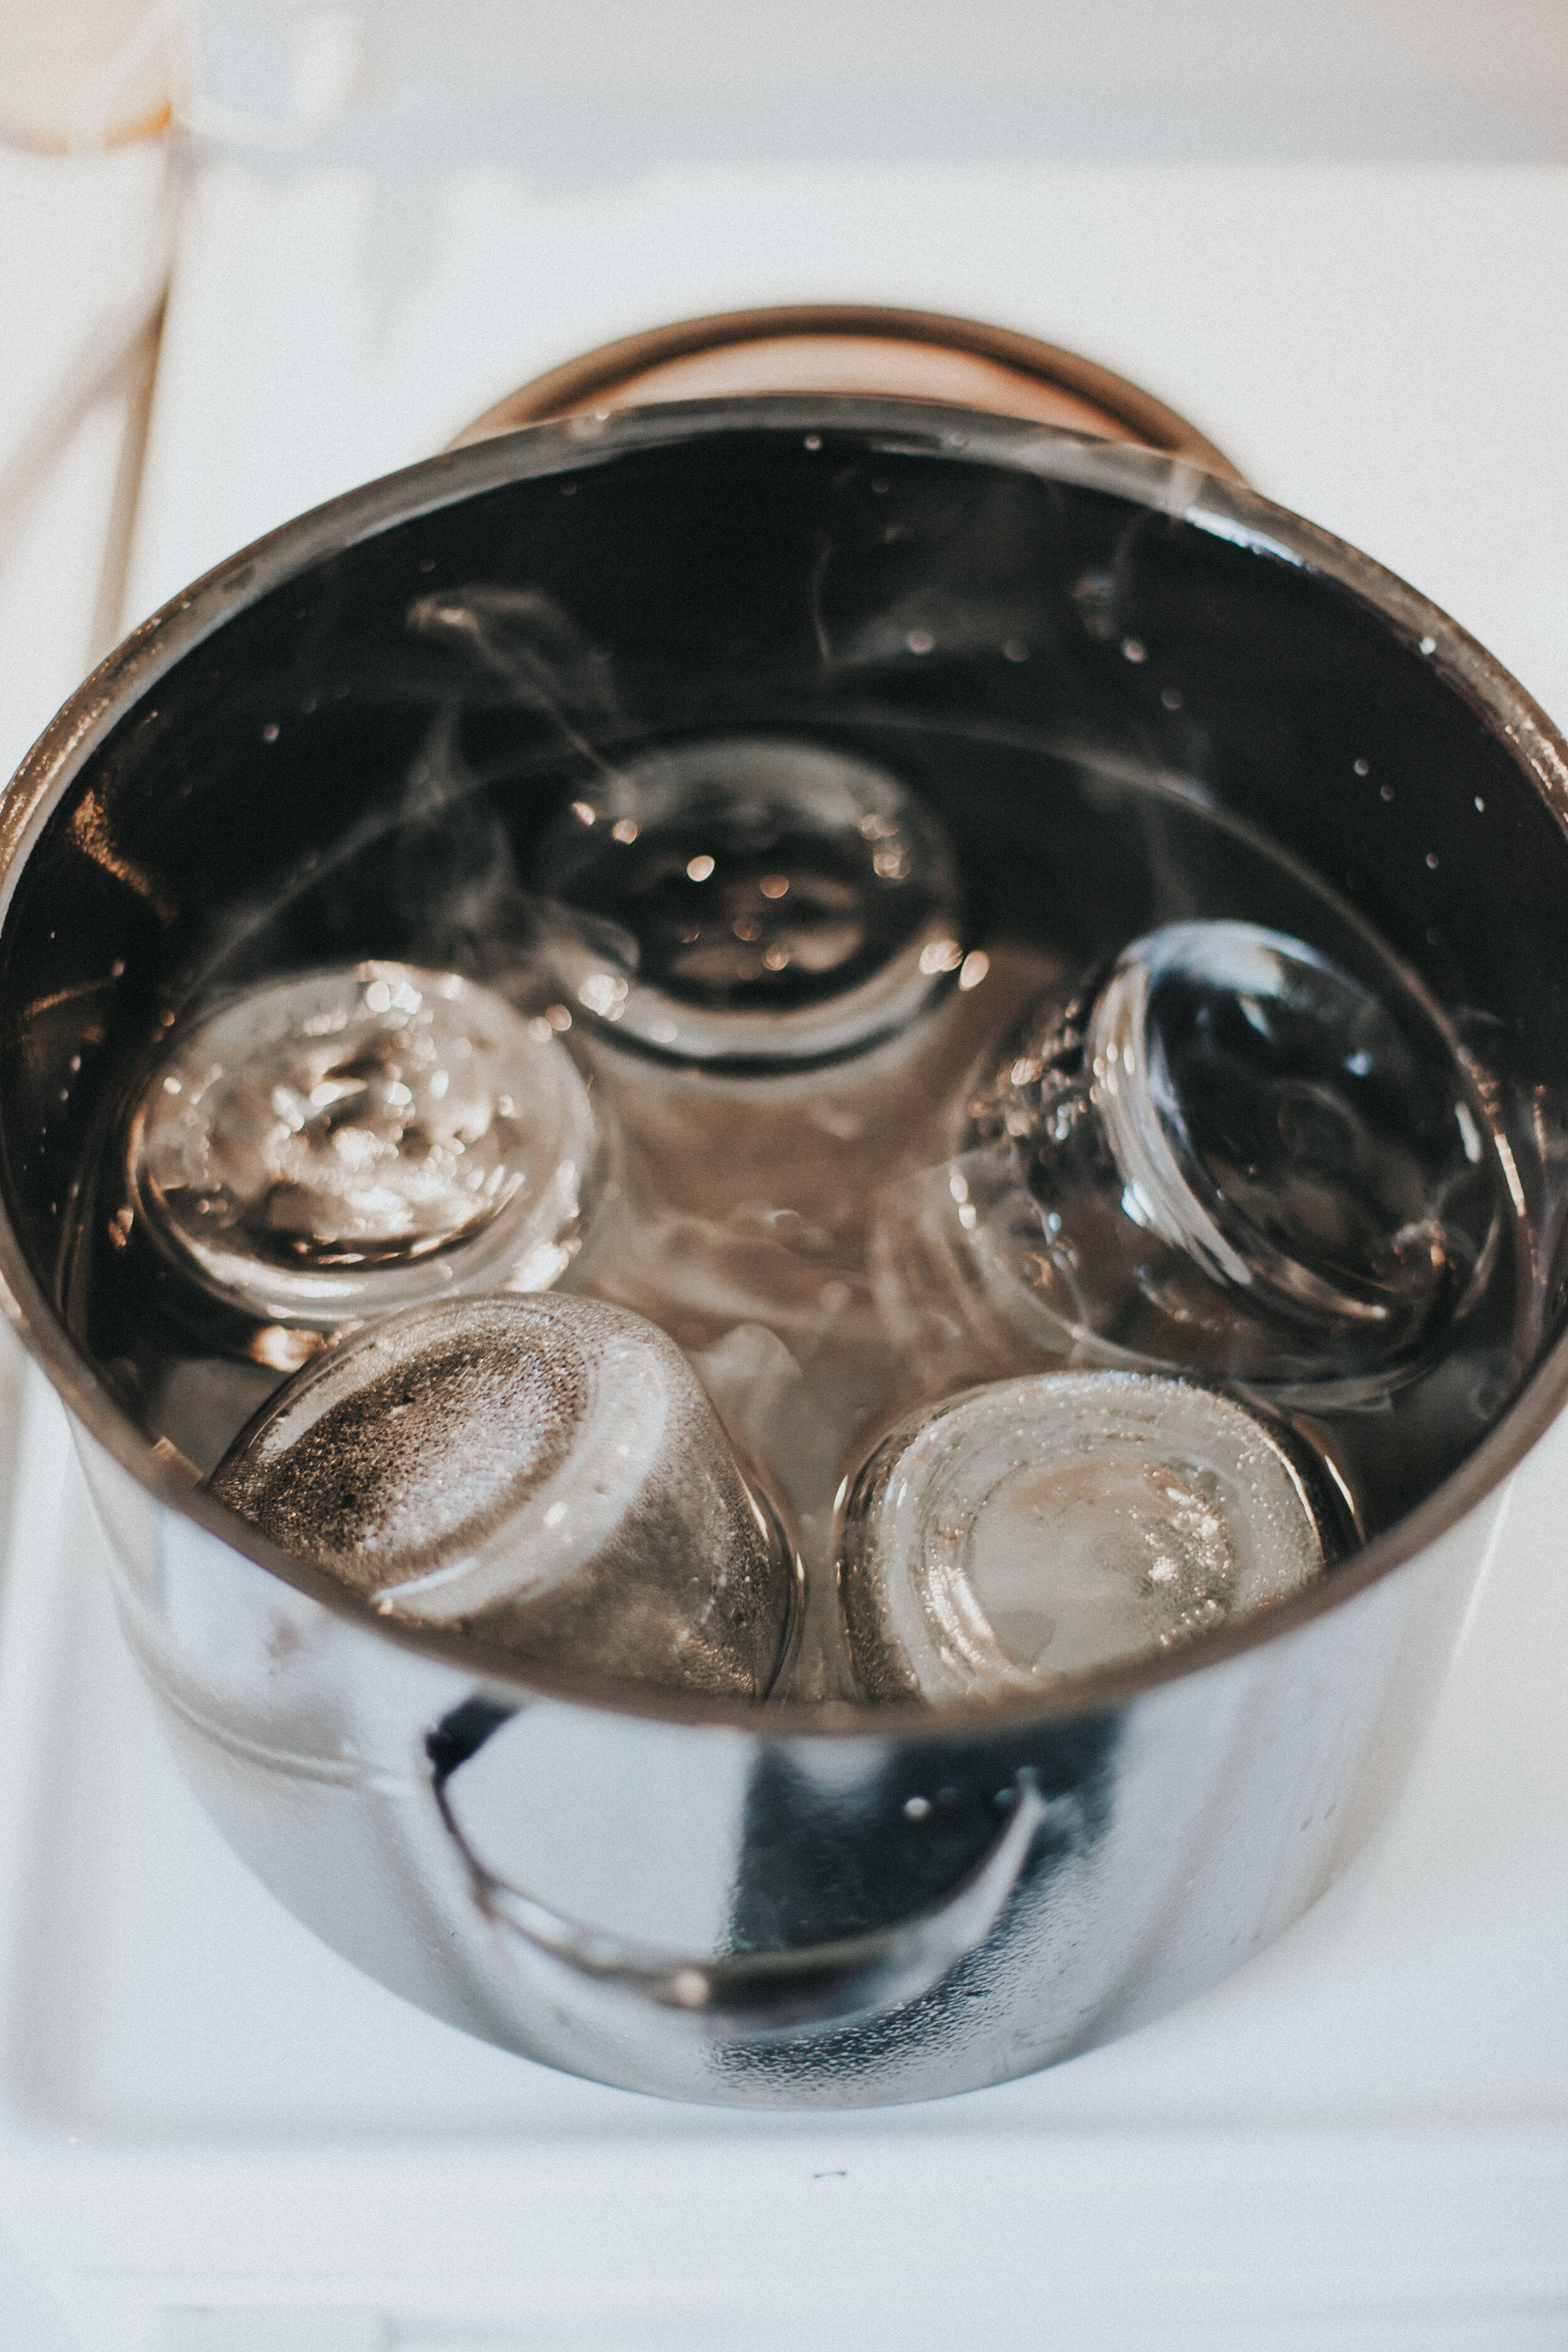
In the first scenario, if you are processing jam, jelly or pickles that are only processed for 10 minutes (adjusting for altitude) the jars need to be sterilized. Jars need to be clean, washed in hot, soapy water, rinsed in hot water and then boiled in a boiling water bath. Once the jars are washed and rinsed, they need to be placed in a canner full of warm water. Bring the water to a boil and boil for a full 10 minutes (adjusting for altitude). Leave the jars in the canner until ready to fill.
In the second scenario, if you are processing food for longer than 10 minutes,the jars do not need to be sterilized. Once again, jars need to be clean, washed in hot, soapy water and rinsed in hot water, but it’s not necessary to boil them in a boiling water bath. They do need to sit in hot water though. Fill a canner half full of water. Heat the water to warm and place jars in the canner. Bring the water to almost a simmer and leave the jars in the canner until ready to fill. If you are using glass lids with rubber rings, add the glass lids to the canner to keep them hot
I have a steam oven with a clean jam jars setting. This is a very convenient way to heat all my jars. They are steamed above 212°F. The oven steams the jars for 10 minutes and they stay hot until I am ready to start filling them. I only remove 1 or 2 jars at a time from the oven as I am filling them to keep them hot. I was also taught that lids needed to be boiled for 5 minutes to soften the seal. That too has changed over time. With new technology, the gasket on the metal disk no longer has to be boiled. The disks now just need to sit in warm water in preparation of use. I like to bring a kettle of water to a boil, pour the boiled water into a small bowl and once it has cooled slightly, I add the lids. To pick the lids up out of the hot water, I use a lid lifter, but anything will do that helps you pick up the lid out of the hot water without burning your fingers. If you are using Viceroy Rubber Fruit Jar Rings with glass lids, wash the rings and place in hot water until ready to use. Remove a glass lid from the canner, place the rubber ring on the glass lid and then place the ring and lid together on the jar. Then screw on the screw band. The metal screw bands are obviously important to keep the lid in place while processing, but once the jar is processed, cooled and ready for storage, remove the screw bands, clean and dry them and place them away from the jars. They are not needed for safe storage, in fact, when removed, it is easier to see if a lid has unsealed because that lid will sit loose on the jar. With a screw band holding it in place, that may not be evident.
When the recipe calls for a boiling water bath, follow these general guidelines (follow specific guidelines outlined in the recipe): When you are ready to fill the jars with your prepared ingredients, take one jar out of the canner at a time. Fill it with ingredients as directed in the recipe guidelines, remove air bubbles, ensure proper head space, clean the rim and place the metal disk and screw band on the jar. Place it back in the canner and repeat until all the jars are filled and back in the canner. Make sure the jars are covered with at least 1 inch of water and then start bringing the canner up to a boil. Boil as instructed for your elevation. Once boiling time is complete, remove the lid, lifting it away from you. After 5 minutes, remove the jars with a jar lifter and place on a protected counter. As most food processed in a pressure canner is processed for longer than 10 minutes, you will not need to sterilize the jars. Once again, jars need to be clean, washed in hot, soapy water and rinsed in hot water, but it’s not necessary to boil them in a boiling water bath. For a pressure canner, you should have a boiling water canner or large pot available to heat the jars in because there will only be 2 to 3 inches of water in the pressure canner. Bring the water to almost a simmer and leave the jars in the canner until ready to fill. If you are using glass lids with rubber rings, add the glass lids to the canner to keep them hot. When you are ready to fill the jars with your prepared ingredients, take one jar out of the canner at a time. Fill it with ingredients as directed in the recipe guidelines, remove air bubbles, ensure proper head space, clean the rim and place the metal disk (or glass lid and rubber ring) and screw band on the jar. Place the jar in the pressure canner and follow the directions noted in the recipe and the guidelines outlined in the manual for your pressure canner. Once processing time is complete and the pressure gauge has returned to zero, remove the lid, lifting it away from you. After 5 minutes, remove the jars with a jar lifter and place on protected counter.