Spicy Pickled Carrots and Beans
This colourful mix of green and yellow beans, orange carrots and green olives is great to look at and is even better tasting. Enjoyed straight out of the jar, placed on a charcuterie tray or dropped into a classic Canadian vodka Caesar, the pickles add great depth of flavour and colour. My daughter loves pickled carrots. She loves the colours of them packed into a jar. We were talking about all the different vegetables one can pickle and decided to put them all in one colourful jar.
Spicy Pickled Carrots and Beans
Makes 6-500mL wide mouth jars of pickles
Ingredients
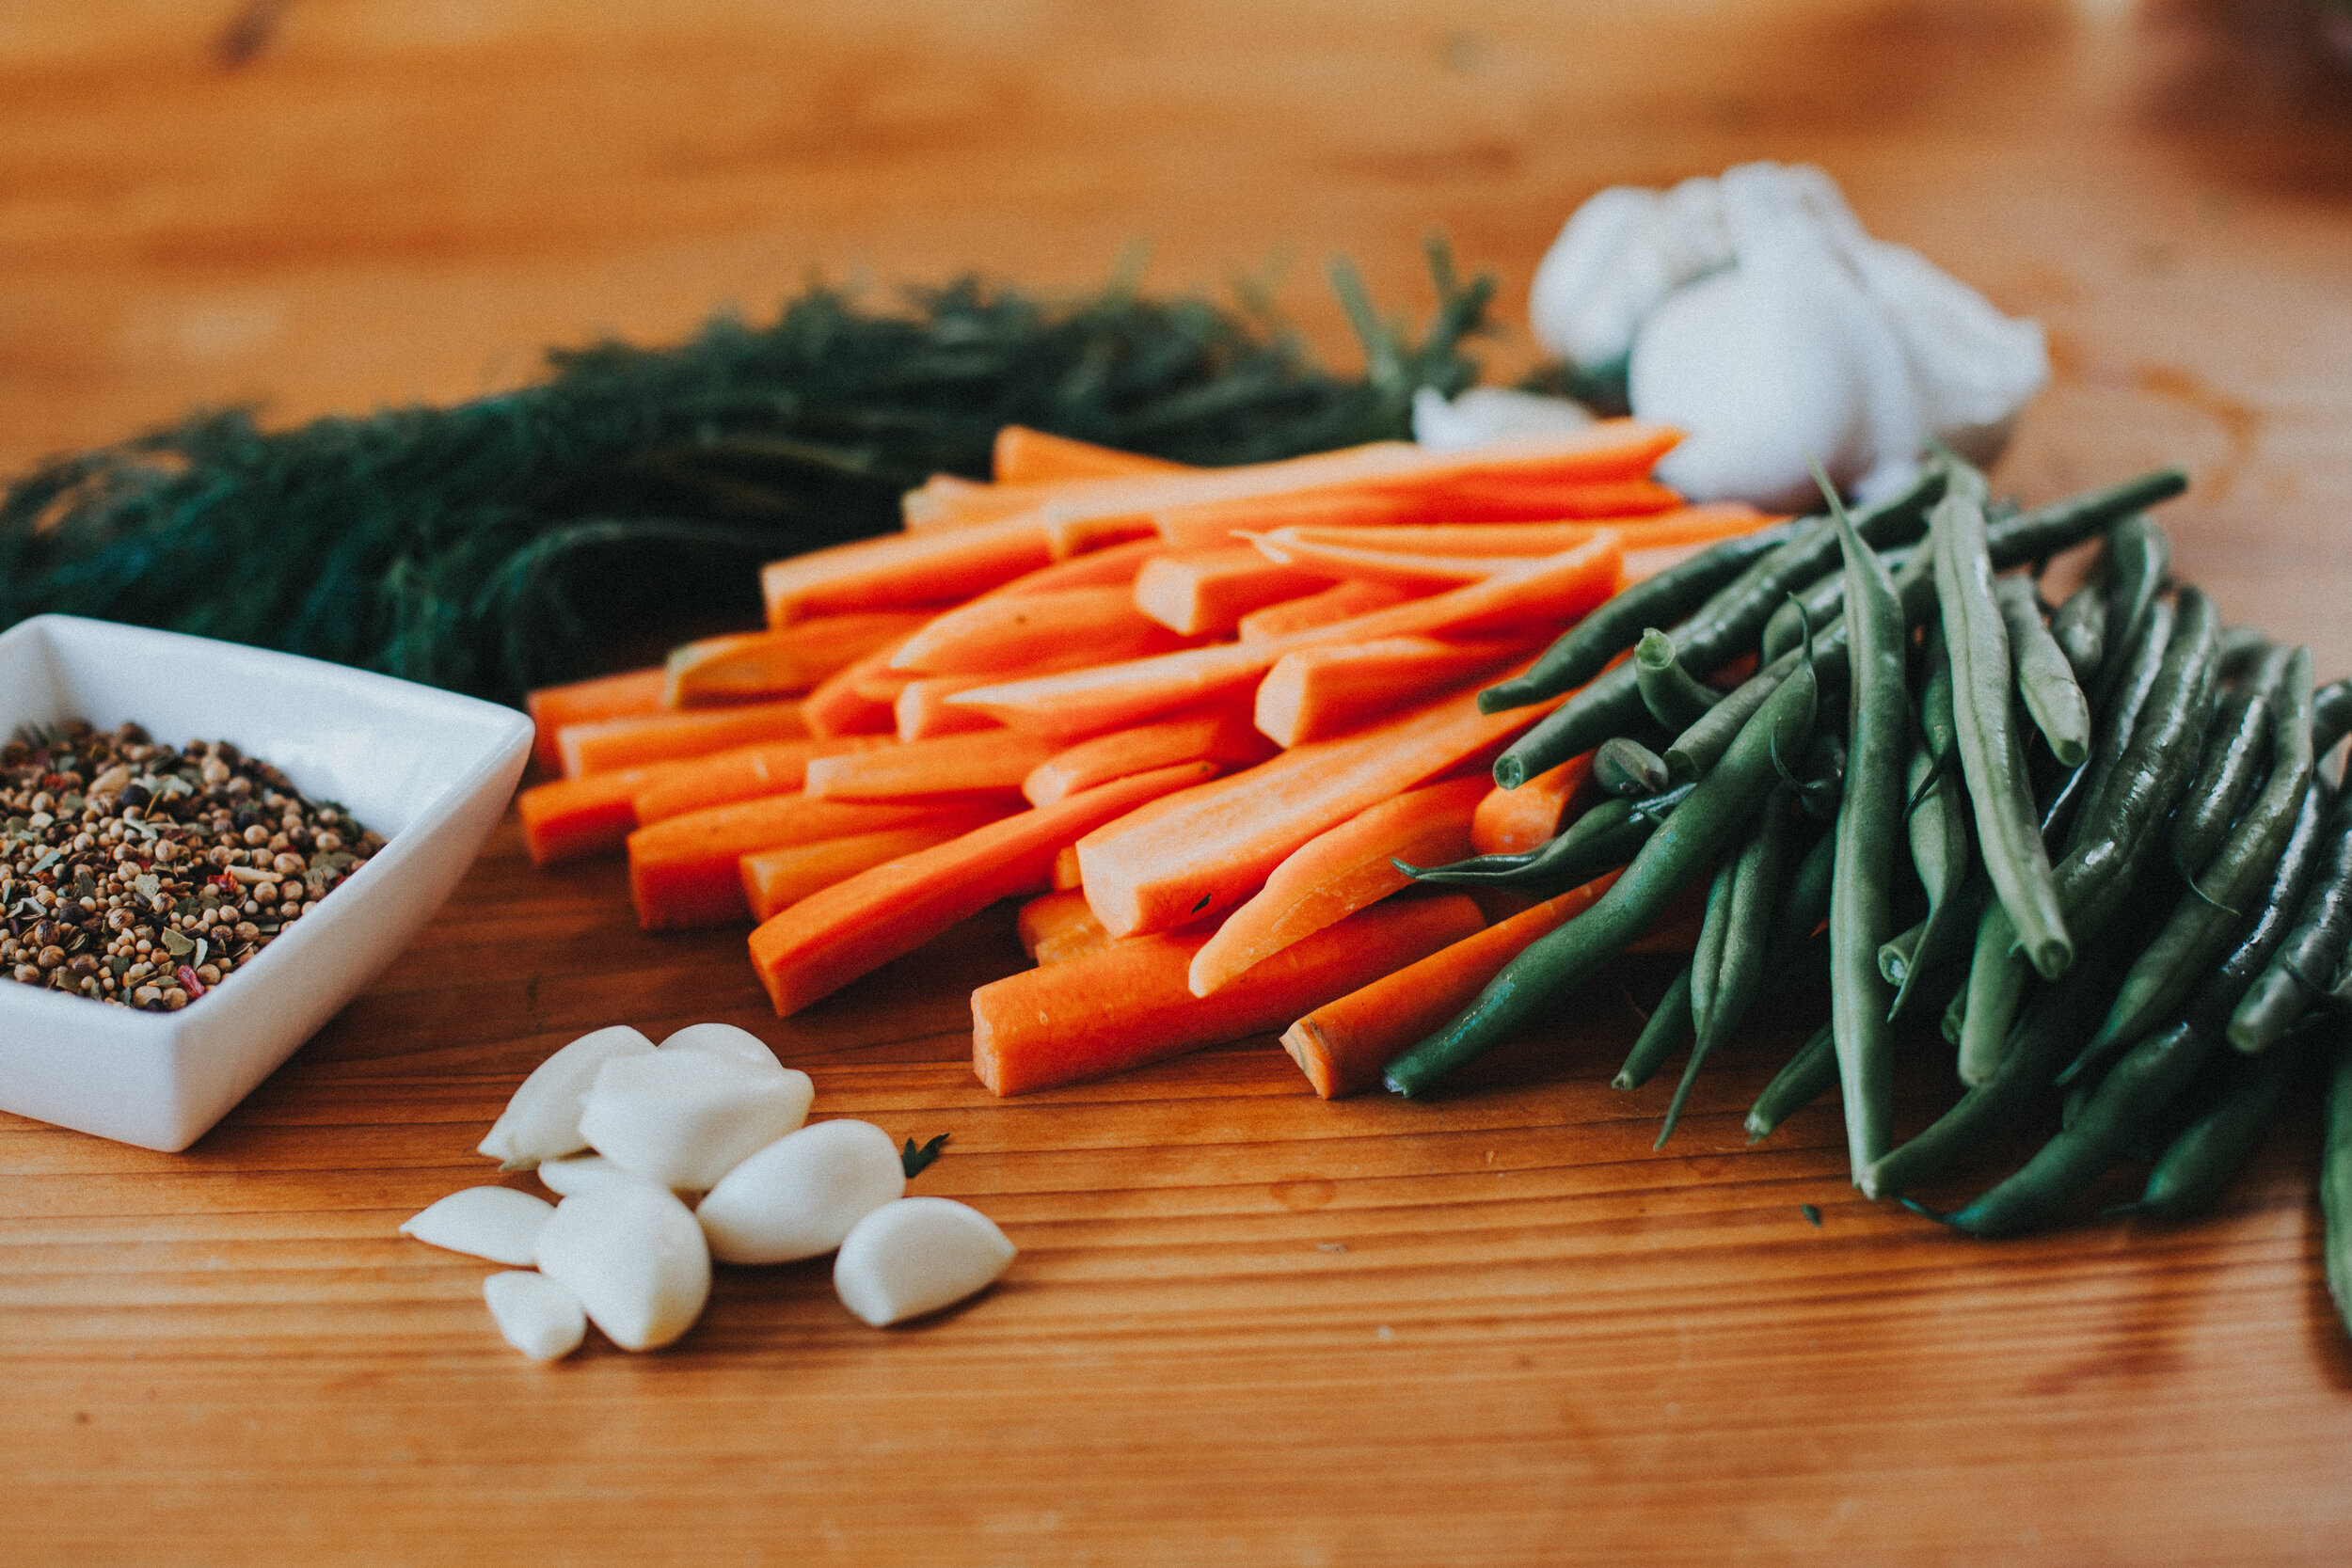
2 lbs fresh 4 to 5 inch long green or yellow beans
1 ½ lbs fresh whole baby carrots or regular carrots; cut to ¼” to ½” diameter x 5” long.
5 cups of 5% white vinegar
2 cups water
1/3 cup pickling salt
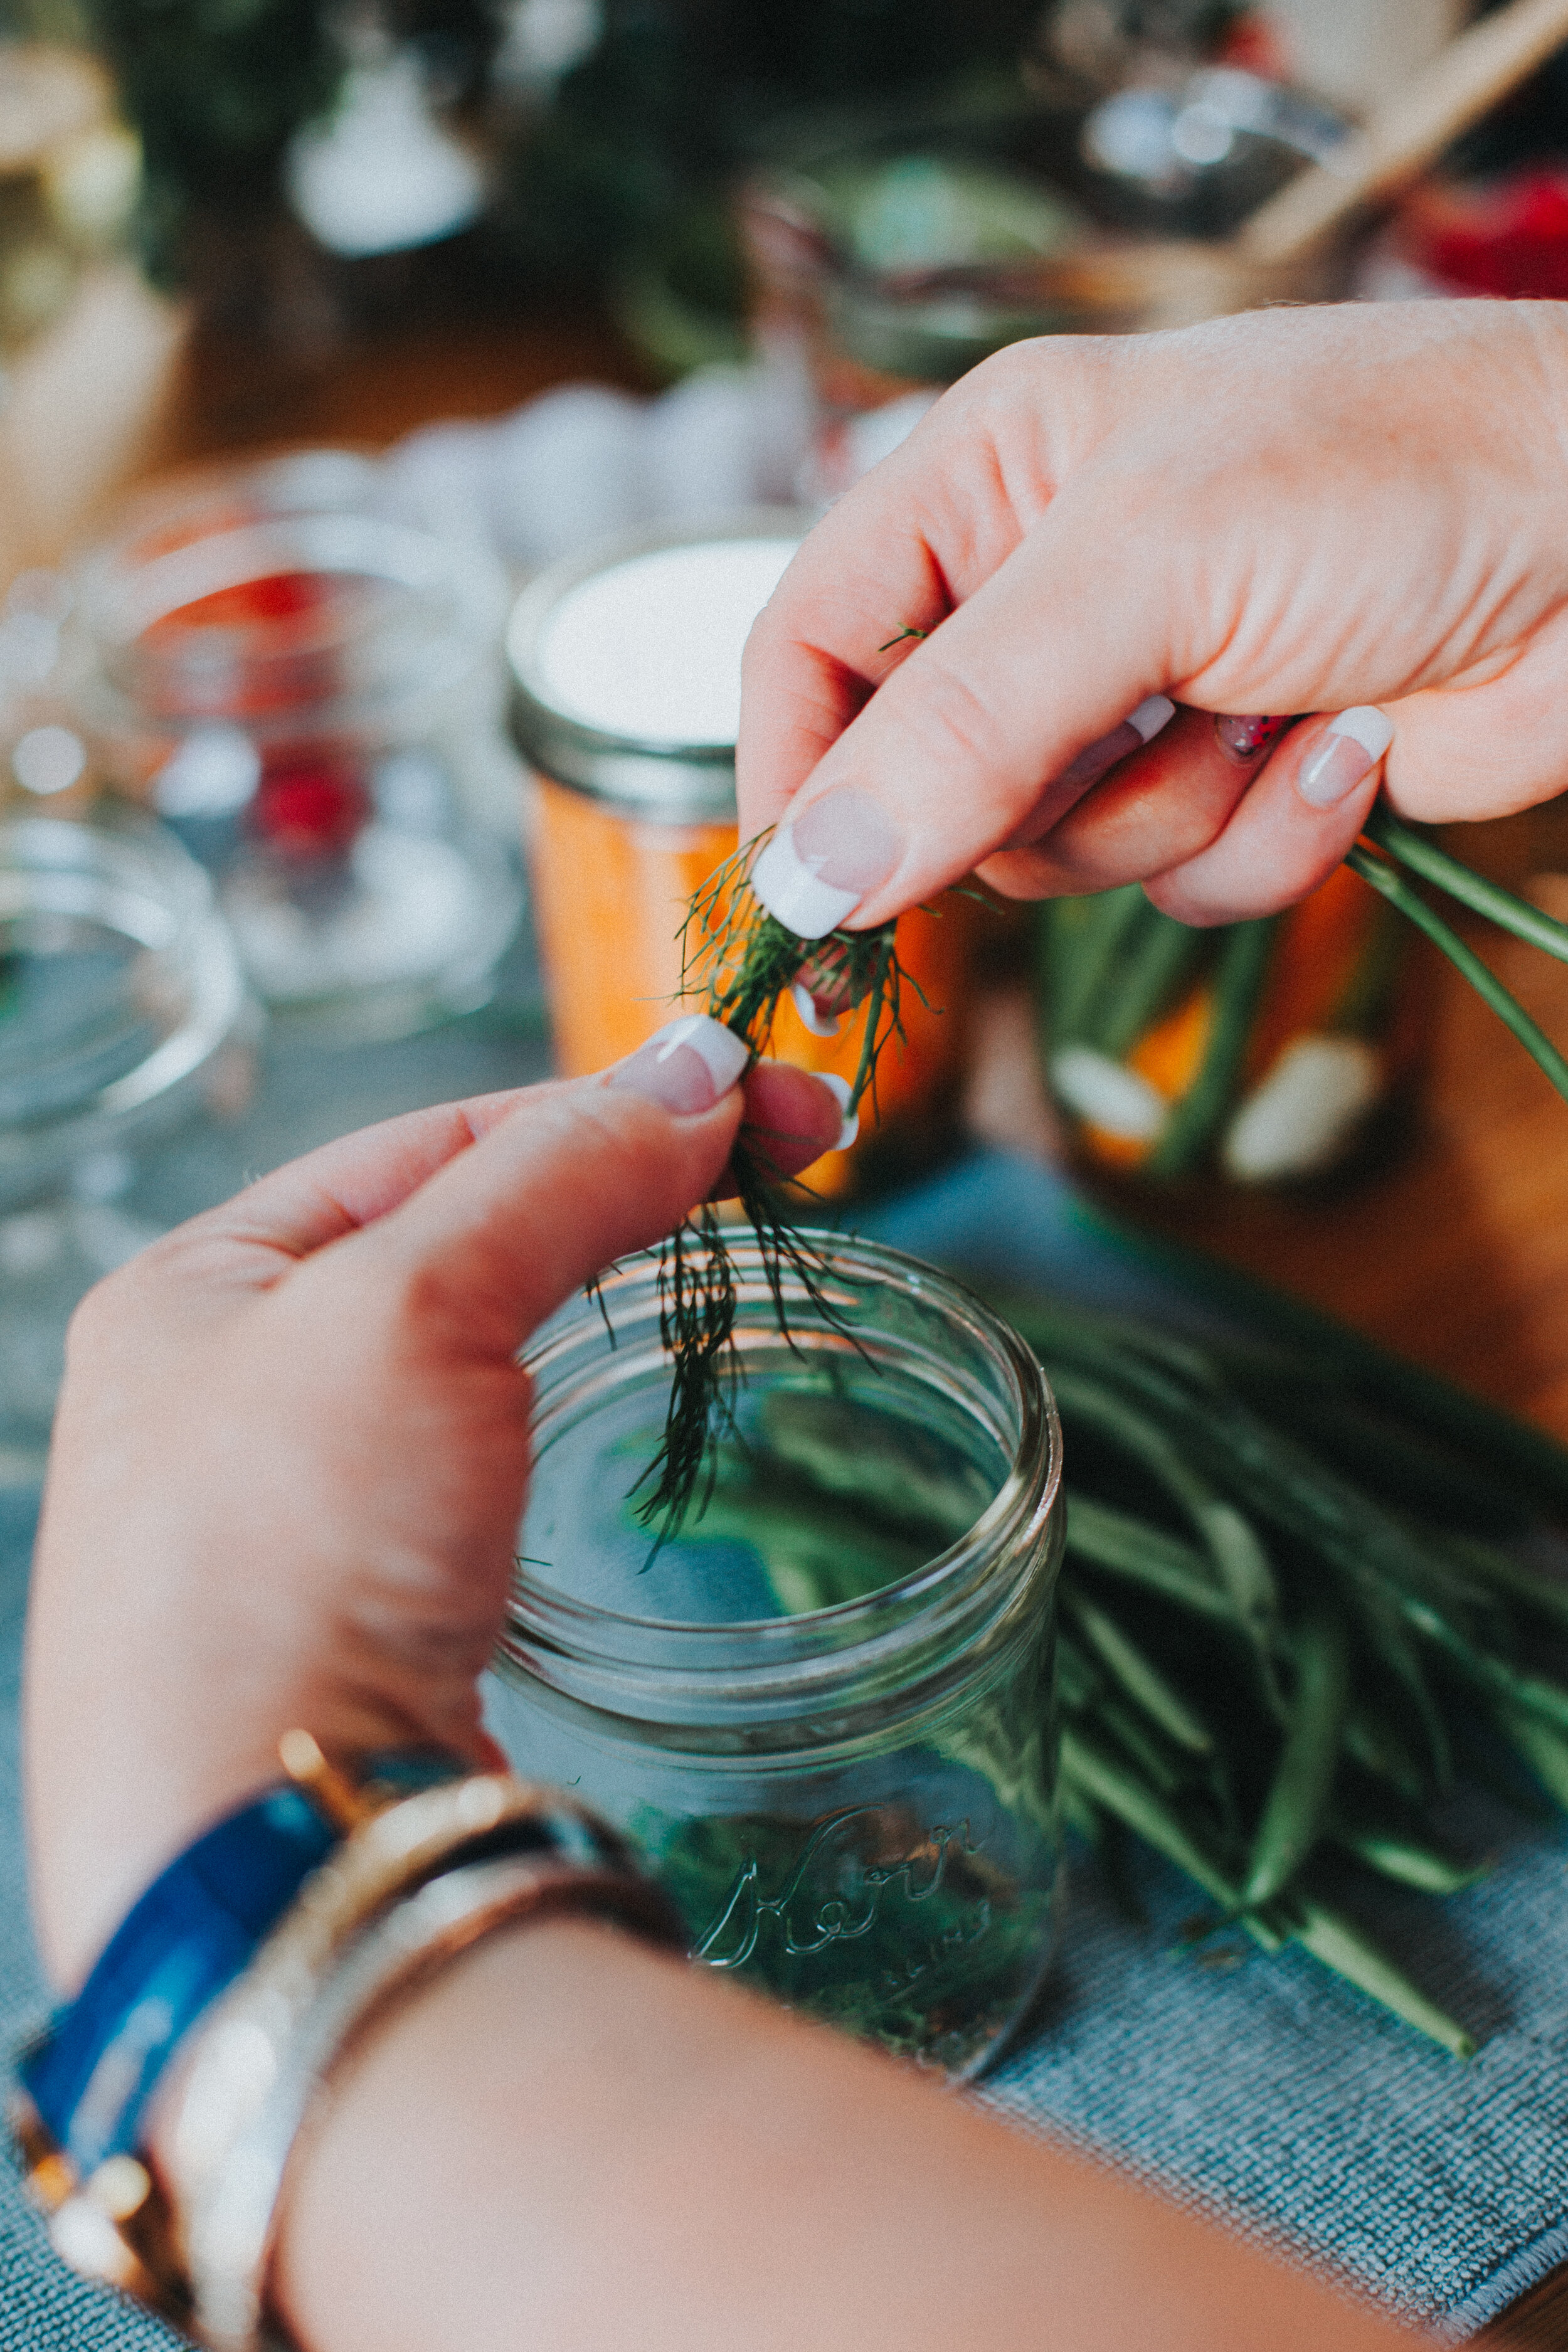
12 fresh dill sprigs
12 pimiento green olives
6 peeled whole cloves of garlic
1 ½ tsp dried crushed red pepper
Directions
Place 6 clean 500ml mason jars on a rack in a boiling water canner; cover jars with water and heat to a simmer (180°F/82°C). Set screw bands aside. Heat snap lids in hot water, not boiling (180°F/82°C). Keep jars and lids hot until ready to use. If you have a steam oven with a sterilize jam jar setting, you can avoid the boiling water canner and follow the steam oven directions for sterilizing your jars. If you use the steam oven, ensure you have the canner partially filled with water and heated to a boil (212°F/100°C).
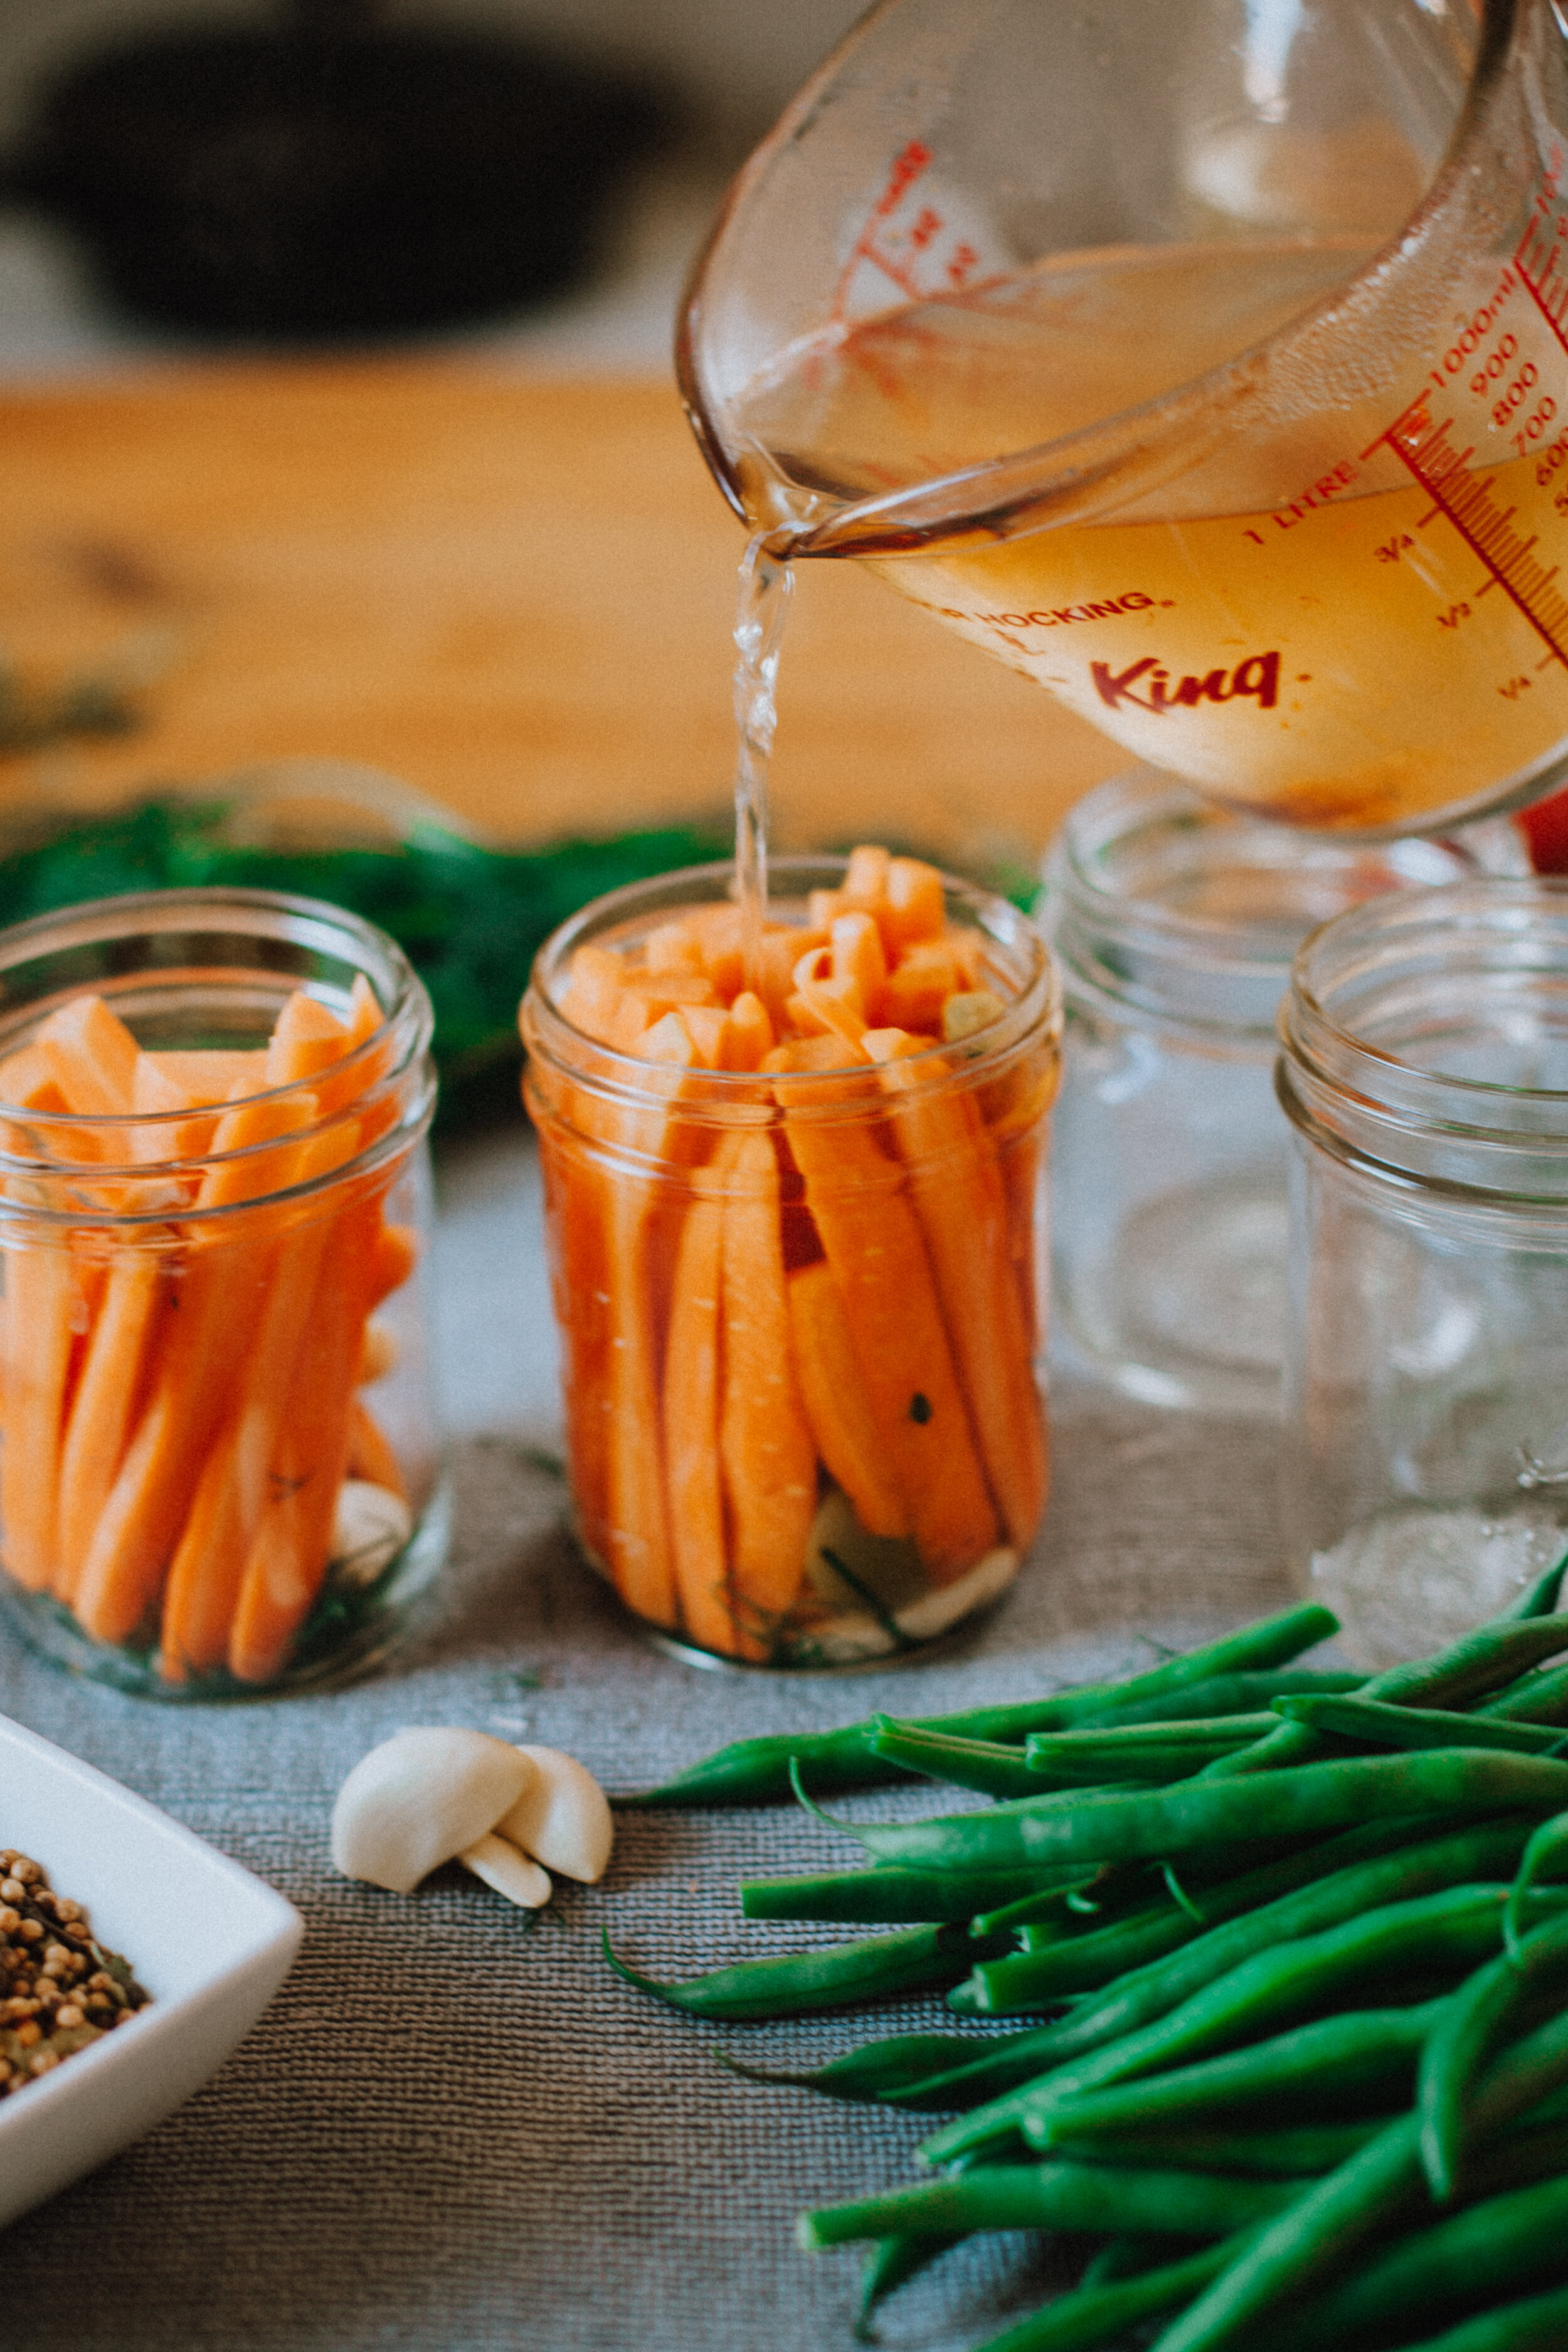
Wash the vegetables and trim the stem end off the beans. Peel and cut the carrots to similar size as the beans. Combine white vinegar, water, pickling salt and crushed red pepper in 3 quart stainless steel or enamelled saucepan. Bring to a boil.
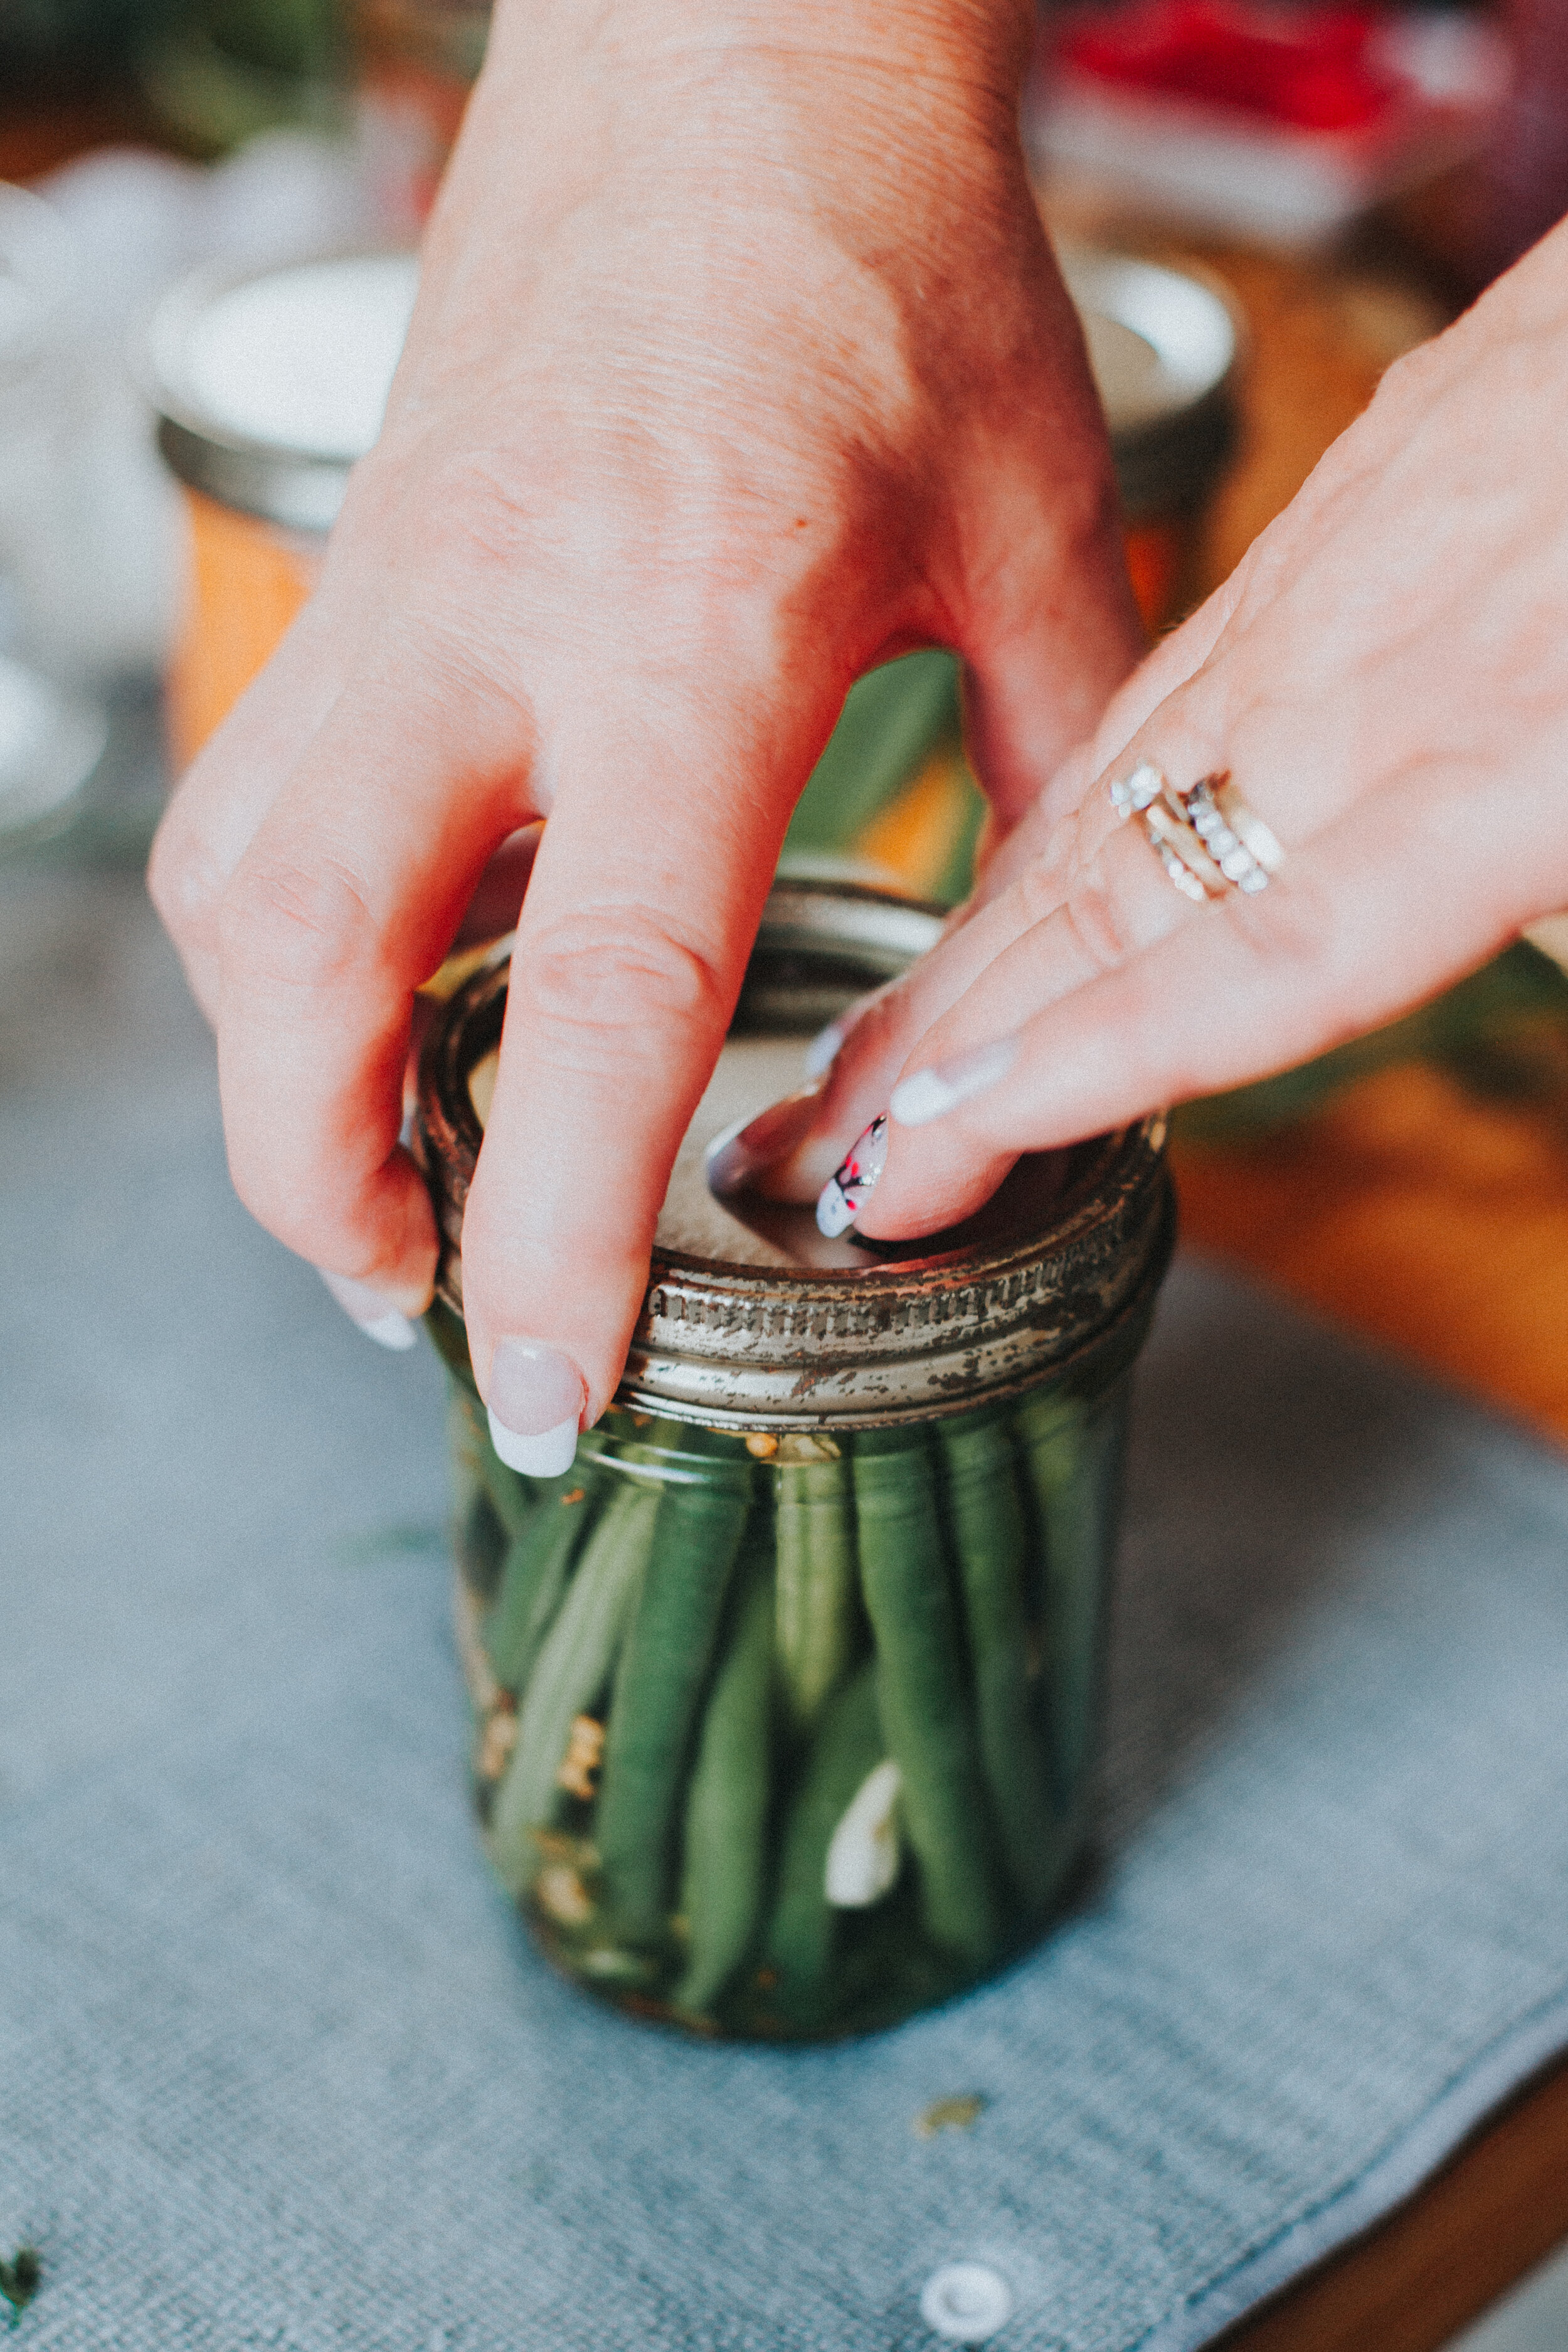
Place 2 dill springs, 1 clove of garlic and 2 olives into a hot jar. Pack alternating green and yellow beans and carrots tightly into the jar. Ladle hot pickling brine over the vegetables. Remove air bubbles and ladle in more brine, if necessary, to ensure a ½ inch headspace. Wipe jar rim, removing any food residue. Centre hot sealing disc on clean jar rim. Screw band down until fingertip tight. Return filled jar to rack in canner. Repeat for remaining jars.
When canner is filled, ensure that all jars are covered by at least one inch of water. Cover canner and bring water to full rolling boil before starting to count processing time. At altitudes up to 1000 ft, process at full boil, filled jars for 10 minutes (adjusting for altitude).*
When processing time is complete, turn stove off, remove canner lid, wait 5 minutes, then remove jars without tilting and place them upright on a protected work surface. Cool upright, undisturbed 24 hours; DO NOT RETIGHTEN screw bands.
After cooling, check jar seals. Sealed lids curve downward and do not move when pressed. Remove screw bands, wipe and dry bands and jars. Store screw bands separately. Label and store jars in a cool, dark place. For best quality, use home canned foods within one year.
*Altitude adjustment for boiling water method
Altitude in feet Increase processing time by
1001 to 3000 5 minutes
3001 to 6000 10 minutes
6001 to 8000 15 minutes
8001 to 10000 20 minutes
