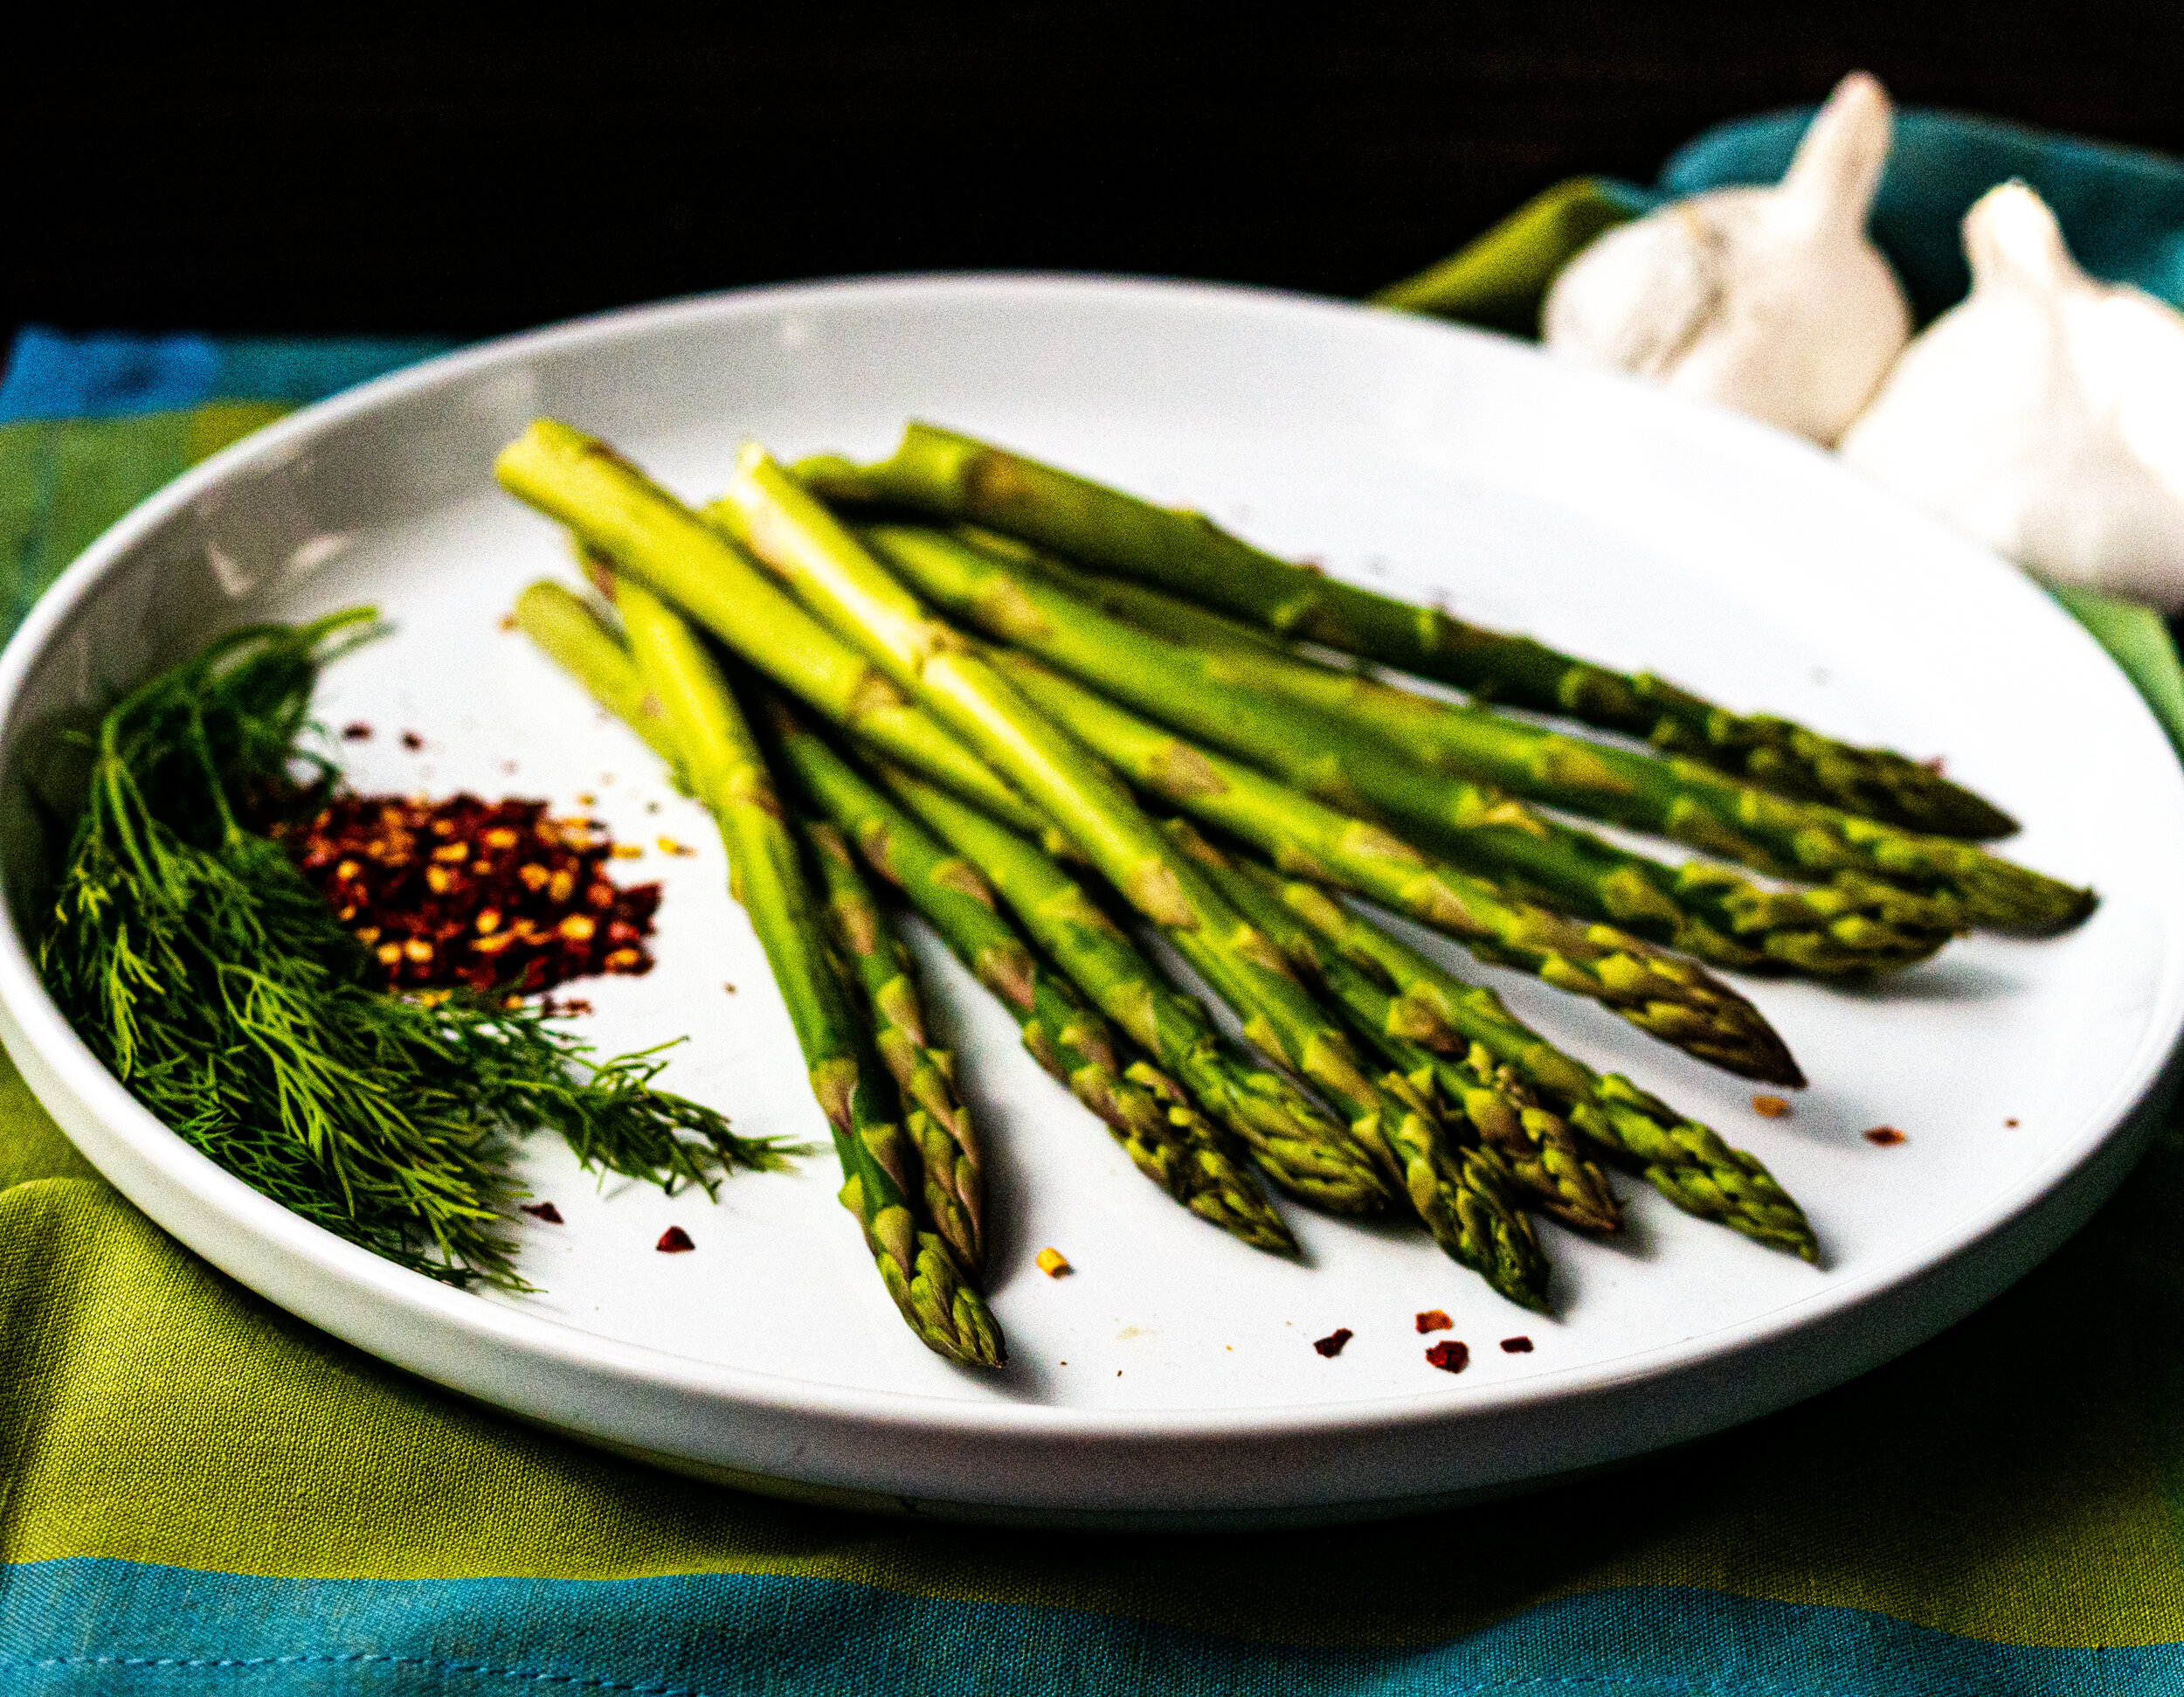
Asparagus must be harvested by hand, each stock cut off individually and therefore, it’s quite expensive most of the year, but if you buy it while it is in season, you can save yourself some money. Buying in-season also means buying local, which is why I like to pick up my asparagus in June here in Alberta. Of course, the other option is to grow this perennial in your garden. Canning this vegetable also means it’s available year round (in the jar). It’s great to throw on a salad, as a side vegetable or use it to make asparagus soup.
Canned Asparagus (hot or raw packed)
USDA Complete Guide to Home Canning 2020
Yield 7 – quart jars
Ingredients
24 ½ pounds (3 ½ pounds per quart) asparagus
7 tsp pickling salt
Water
Directions
Add 2 to 3 inches of water in the pressure canner and heat to a boil. Keep water hot. Also, place 5 or 6 inches of water in boiling water canner. Heat to a simmer. Place 7 clean, warm quart mason jars on a rack in canner. Cover the jars with simmering water. Place SNAP LIDS® in a bowl full of warm water. Keep both jars and lids warm until ready to use.
Fill kettle with water and bring to a boil. Keep hot and set aside until ready to fill jars.
Wash asparagus and break off tough stems. Cut into 1 inch pieces or can whole.
Hot pack – cover asparagus with boiling water. Boil 2 or 3 minutes. Using a slotted spoon, loosely fill hot jars with hot asparagus, leaving 1 inch head space.
Raw pack – Fill hot jars with raw asparagus, packing as tightly as possible without damaging the tips, leaving 1 inch head space.
Add 1 tsp salt per quart and add boiling water, leaving 1 inch head-space.
Remove air bubbles, adjust headspace and wipe jar rims. Add heated metal lids and screw bands. Tighten until finger-tip tight. Place jar on rack in pressure canner. Repeat until all jars are filled or until all the asparagus is packed into jars.
Lock pressure canner lid in place. Vent steam for 10 minutes. Place the counterweight or weighted gauge on vent, bring pressure to 10 pounds (adjusting for altitude). Process 30 minutes for pints and 40 minutes for quarts in a dial gauge pressure canner at 11 pounds pressure (adjusting for altitude) or in a weighted gauge pressure canner at 10 pounds pressure (adjusting for altitude). Turn off heat. Wait for the pressure to drop to zero on a dial gauge or when no steam escapes when weight on weighted gauge canner is nudged, before removing the cover. Always tilt the cover away from your face when removing the cover from the canner. Remove jars with a jar lifter, without tilting, to a protected countertop.
Cool upright for 24 hours. After cool, check that the jars are sealed. Sealed jar lids curve downward. Clean, dry and label with contents and date. Store in a cool, dark place.
TIP: Use only pickling salt. Noncaking material added to table salt could result in cloudy brine.
Adjusting for altitude - Pressure canning method
| Altitude in Feet | Weighted Gauge | Dial Gauge |
|---|---|---|
| 0 to 1000 | 10 | 11 |
| 1,001 to 2,000 | 15 | 11 |
| 2,001 to 4,000 | 15 | 12 |
| 4,001 to 6,000 | 15 | 13 |
| 6,000 to 8,000 | 15 | 14 |
| 8,001 to 10,000 | 15 | 15 |
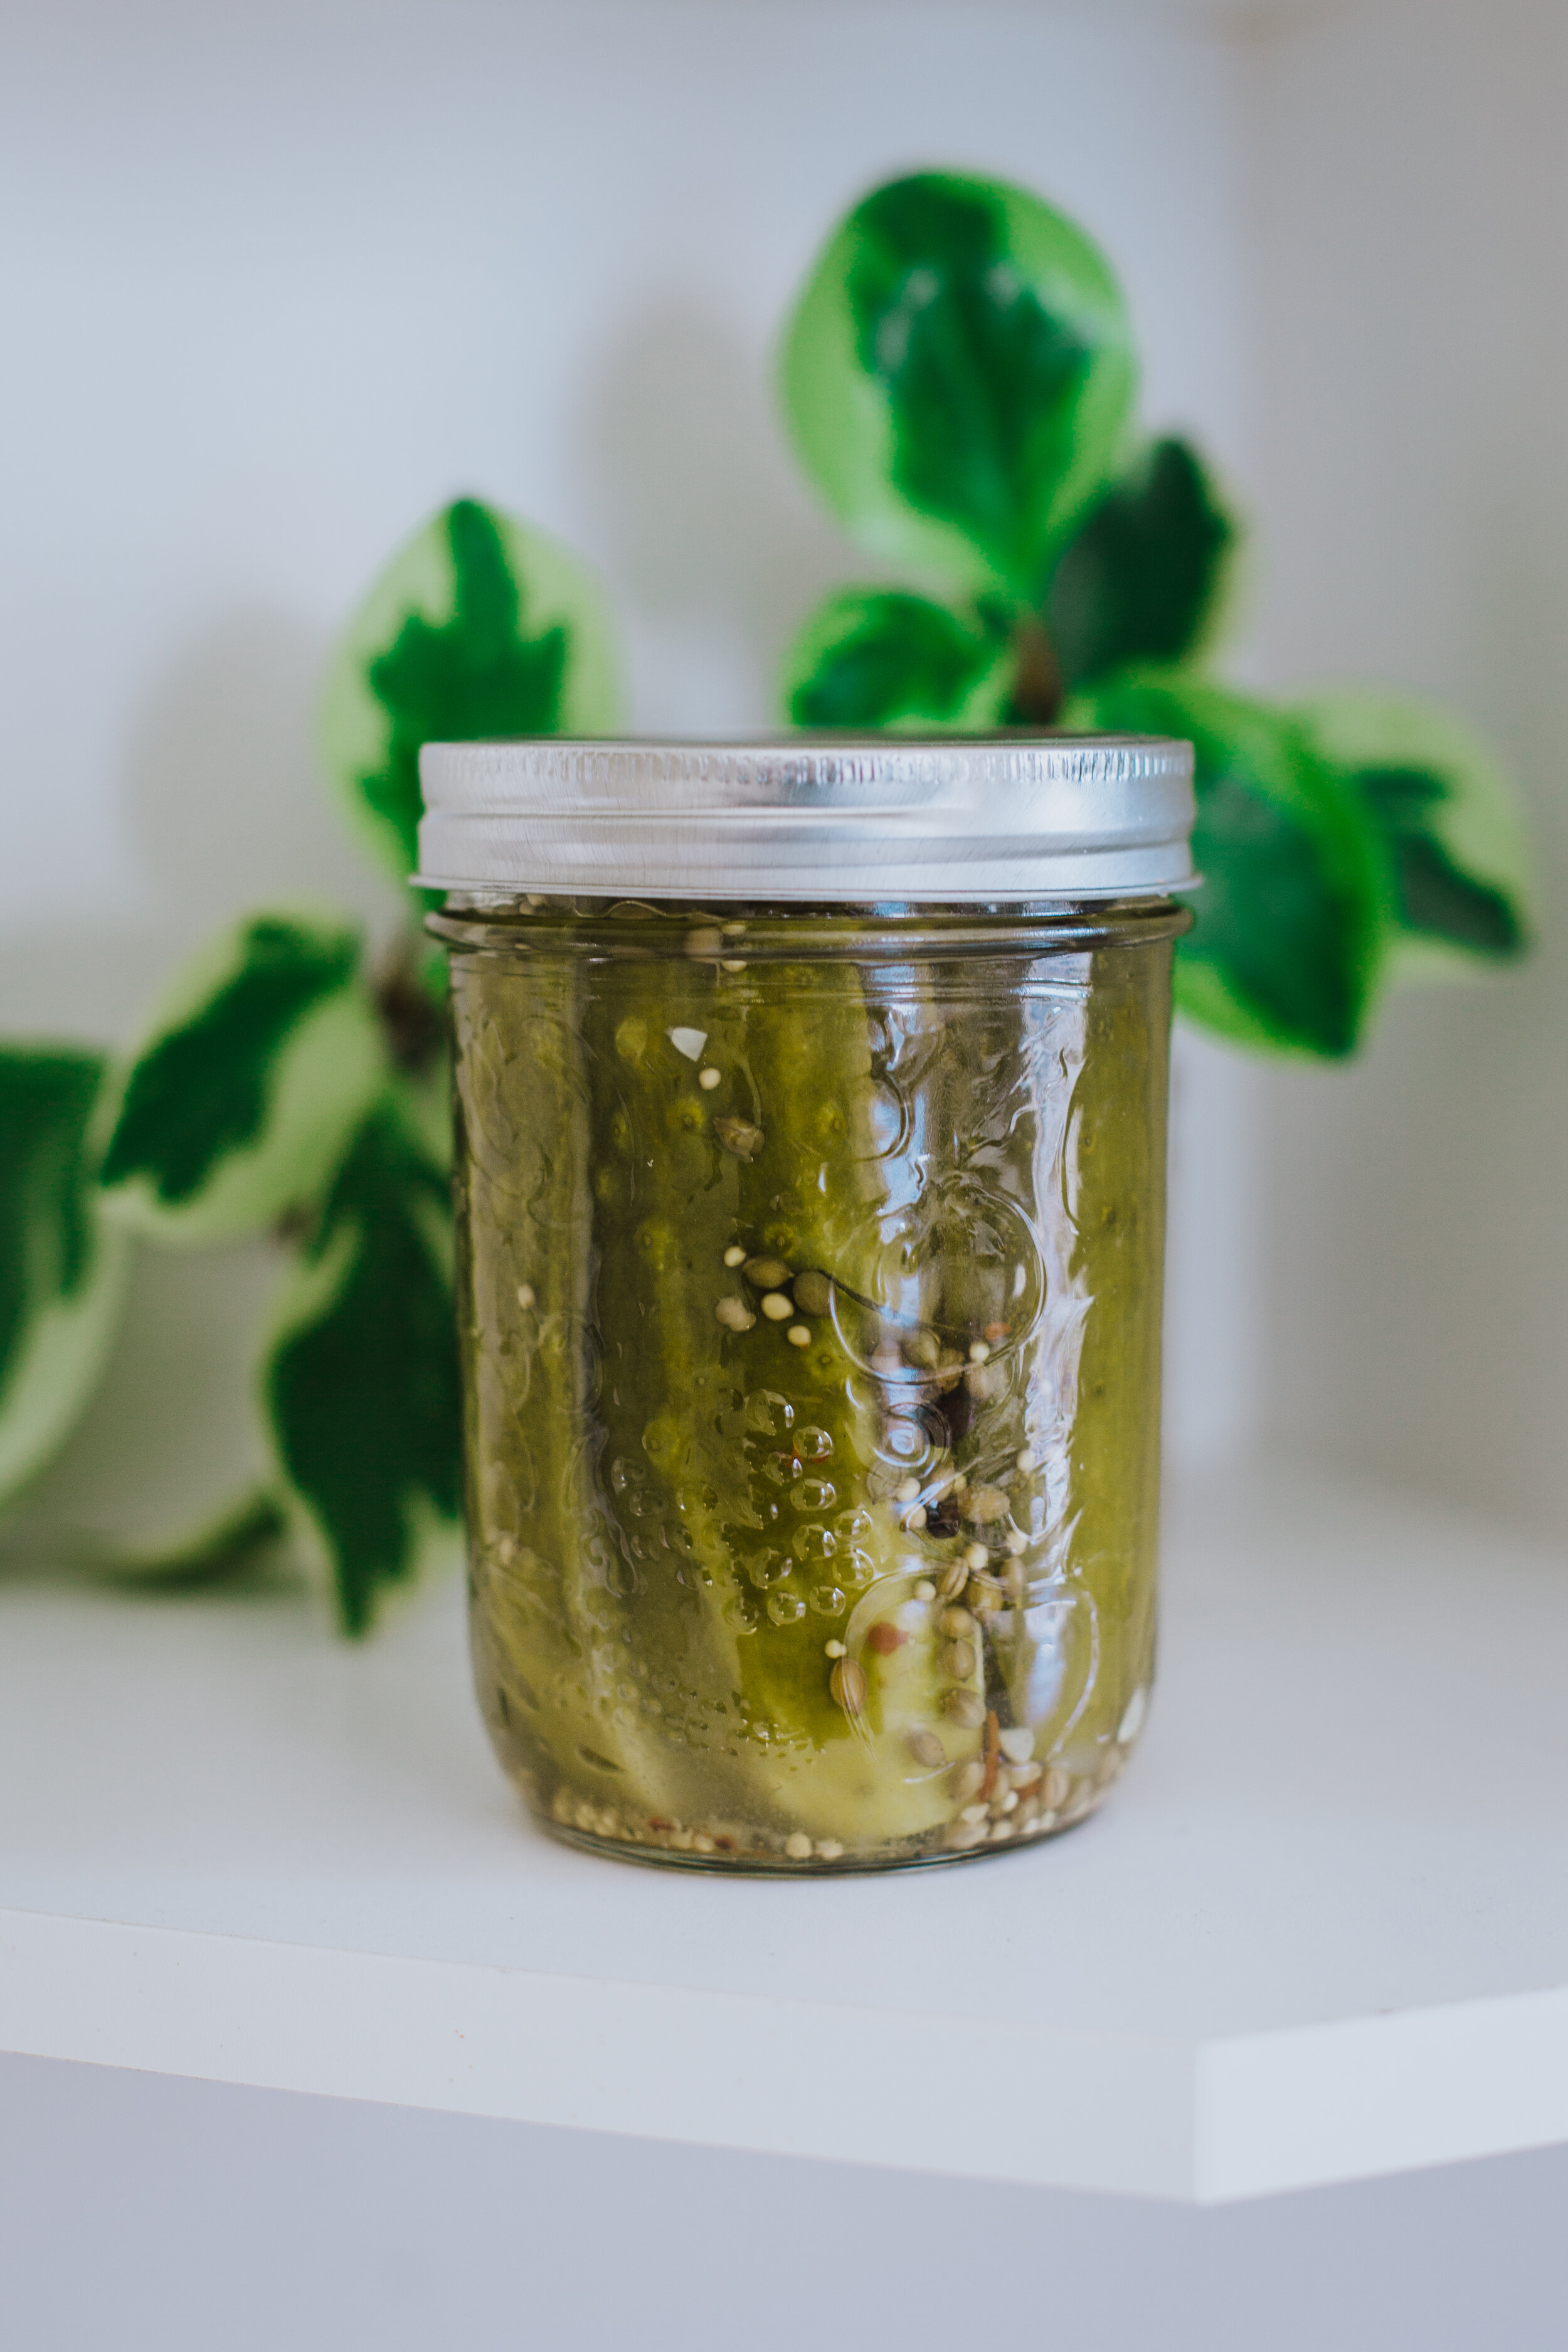
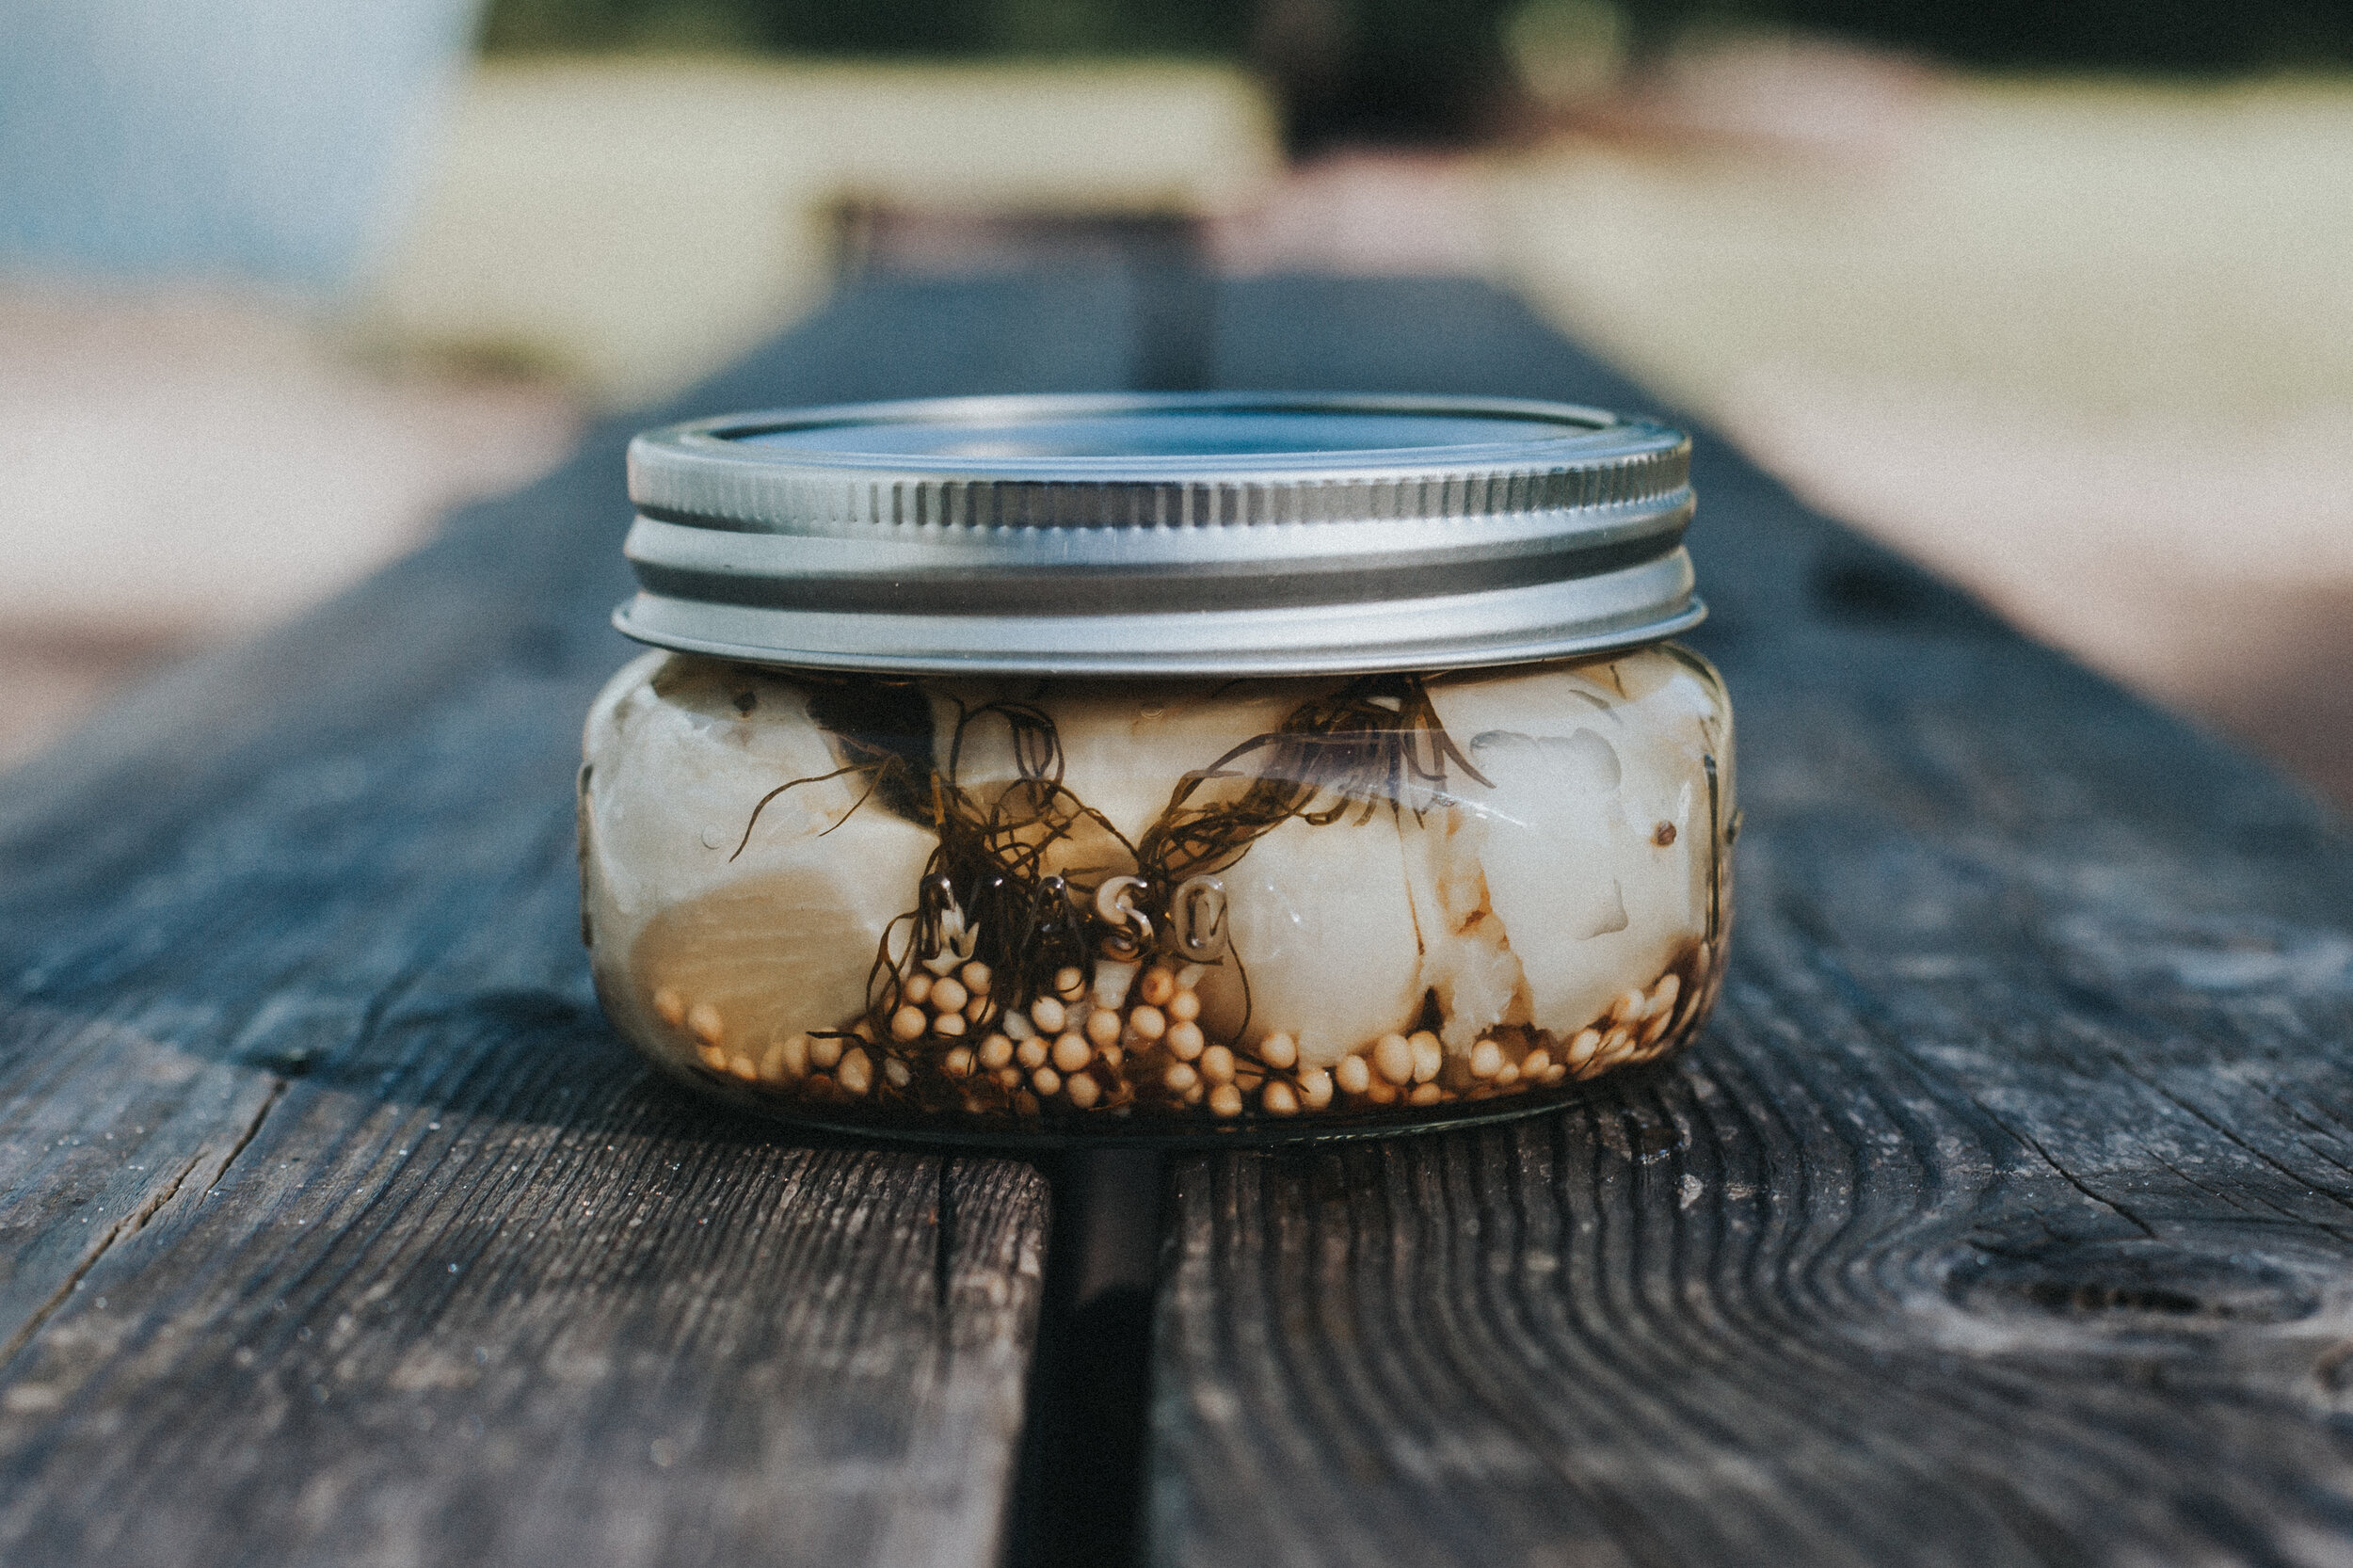
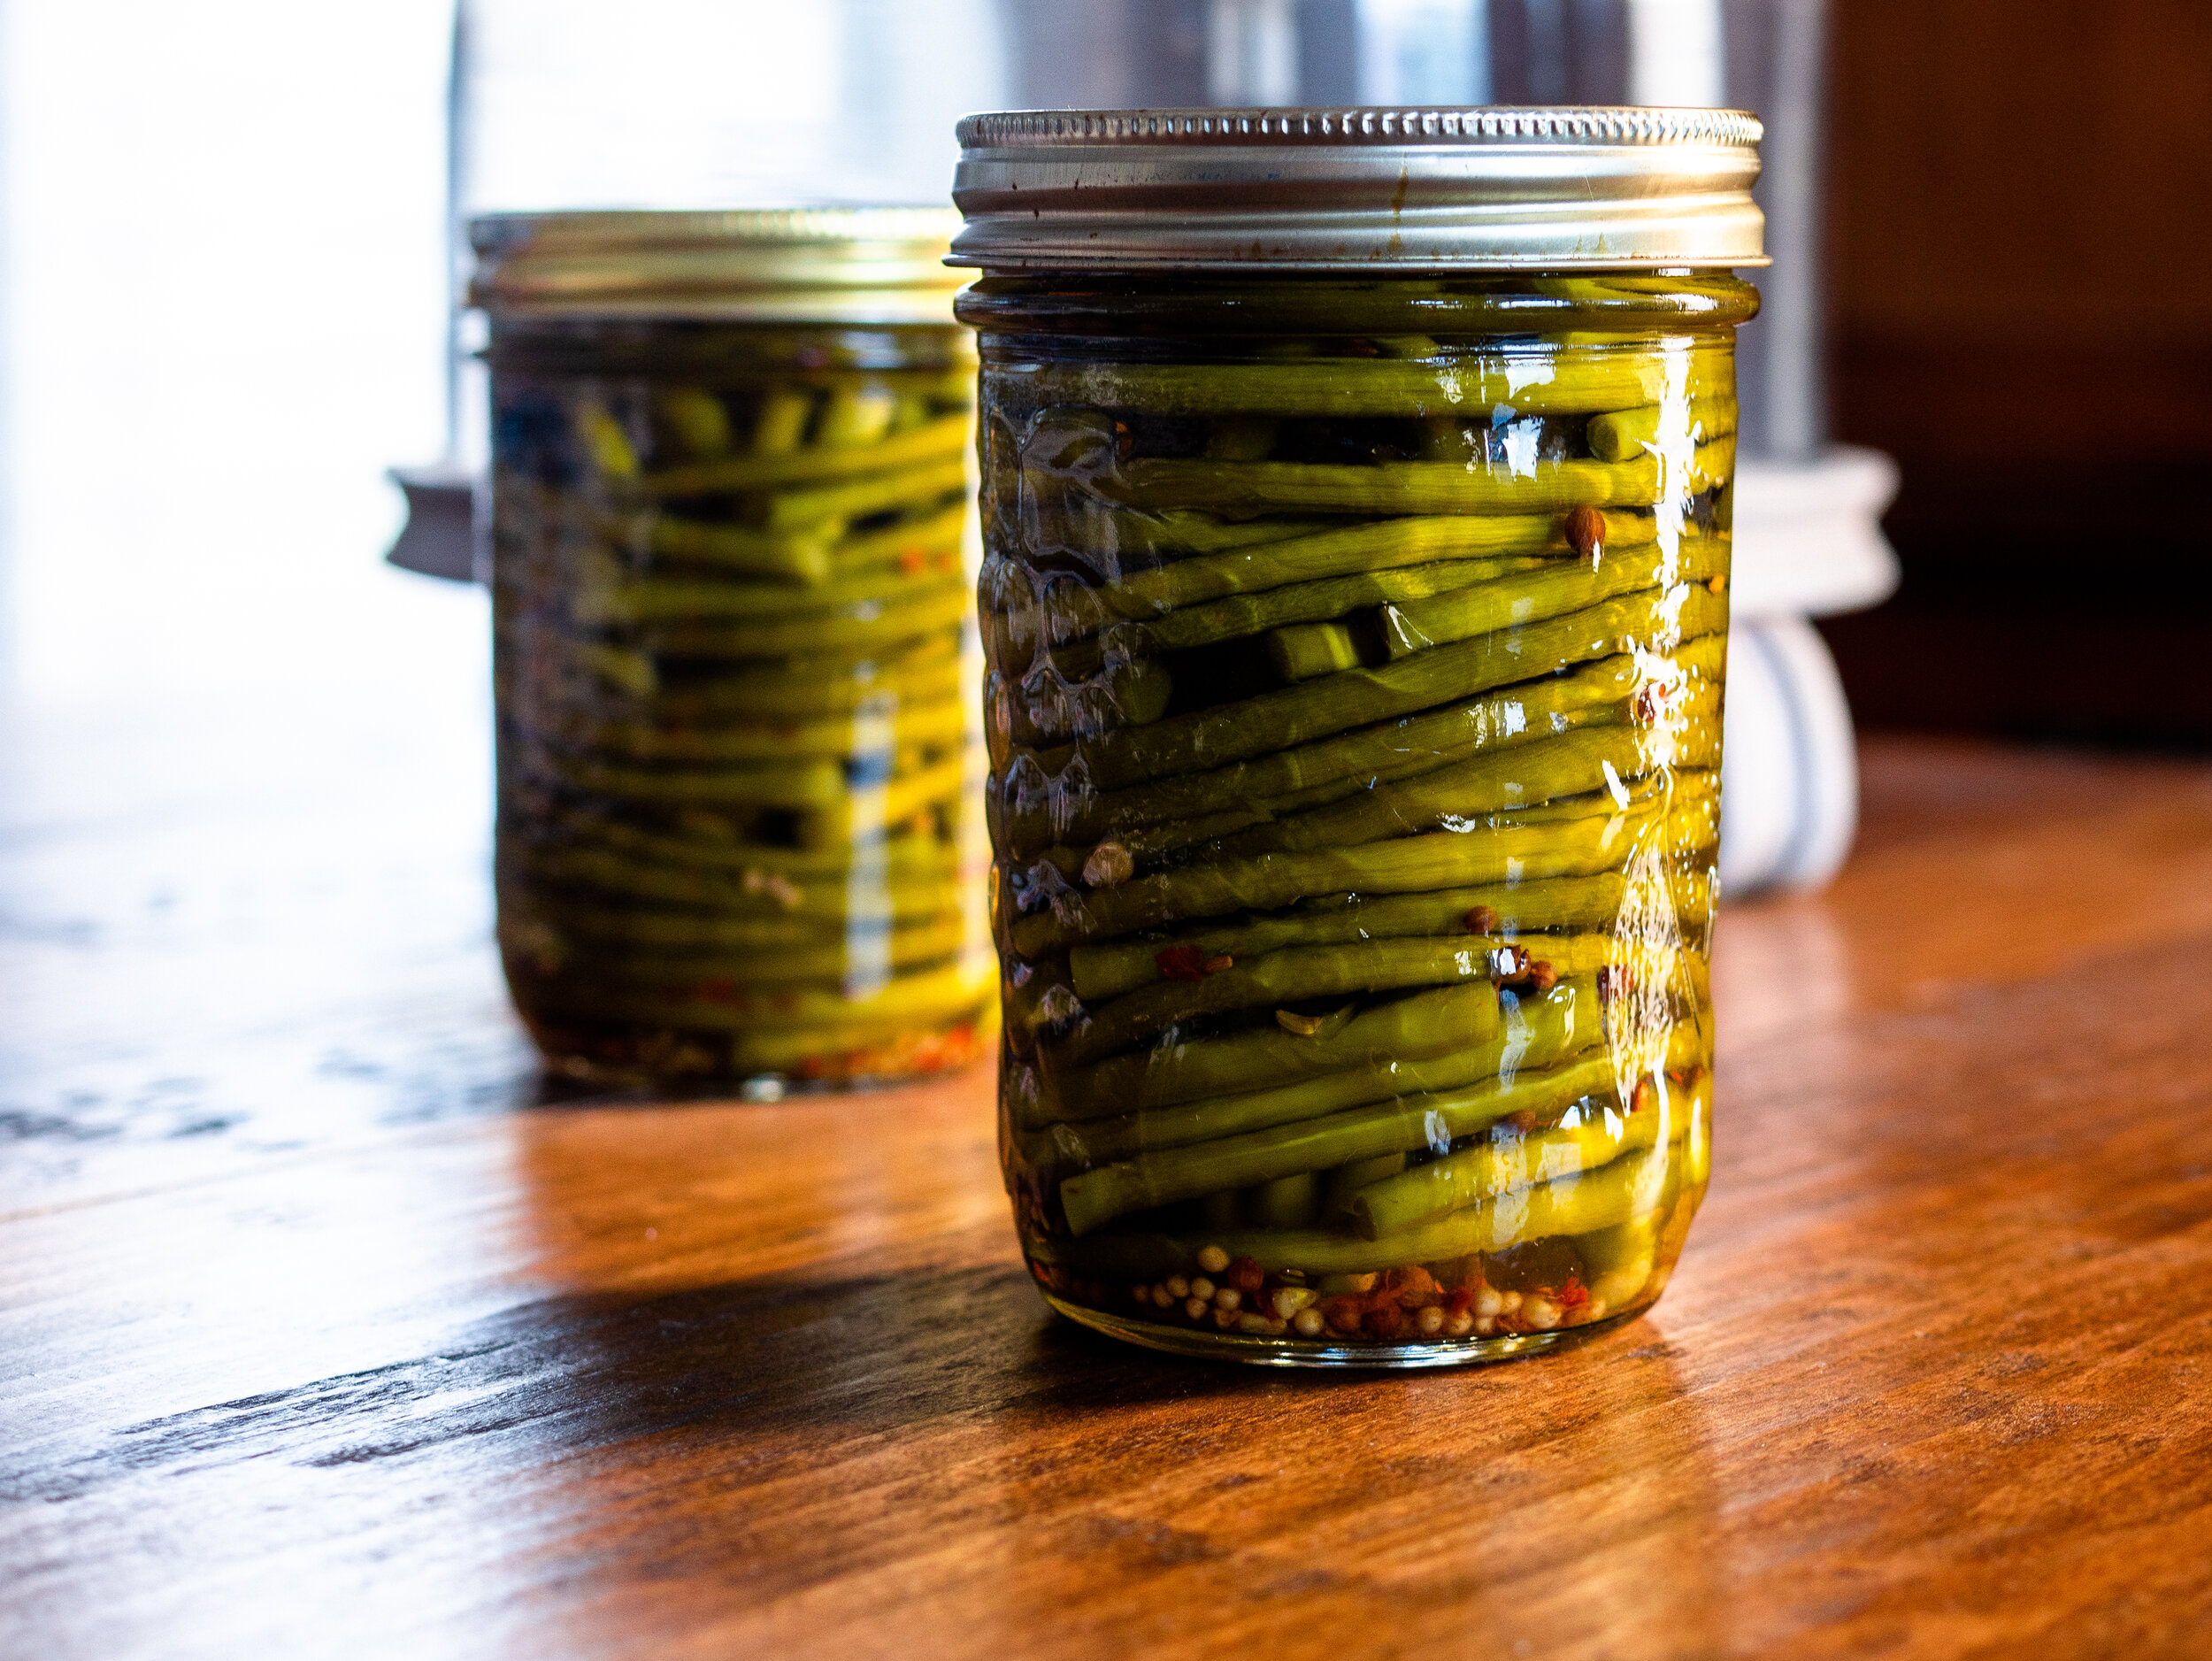
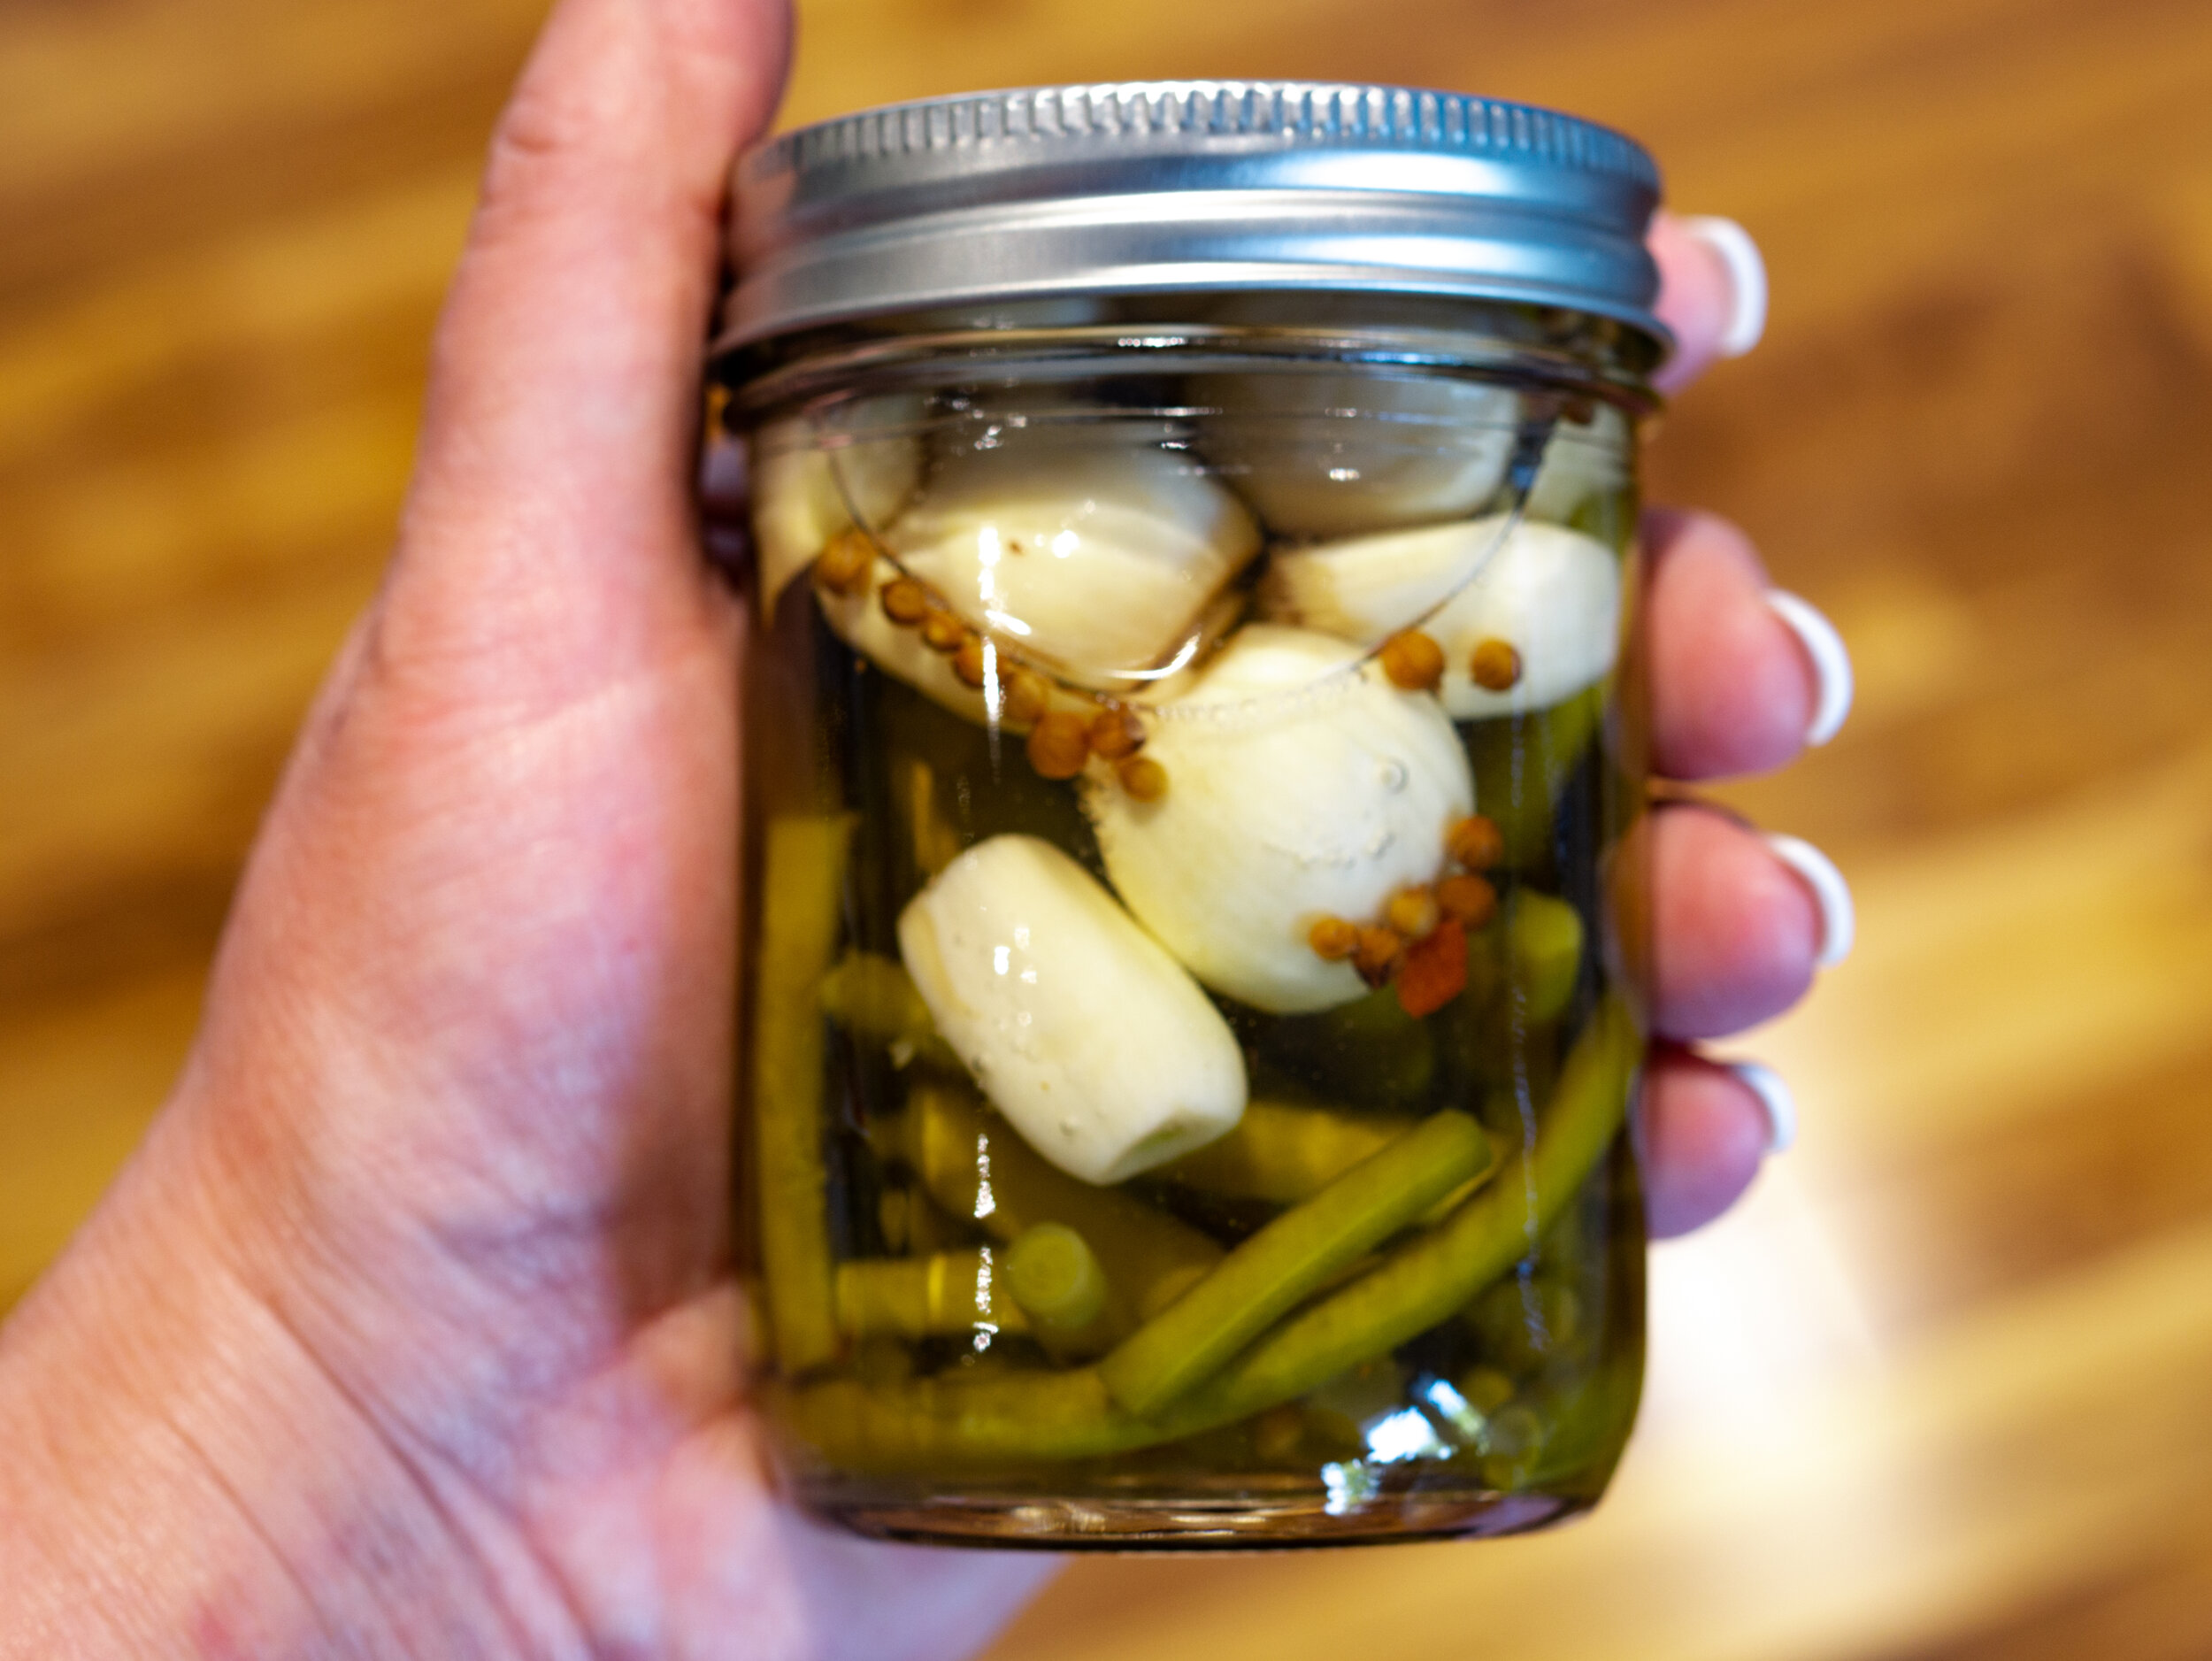
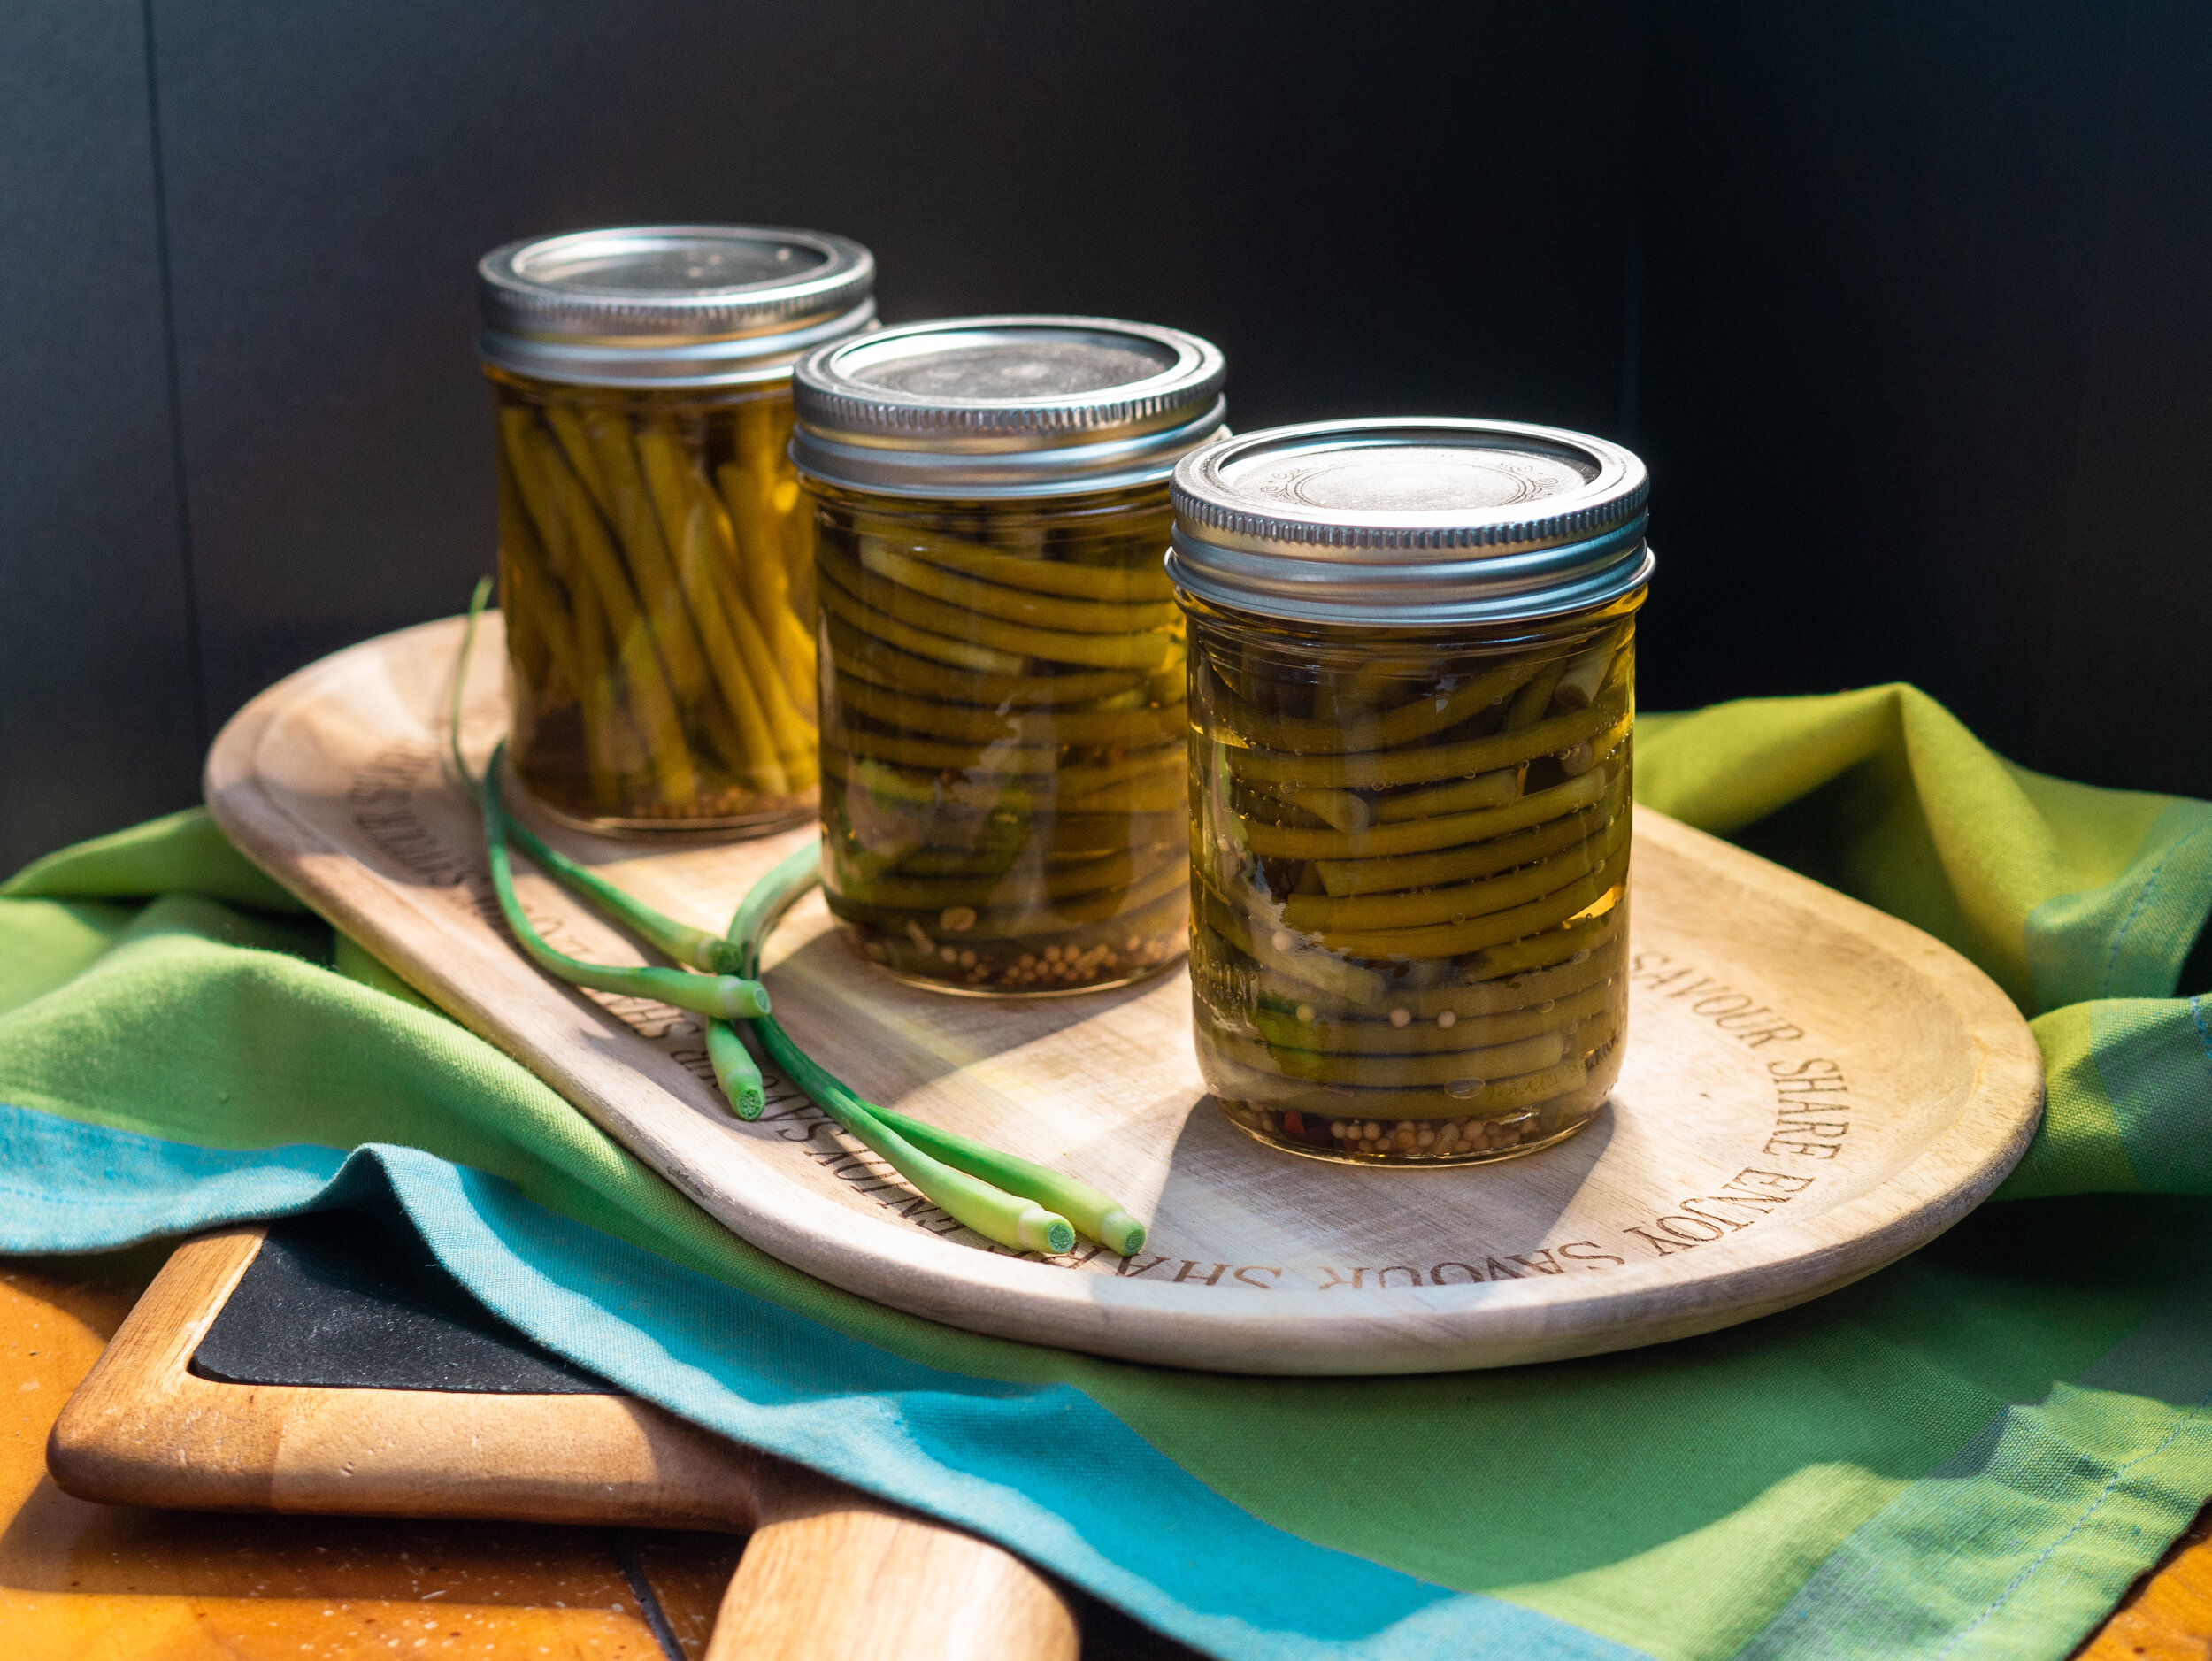
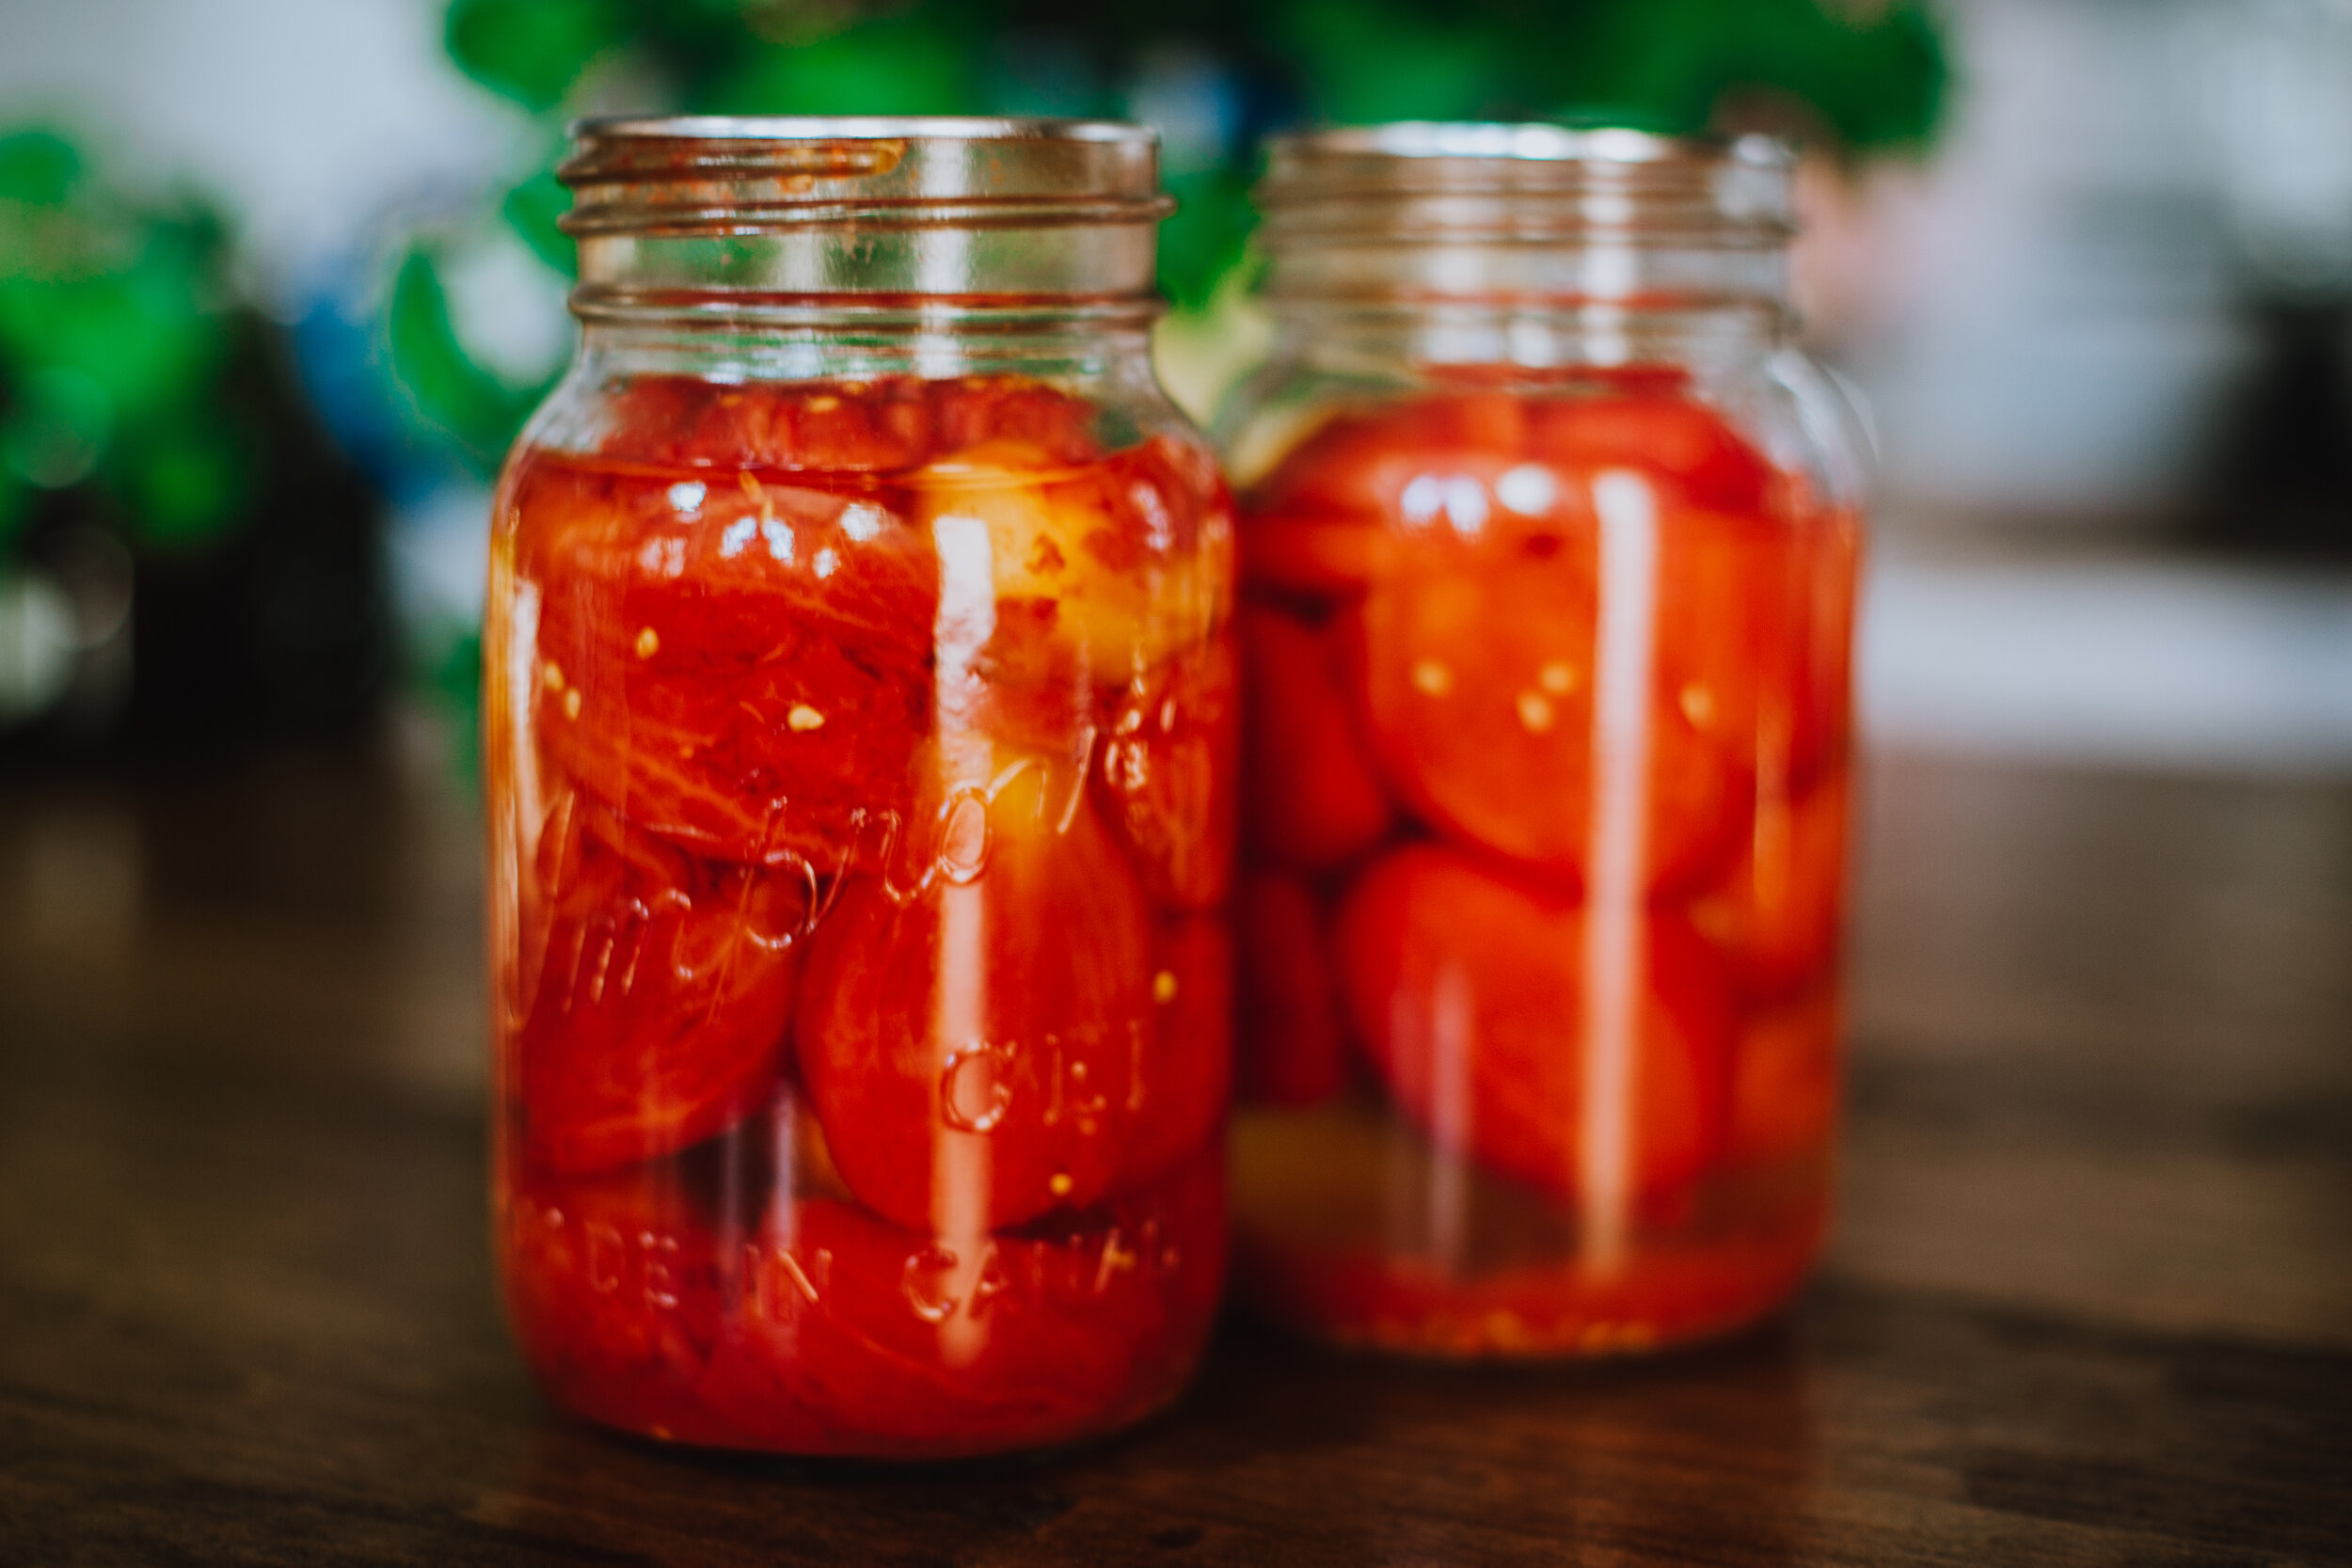
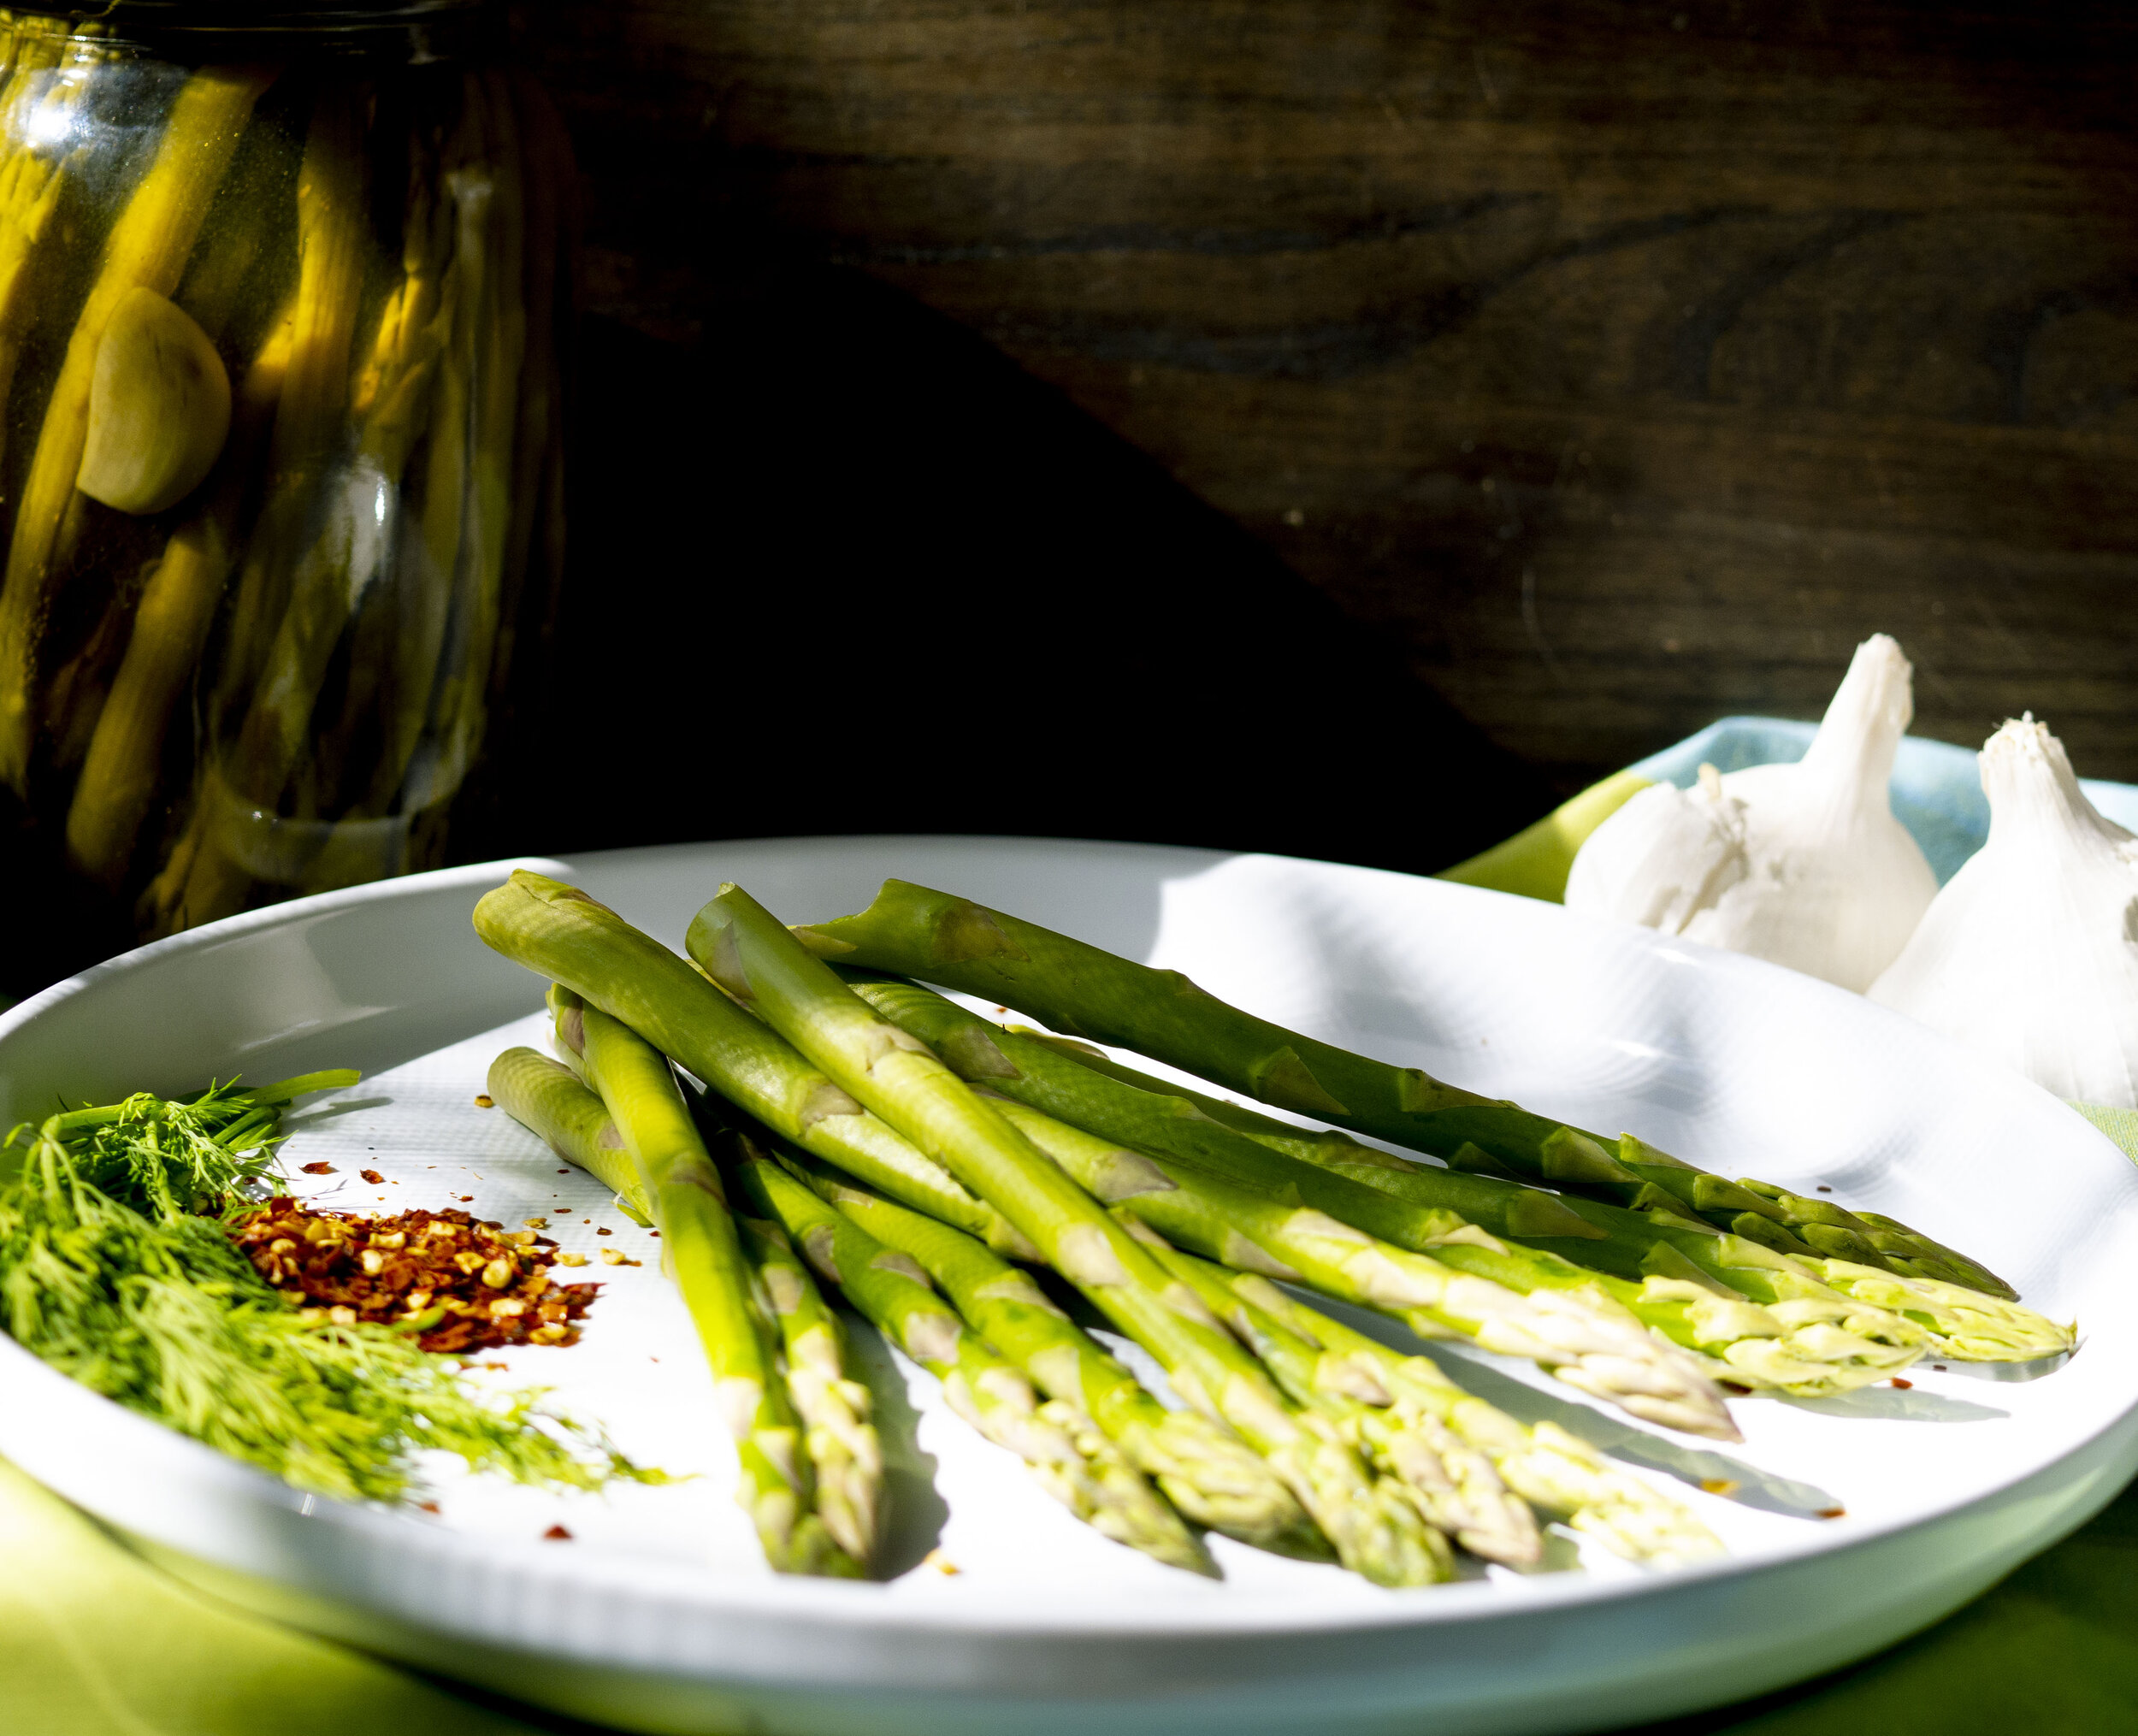
Pickled Asparagus
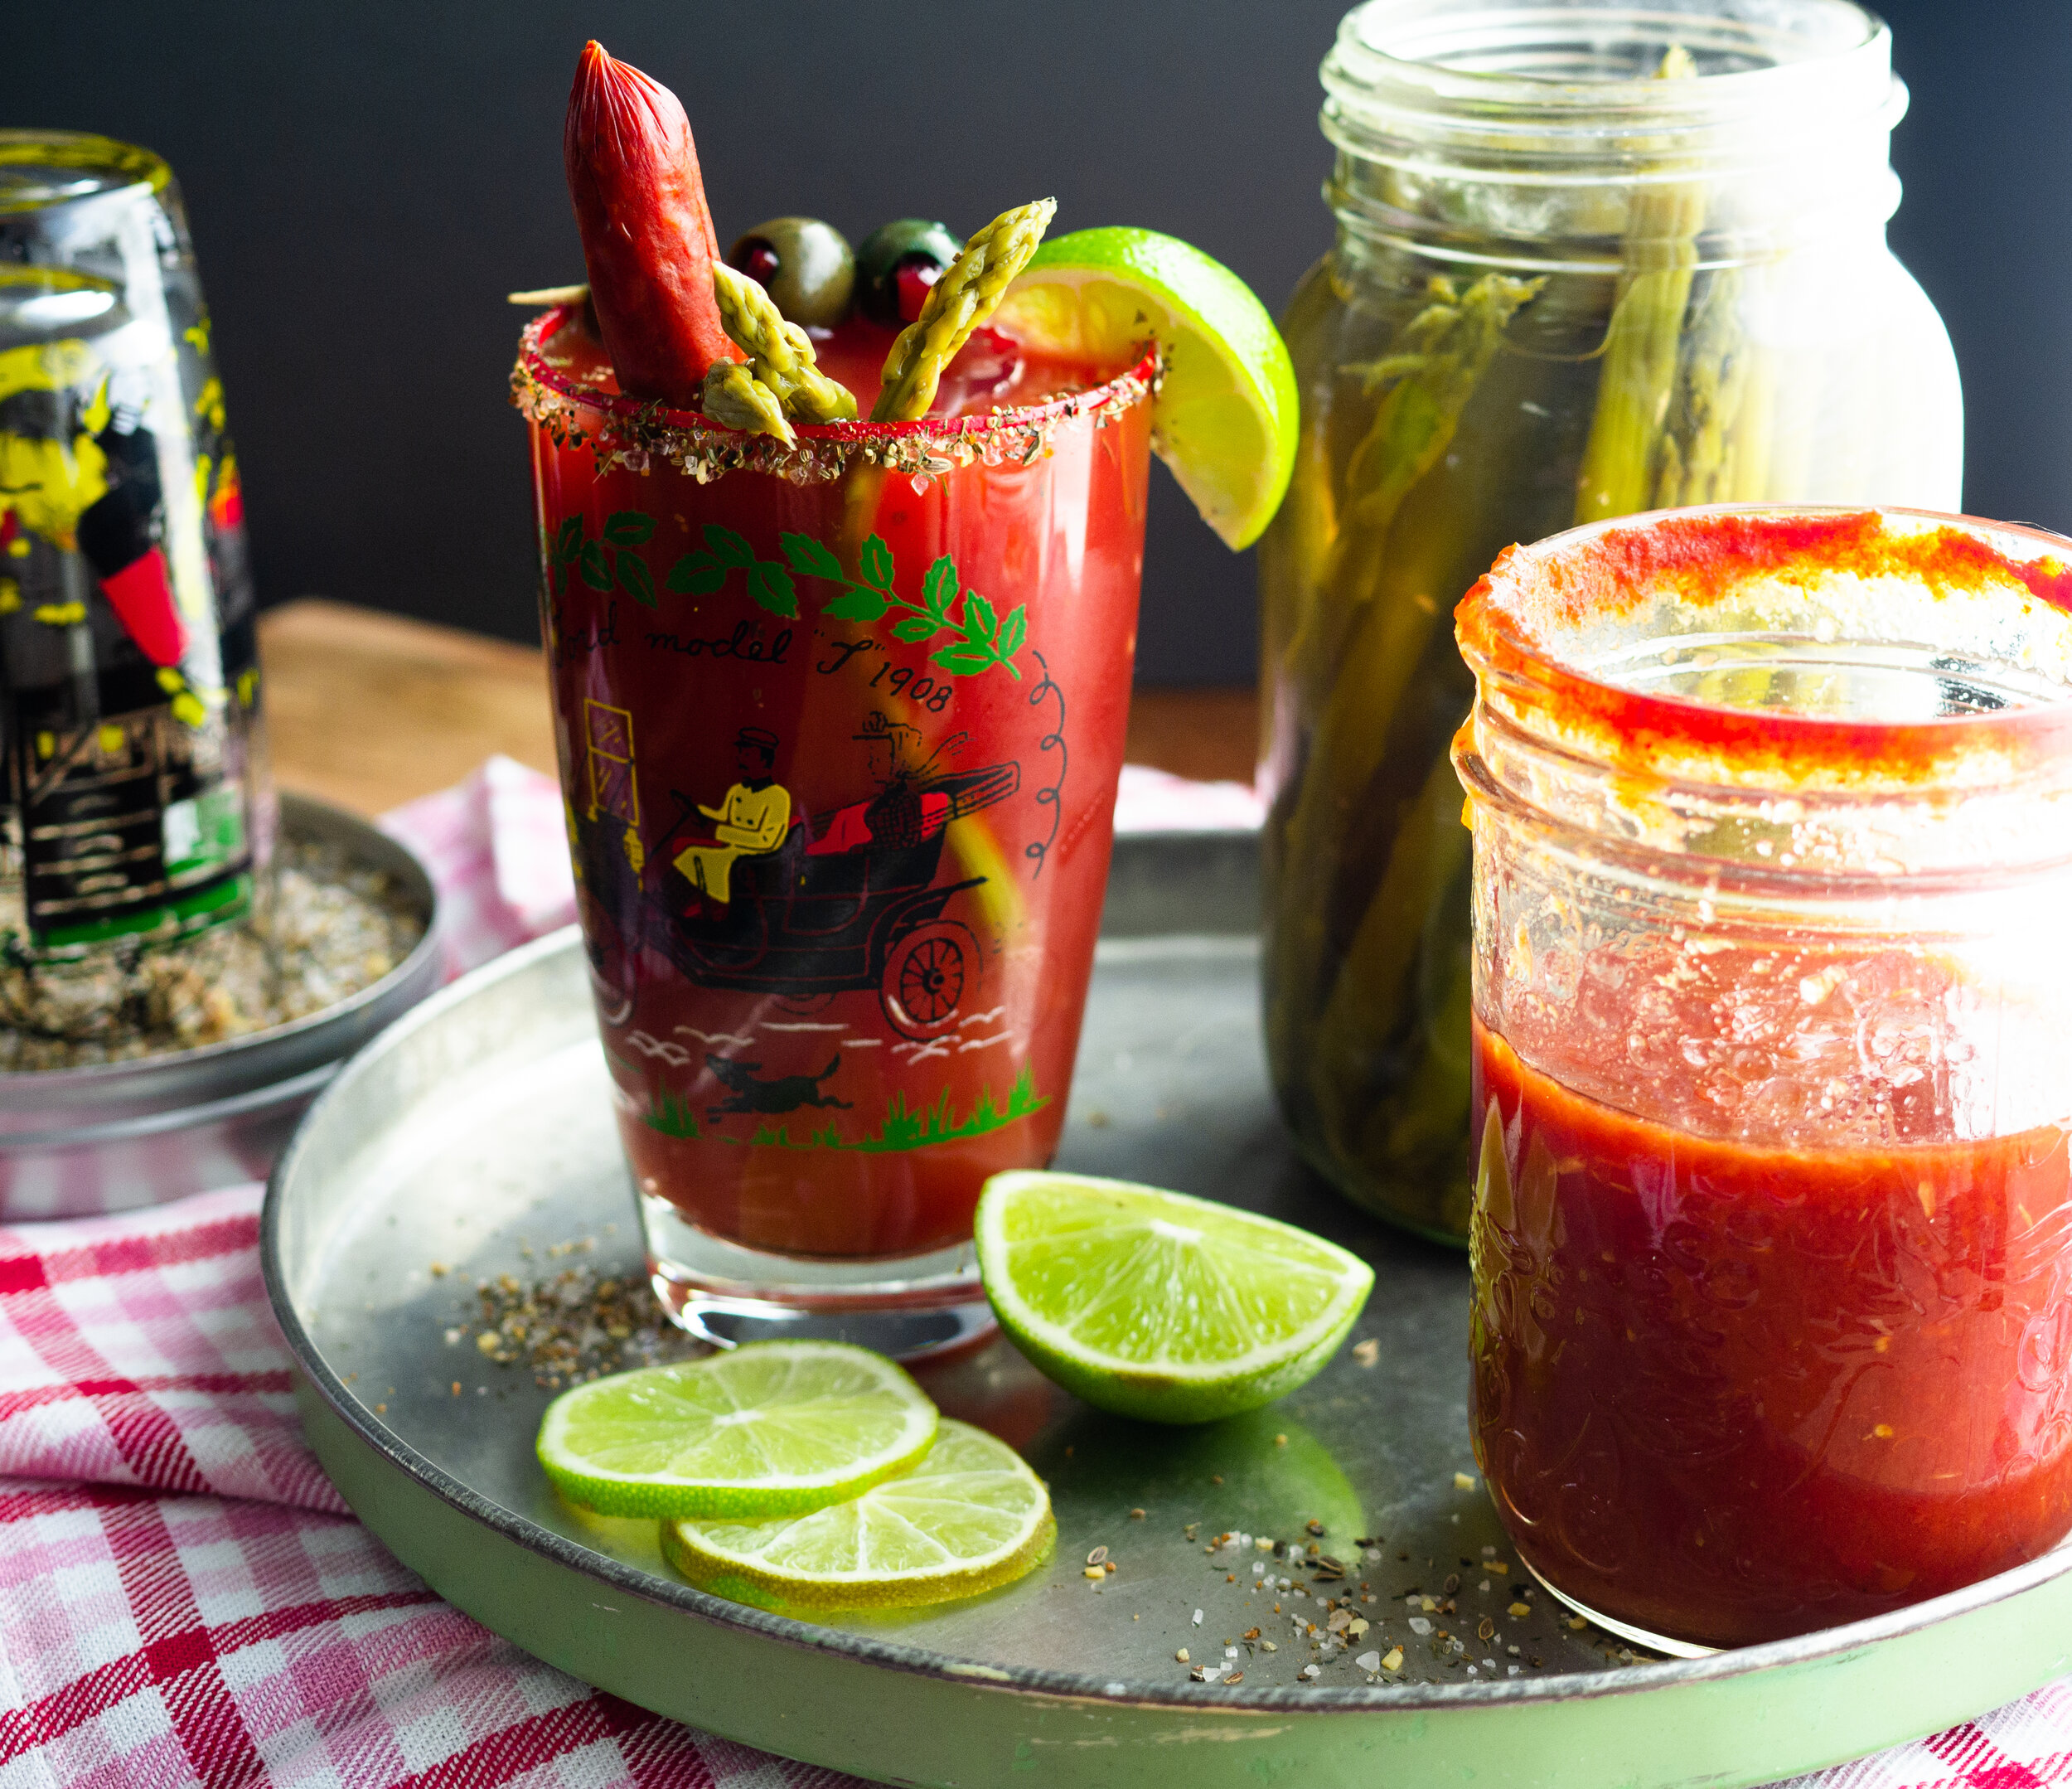
Pickled asparagus is great right out of the jar, just like any pickle, but it’s especially tasty dropped into a vodka Caesar. If you like your pickles spicy, make sure you add in some hot peppers.
(USDA Complete Guide to Home Canning, Preparing and Canning Fermented Foods and Pickled Vegetables 2020)
Yield: 6 - 500 ml jars (wide mouth is best)
Ingredients
10 pounds asparagus
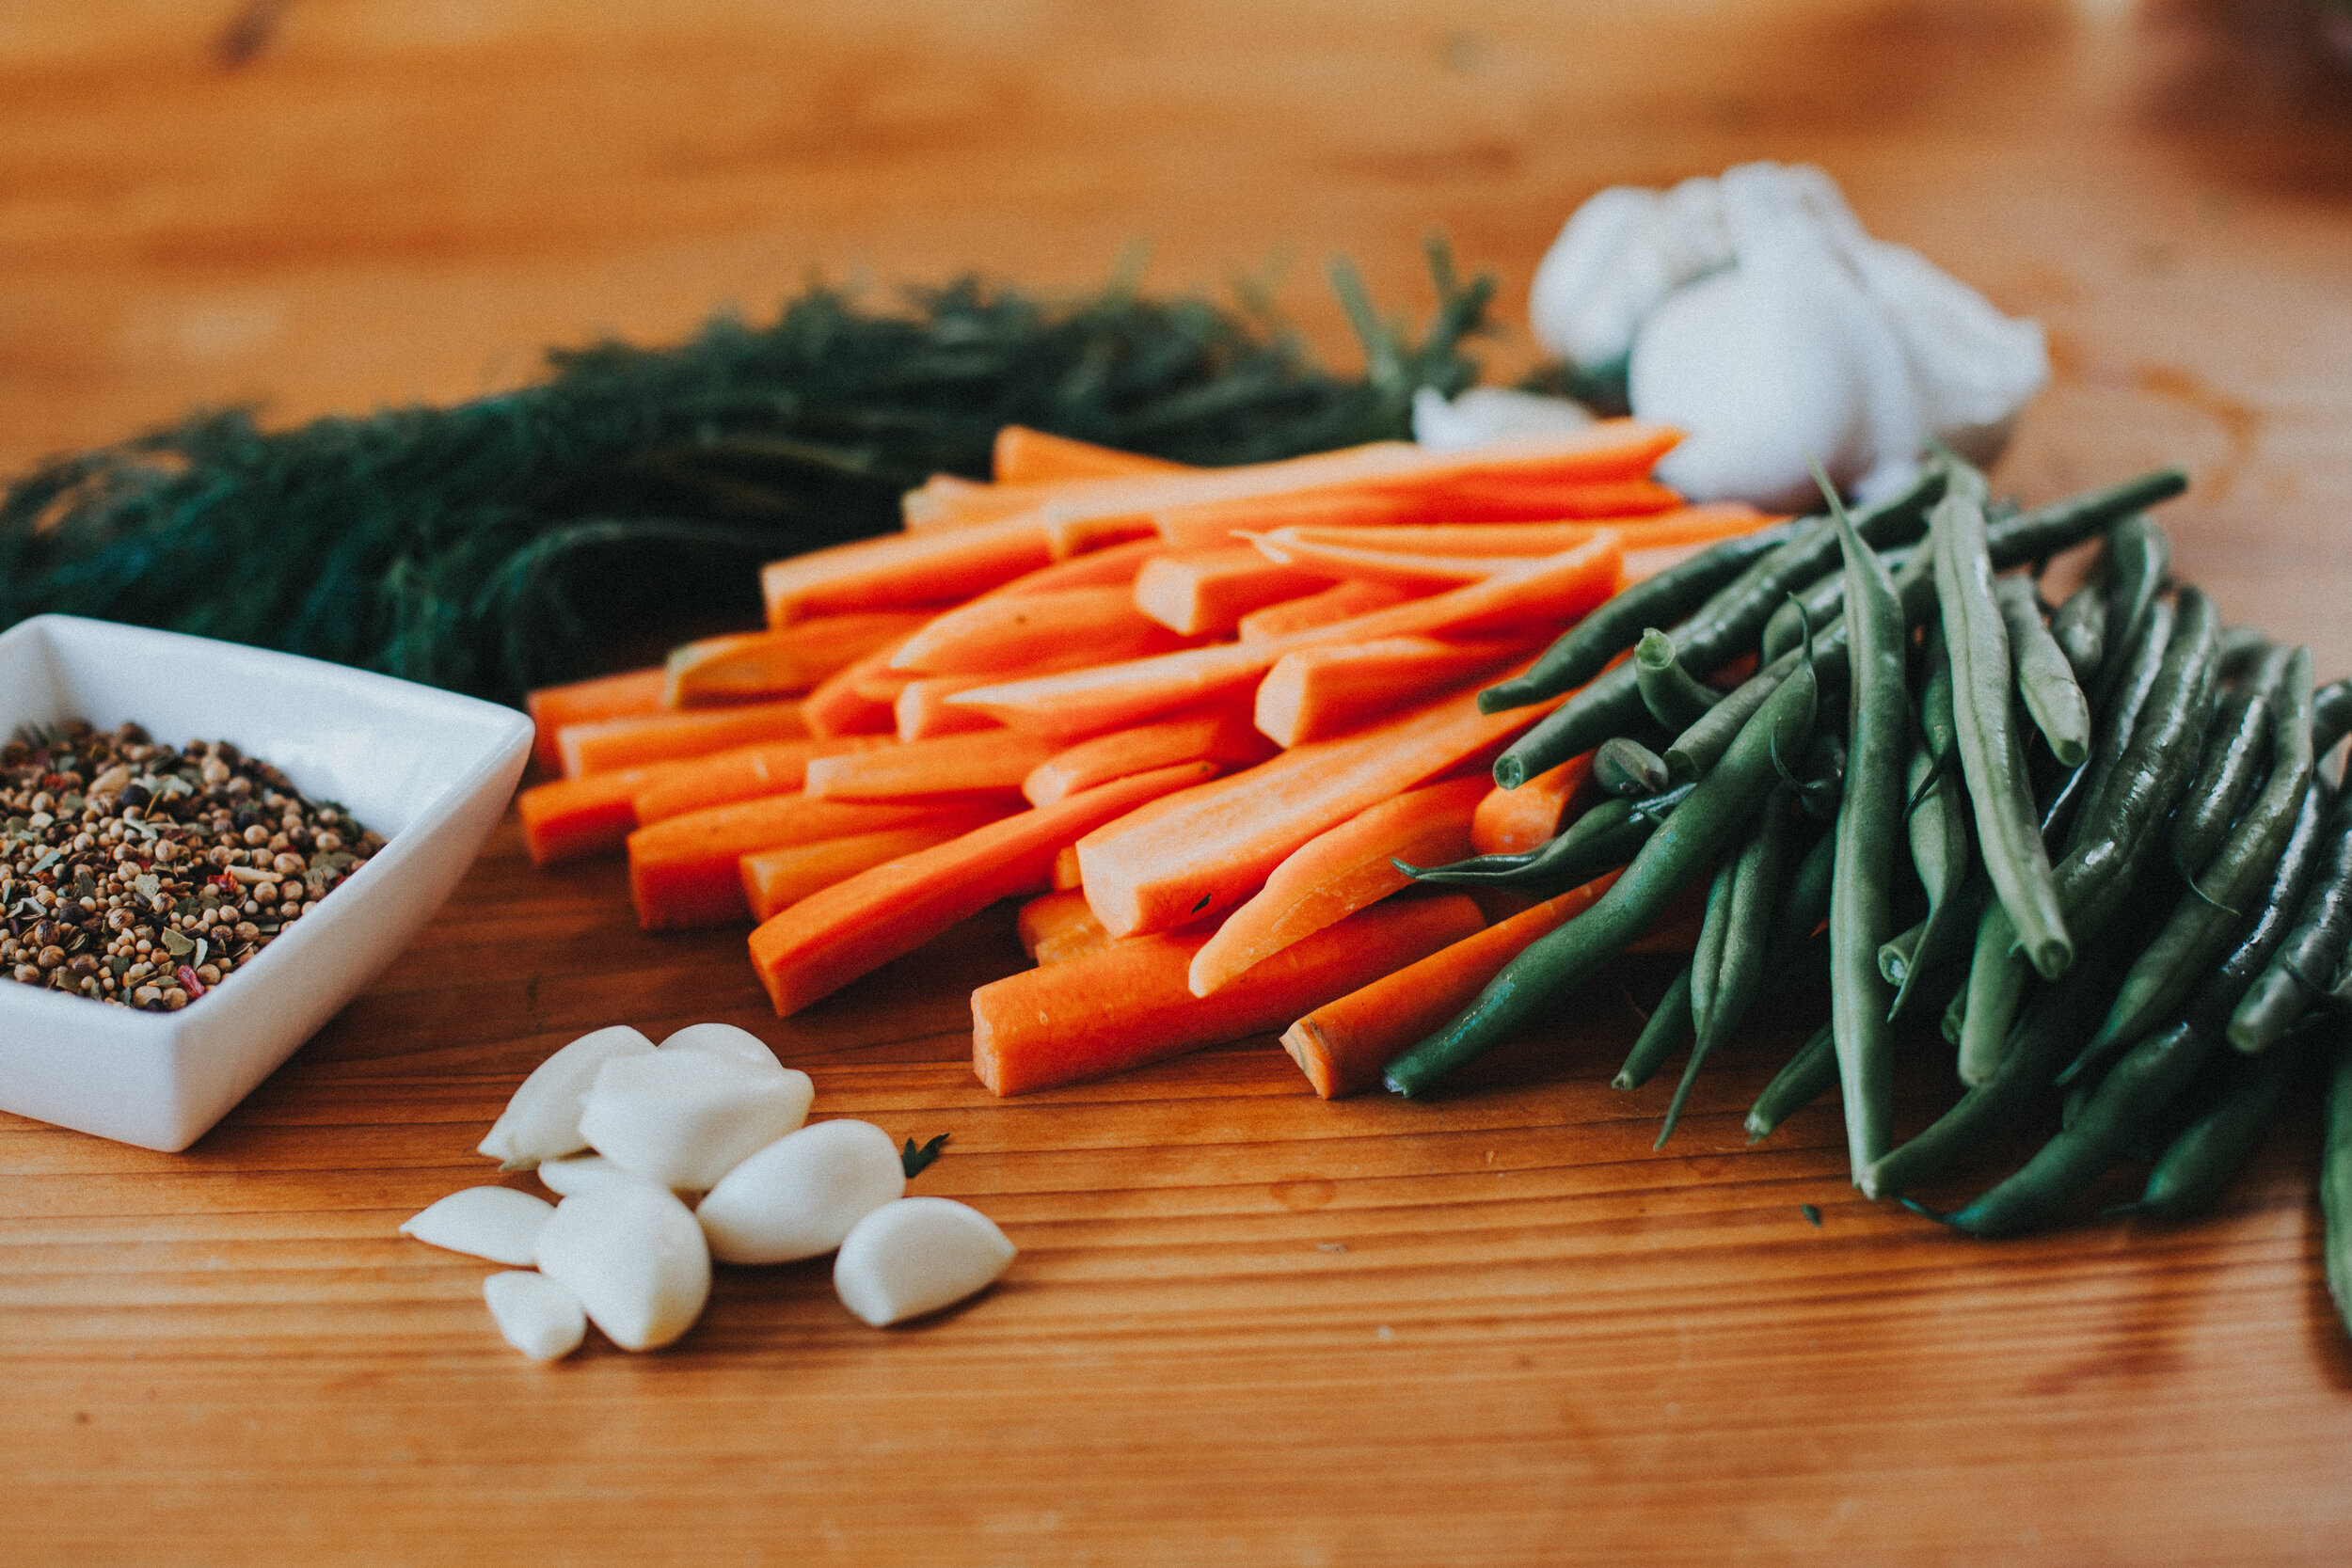
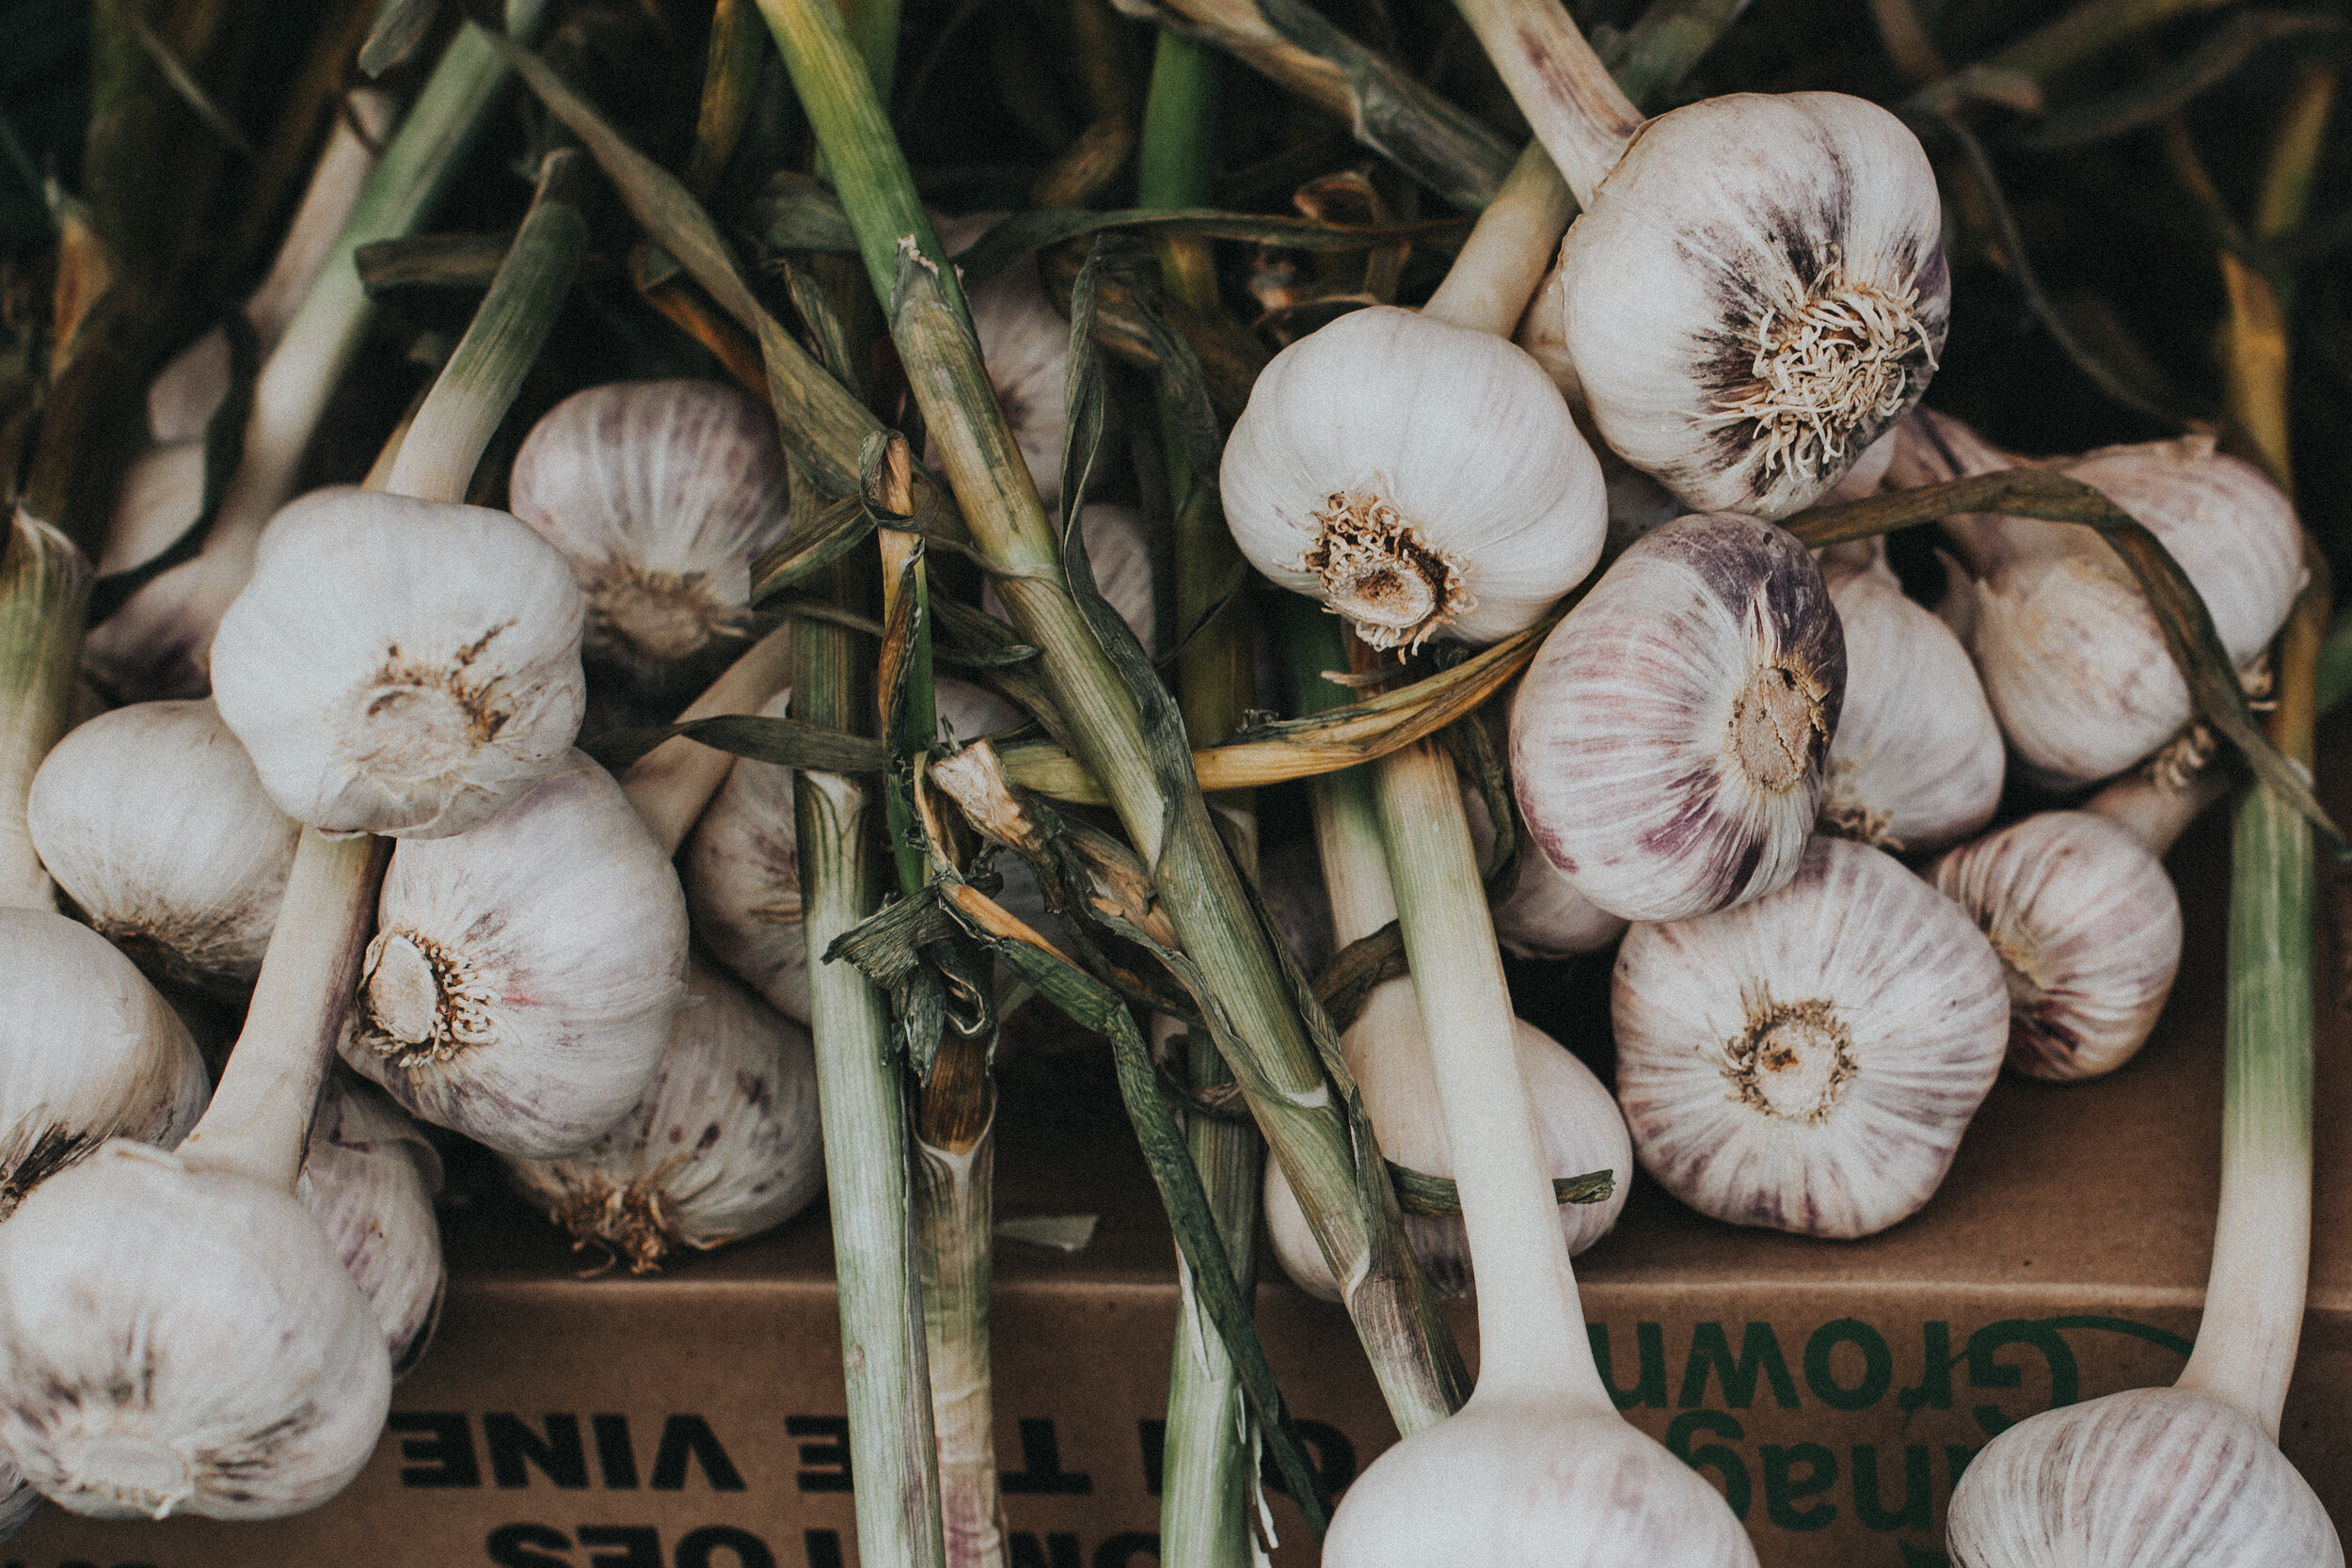
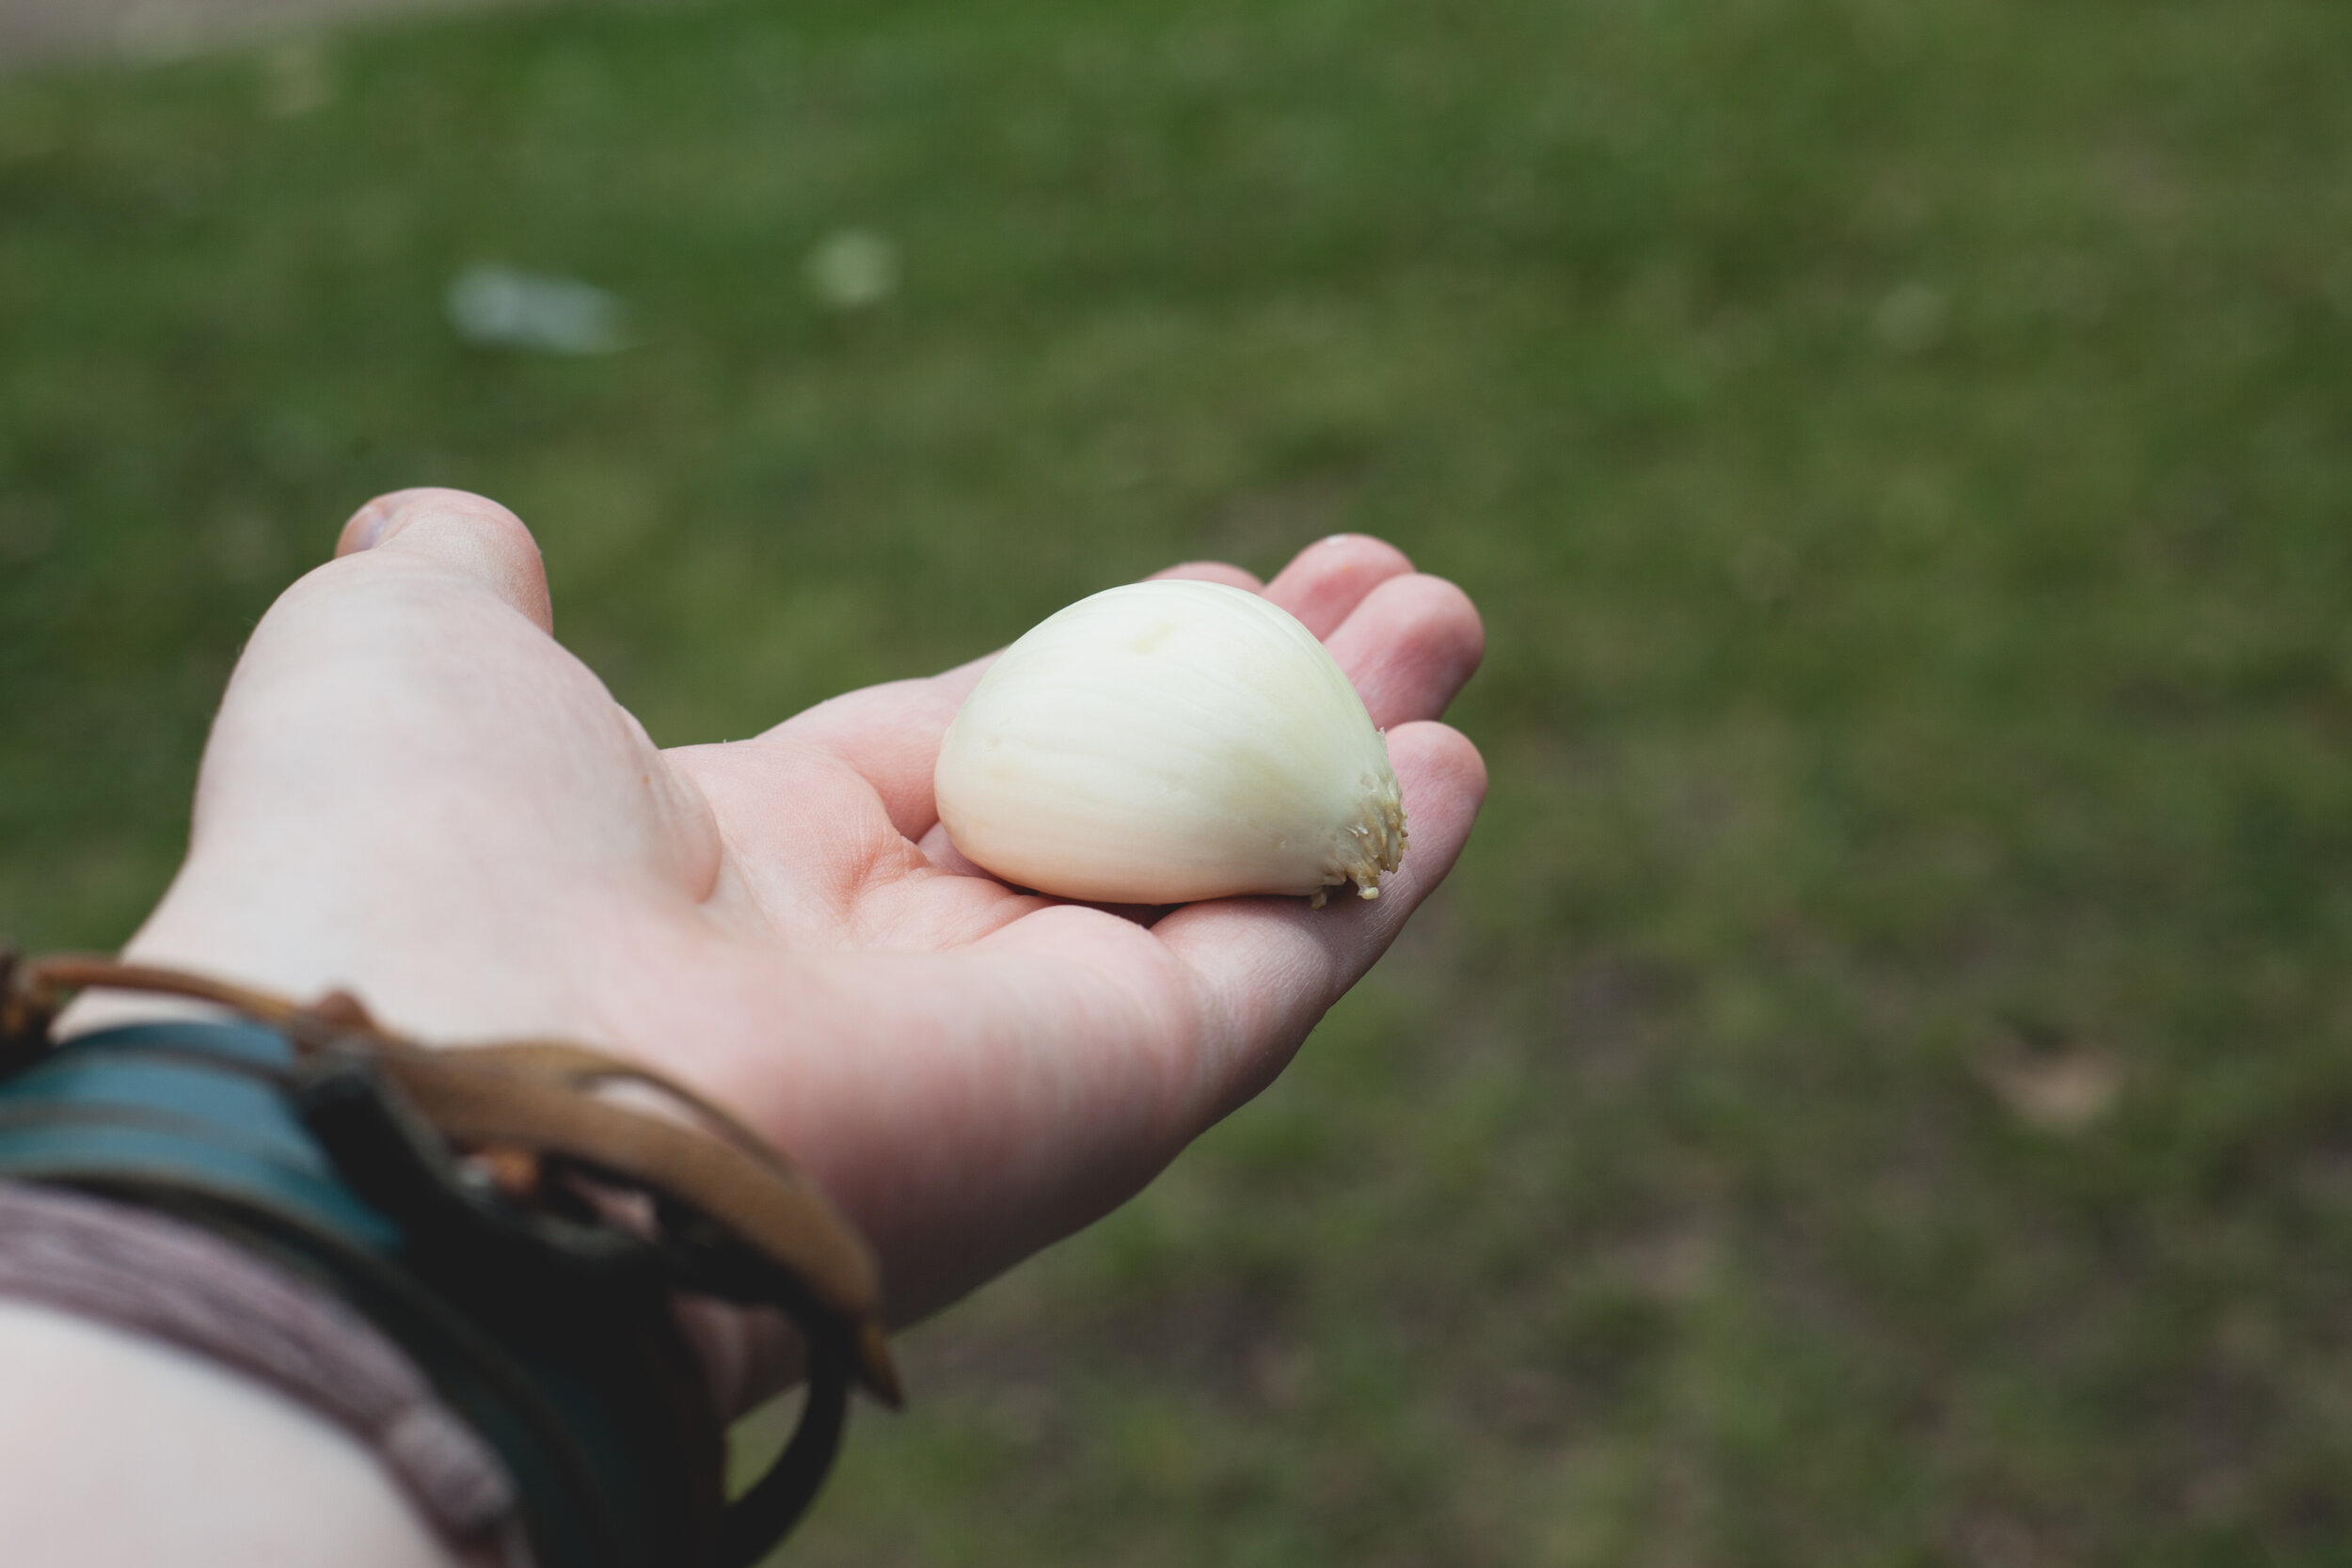
6 large peeled garlic cloves
4 ½ cups water
4 ½ cups white vinegar (5%)
6 small hot peppers (optional)
½ cup canning salt
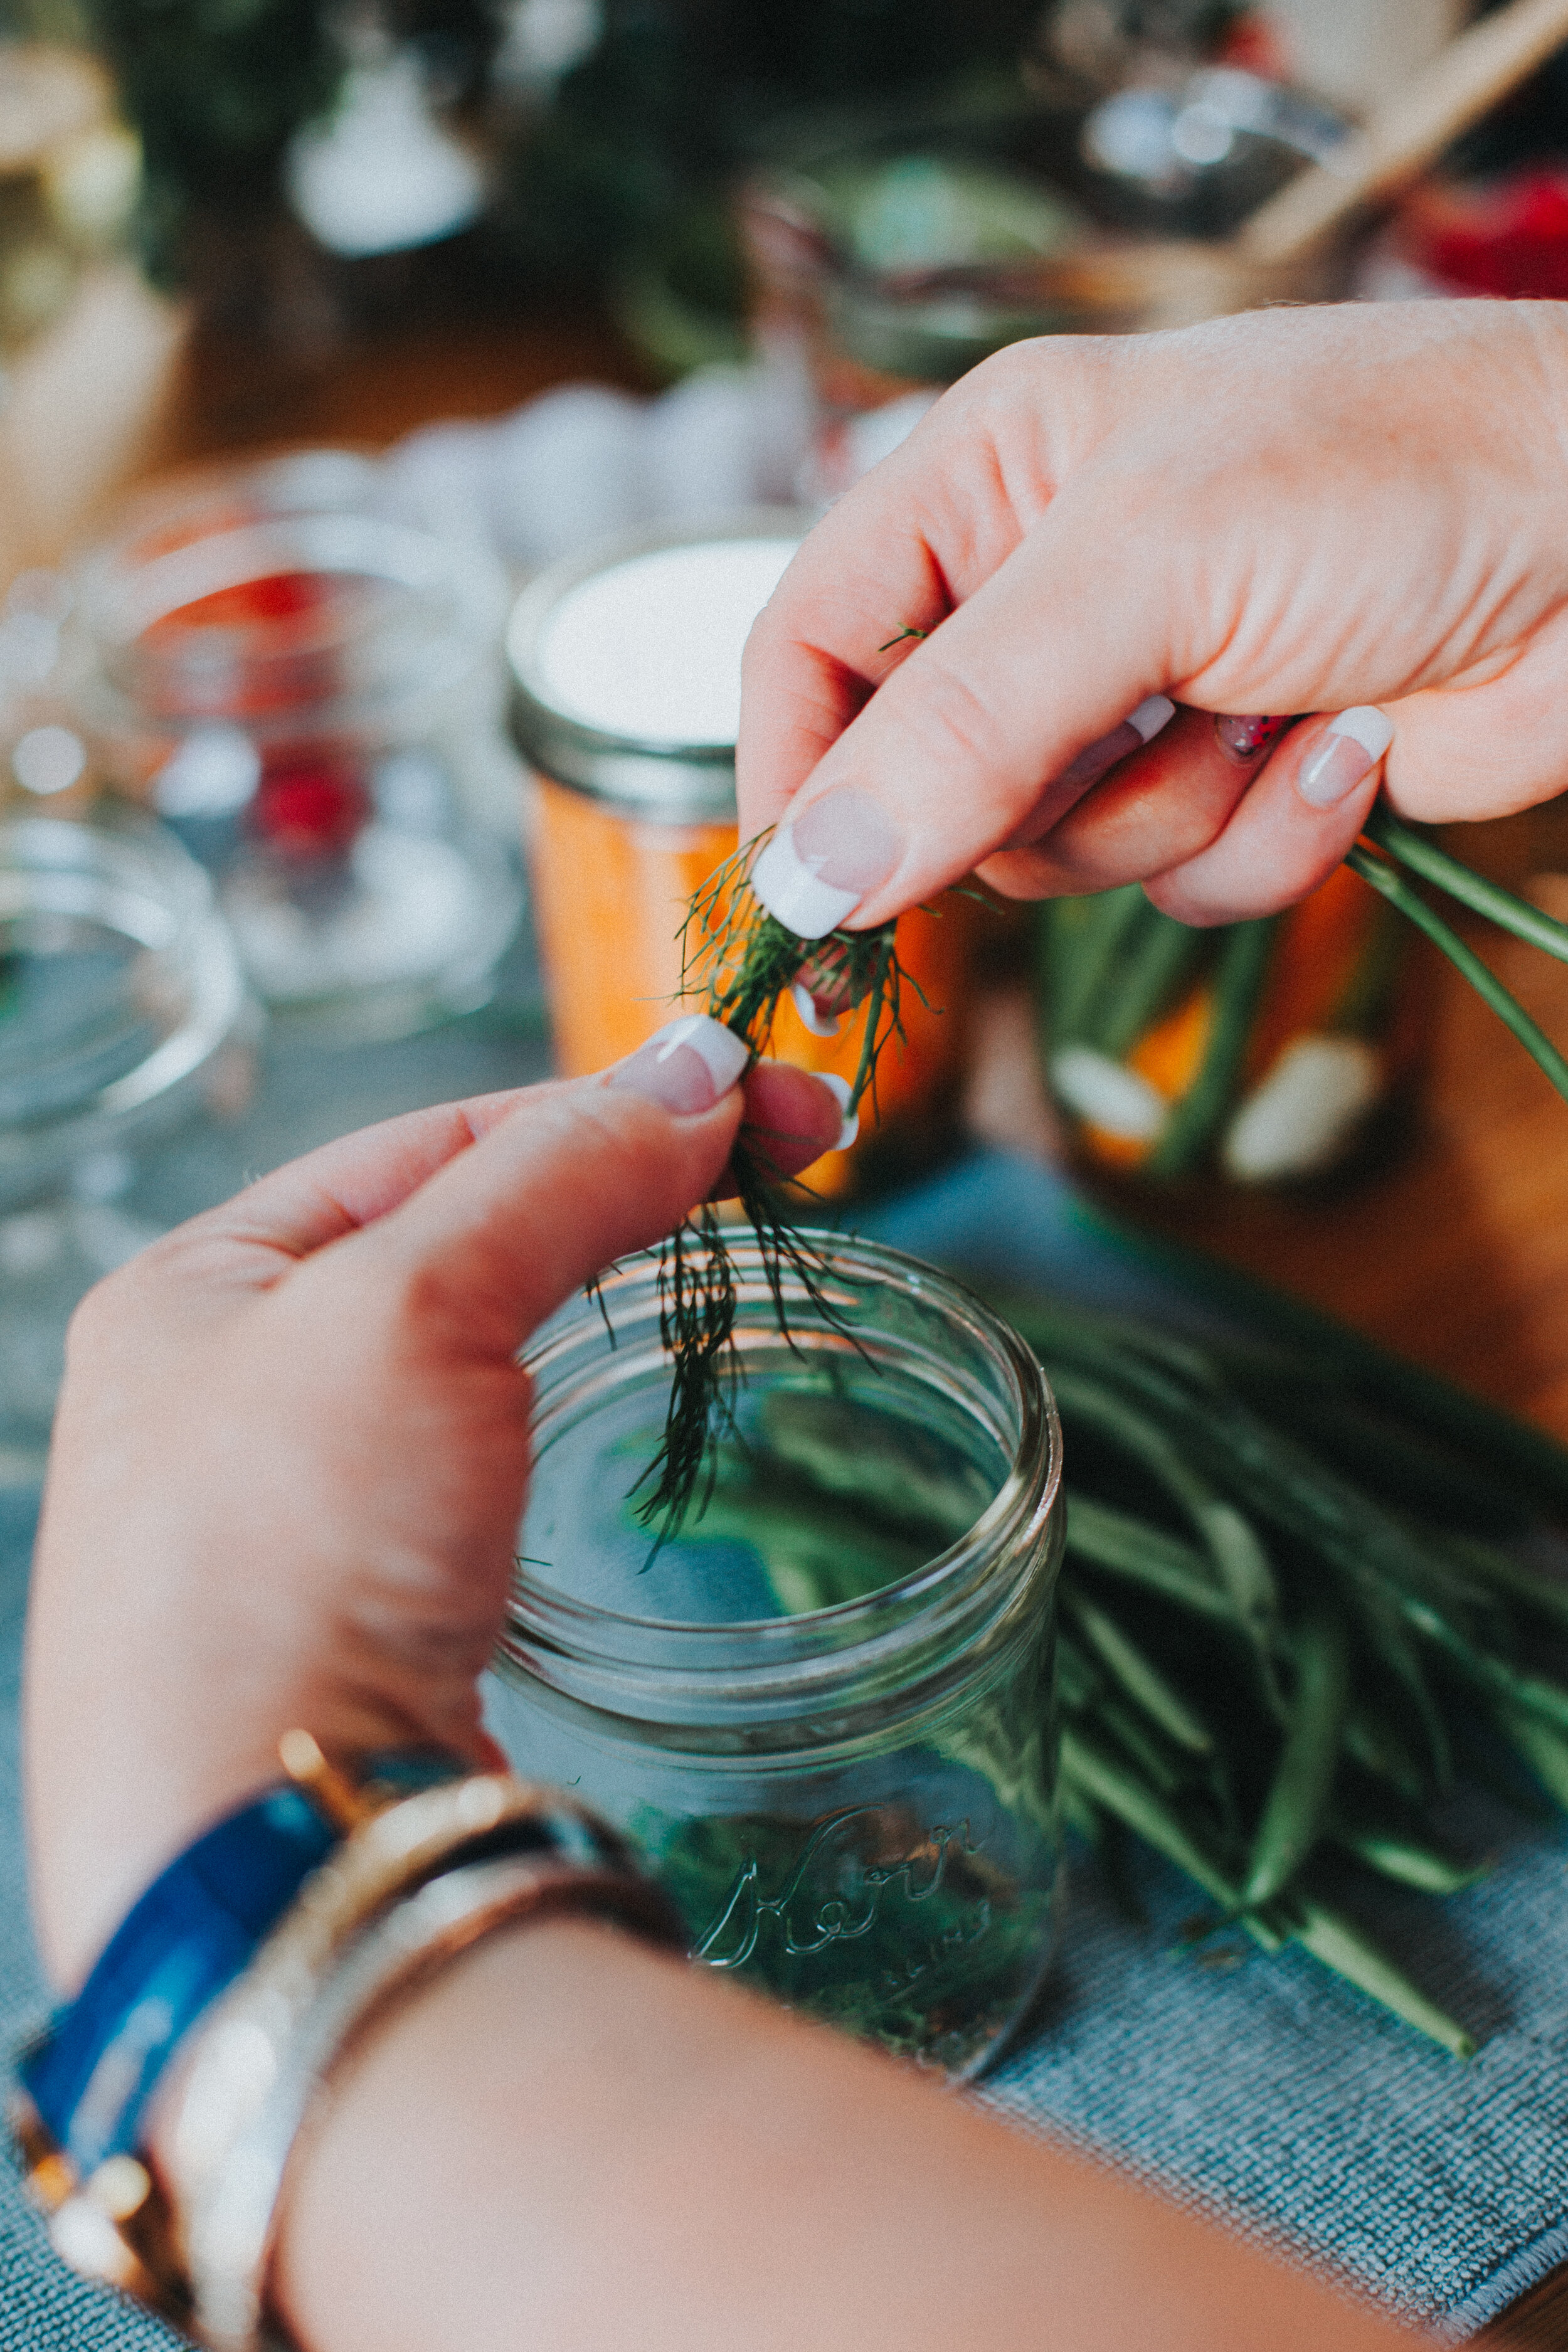
3 tsp dill seed
Directions
Place water in boiling water canner. Heat to a simmer. Place 6 clean, warm 500 ml mason jars on a rack in canner. Cover with simmering water. Place SNAP LIDS® in a bowl full of warm water. Keep both jars and lids warm until ready to use.
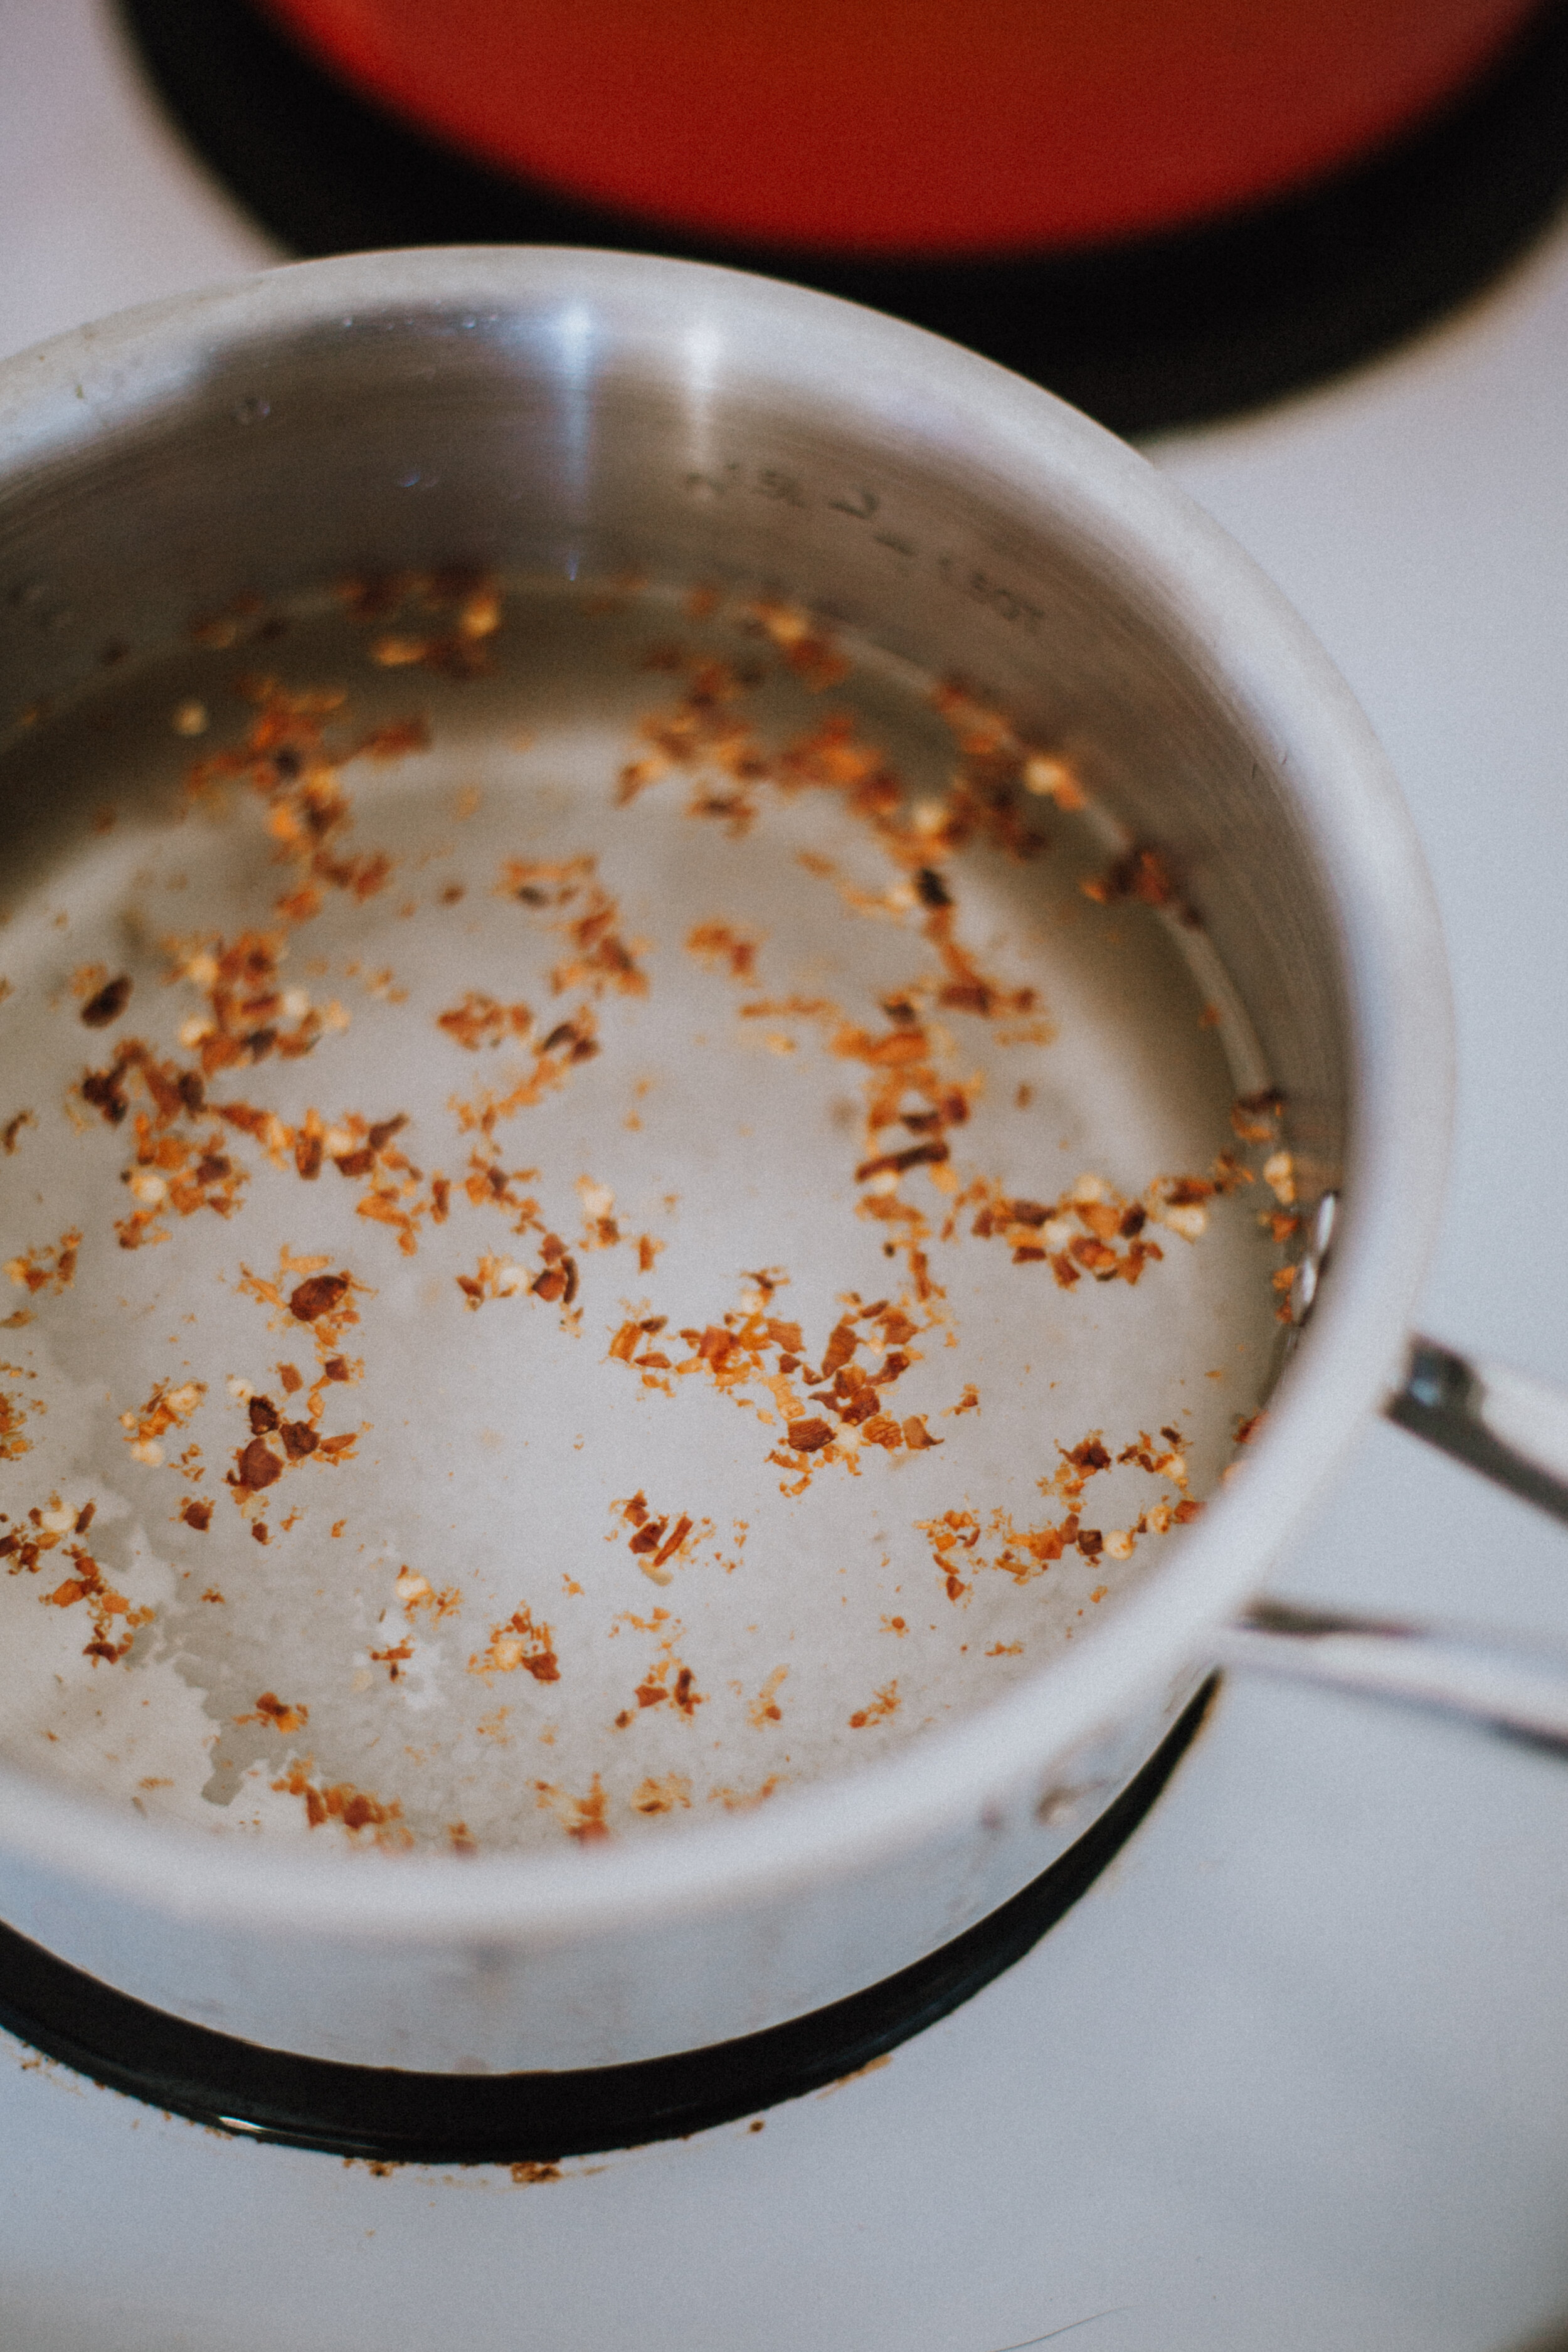
Combine water, vinegar, salt and dill seed in a saucepan and bring to a boil just before you are ready to pour over the asparagus.
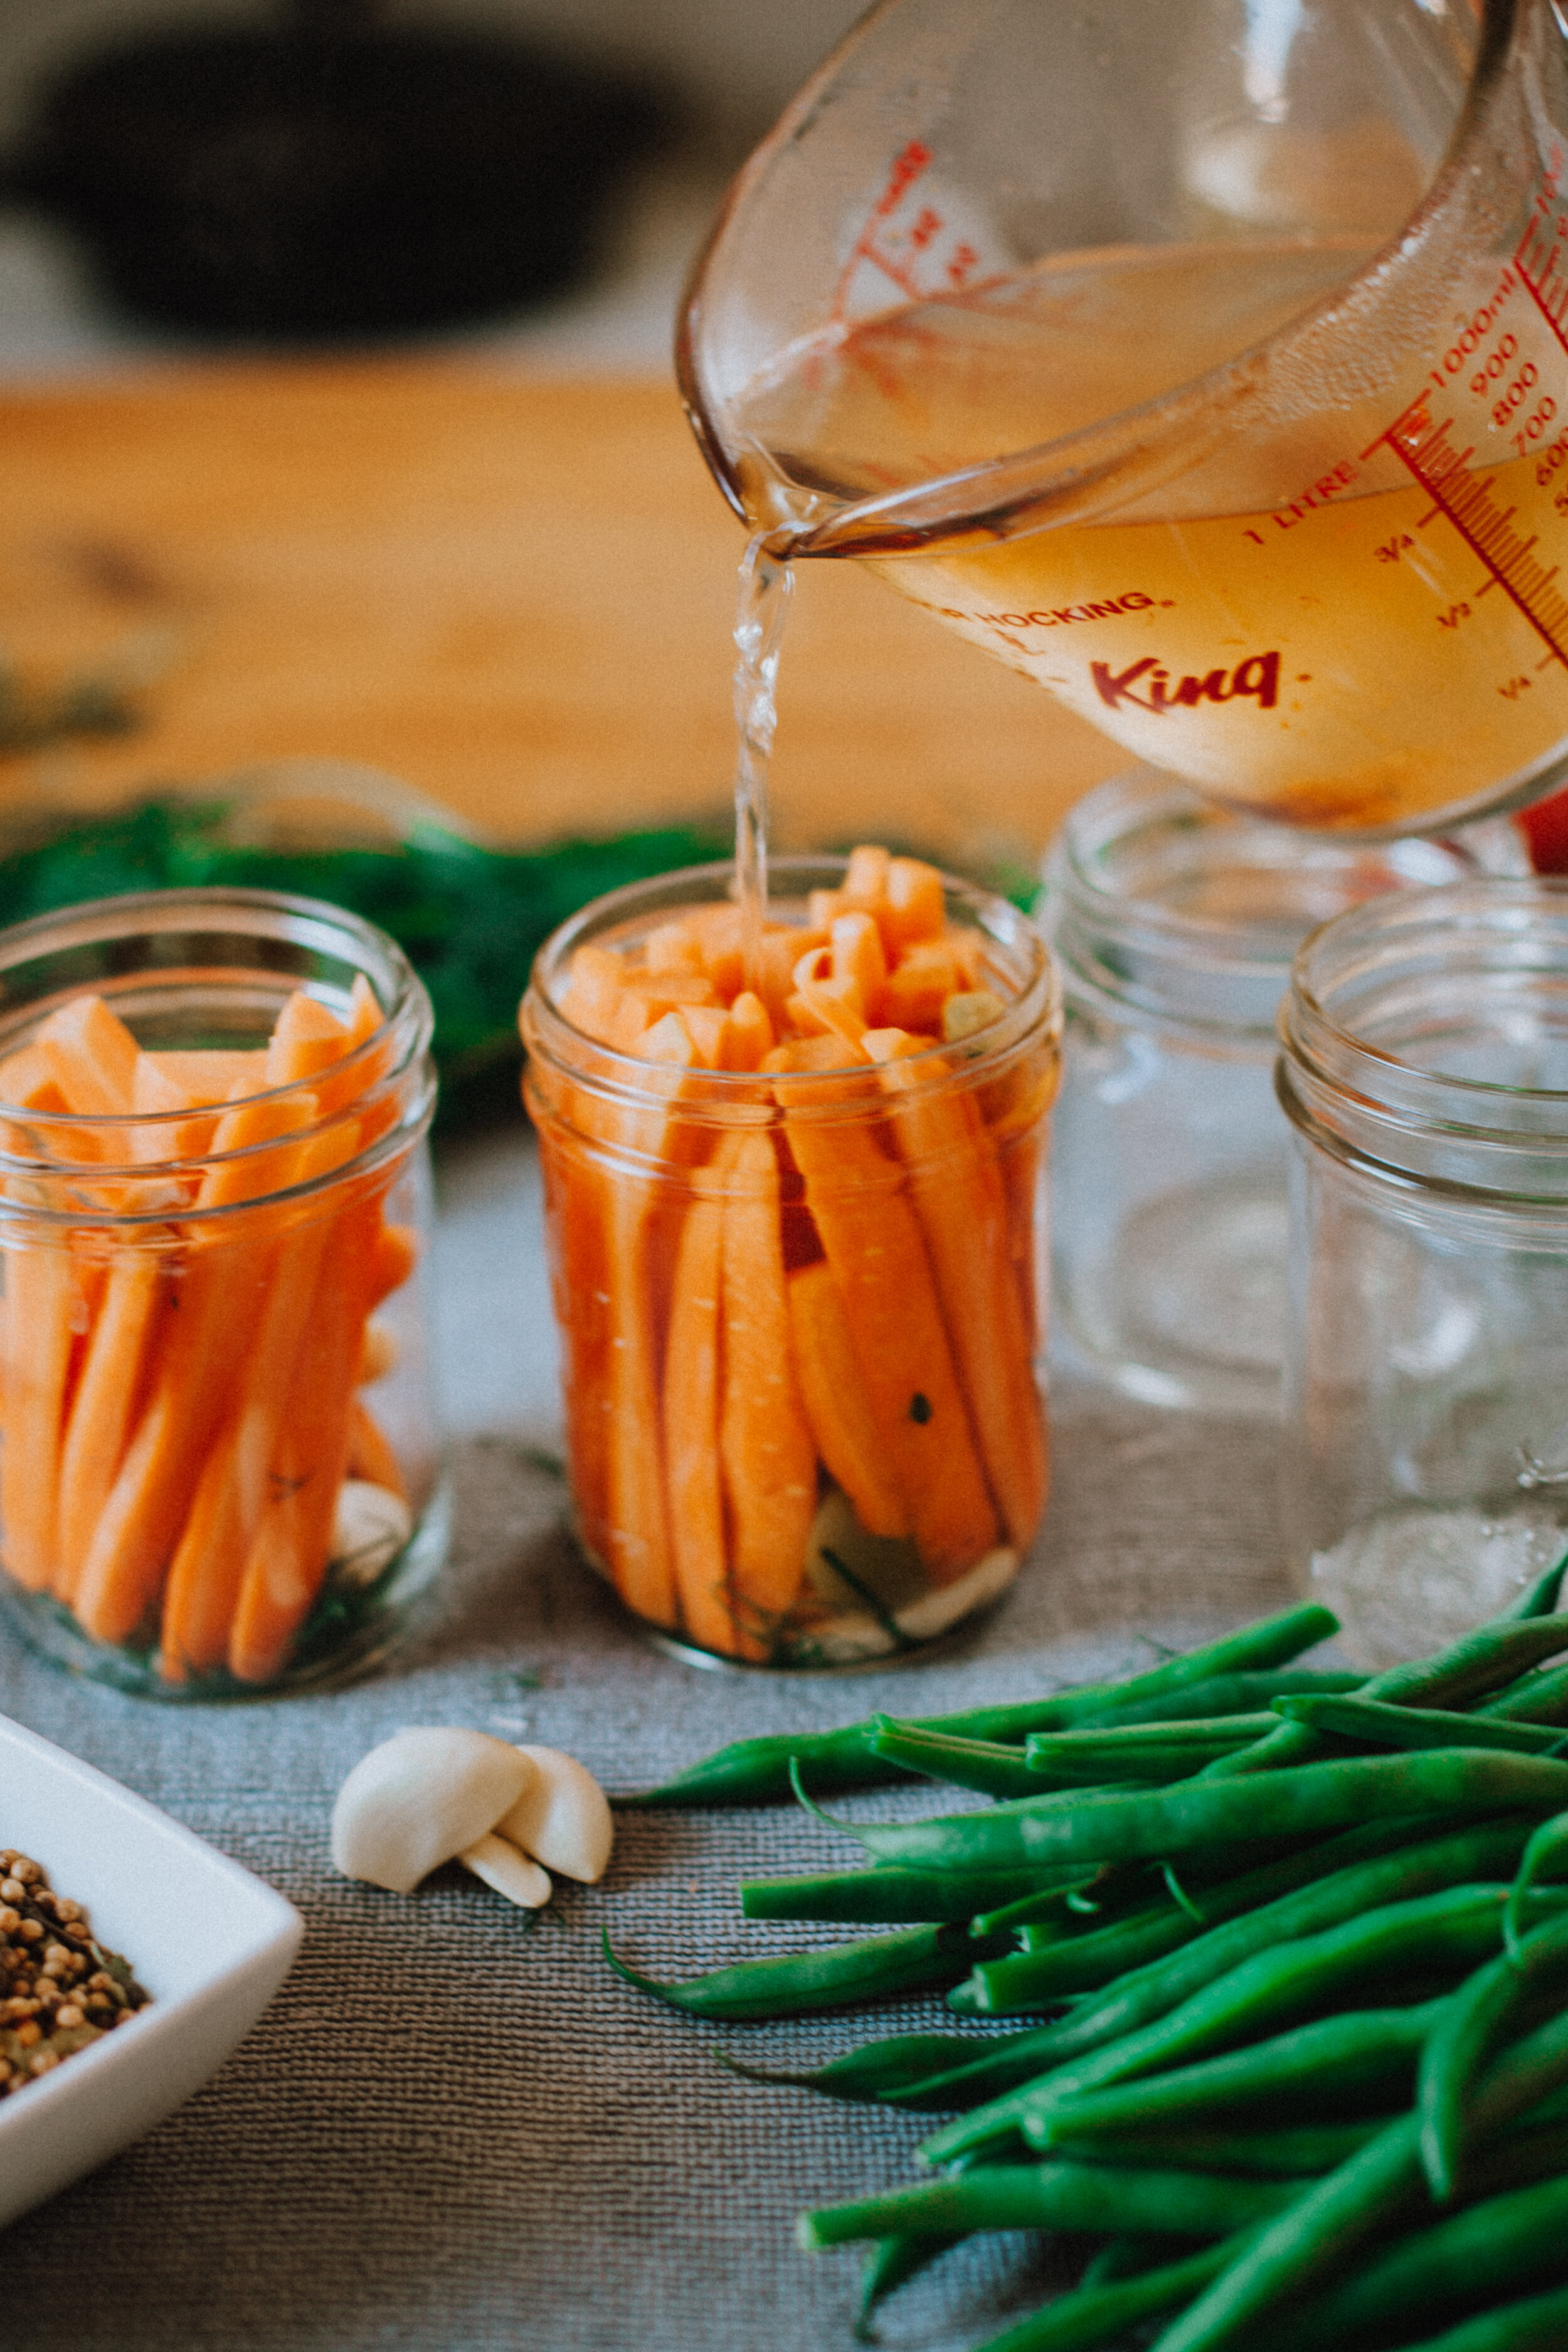
Wash asparagus under cool running water, being careful not be damage the heads. Snap off the tough bottom end. Remove jars one at a time from the canner to a covered countertop. Place a peeled whole garlic clove in the bottom of each jar. Tightly pack asparagus in the jar with the tip end up, leaving ½ inch of head space. If the spear is too tall for the jar, cut the bottom end off. You want the spears standing up in the jar with the tip ½ inch below the surface. Place a hot pepper on top of the spears (if using).
Pour boiling hot pickling brine over spears, leaving ½ headspace. Remove air bubbles and adjust headspace if needed. Wipe jar rim. Place SNAP LID® and screw band on jar. Tighten until fingertip tight. Place in canner on rack. Repeat until all jars are full.
Add enough hot water to the canner to ensure jars are covered by 1 inch of water. Place lid on canner. Bring to a full rolling boil. Boil 10 minutes (adjusting for altitude). Turn off heat. Remove lid and wait 5 minutes. Remove jars with a jar lifter, without tilting, to a protected countertop.
Cool upright 24 hours. After cool, check that the jars are sealed. Sealed jar lids curve downward. Clean, dry, remove screw bands and label with contents and date.
TIP: Never place hot jars directly on the countertop. Hot glass touching a cool countertop could cause the jar to shatter. Use a tea towel or pieces of newspaper to cover the counter and to place the jars on.
TIP: An inexpensive way to make asparagus soup out of season is to use canned asparagus.
Adjusting for Altitude - Boiling Method
| Altitude in Feet | Increase Processing Time |
|---|---|
| 1,001 to 3,000 | 5 minutes |
| 3,001 to 6,000 | 10 minutes |
| 6,001 to 8,000 | 15 minutes |
| 8,001 to 10,000 | 20 minutes |