Canning Supplies

When you are starting out in this canning adventure, you don’t need to spend a lot of money acquiring tools and equipment. This list is all-encompassing, but not all of the items are essential. They are things you can acquire over time (if you want to). Plus, I have included a number of places you can look for thrifted items. I love shopping in thrift stores and dropping by yard sales. You just never know what you might find.

Boiling Water Canner | Pressure Canner | Rack | JARS | Lids and Screw Bands | Non-reactive saucepan| Lid Lifter | Utensils | Jar Lifter | Jar Funnel | Measuring cups, measuring spoons and weigh scale | Headspace Measuring Tool and Bubble Remover tool | Tea Towels, Dishtowels, Cloth Dish Drying Mat and Trivet | Sharp Knives and Cutting Boards | Kitchen Timer | Food Processors, choppers and blenders | Labels and Felt Markers


Boiling Water Canner

MG192909.jpg
MG192943.jpg

Boiling water Canner

A large pot that has a rack and a tightly fitting lid.  This canner is heated on top of the stove. These can be purchased inexpensively at most hardware stores.  The inexpensive ones are enamel, very light weight and hold 7 to 8 quart jars at one time. They come with a rack. They are available in a couple of sizes.  The smaller ones will hold pint jars. There are also stainless steel canners available. It would be a dream to one day own a beautiful stainless steel canner.  Ball® freshTECH has a couple of other types of canners.  The first is the Electric Water Bath Canner + Multi-Cooker.  This canner is plugged in and sits on the countertop. You use it like a stove top canner, except that it plugs into an outlet.  I use it in conjunction with my stove top canner when I do a lot of large batch canning. This canner does not go on the stove top.  The second is a Ball® freshTECH Automatic Home Canning System.  This is also a counter pot plug-in canner. I use this one when I am doing small batch canning.  The recipes are specific to the freshTECH system so it is not as versatile. I purchased both of these Ball® canners in the US.  They are not available at this time in Canada.  Another option is to use any pot that you have at home, as long as it is deep enough to cover the jars with 1 inch of water and allow for a brisk boil.  It should also be large enough so that the jars are not crowded. You will need a rack for jars to sit on.

Pressure Canner

When canning vegetables, meat, poultry and seafood, a pressure canner is required.  The lids of pressure canners lock in place to provide a steam tight seal. 2 to 3 inches of water is placed in the bottom of the canner.  As the canner heats up, some of the water is converted to steam, creating pressure. The more pressure, the higher the temperature. These high temperatures are required to kill microorganisms in the food to prevent spoilage.  A pressure canner is required for all low acid foods. I have a couple of pressure canners, an All American 930, which can hold as many as 16 quarts at a time and a Presto canner that I inherited from my mother-in-law. The Presto canner will hold 8 quarts at a time.  The All American is fairly new and is available in select stores in Canada and all across the USA. The Presto canner is probably 60 years old, yet Presto is still in business and can supply me with parts as needed. Primarily, the gasket needs replacing every 5 years or so.  Other than that, it has served me for at least 30 years and my mother-in-law also probably used it for 30 years. 

Rack

MG192924.jpg
MG192920.jpg

Rack

To hold the jars off the bottom of the pot.  This allows for the water to circulate around the entire jar for even heating.  A rack can be purchased with a canner. You could also use a cake rack that fits inside your pot if you are not using a purchased canner.  You can make a rack with screw bands and butcher’s twine. Place 1 band in the middle with 6 bands around the outside. Tie the bands together with twine.  I do this when I use my large stockpot because it is deep and narrow so other racks may not fit inside of it. Silicone racks are another possibility. They lie in the bottom of the canner, allowing for more jars to fit in the canner than a 7 jar rack will allow for.  I especially like these for smaller jars.

Jars

MG203098.jpg
IMG_1705.jpg

Only use jars specifically designed for home canning.  These jars are called mason jars and the three main distributors are BerNARdin, Ball and Golden Harvest.  The jars come in a multitude of sizes to meet any canning needs.  They are made with a heavier weight of glass than jars used for commercially processed food.  They can be purchased in grocery stores, hardware stores, department stores and specialty stores.  They will always come with the SNAP LID® and screw band. Another option is to purchase them second hand.  Try Kijiji, second-hand stores or even garage sales. Be sure to purchase new SNAP LIDS®, which are available everywhere mason jars are sold.  Check the screw bands are not bent before using. Always check the jars for chips, bubbles or cracks and discard or return to the retailer for a refund.

Lids and Screw Bands

MG192958.jpg
MG192965.jpg

SNAP LIDS® are the most common lid for home canning.  They are a flat metal disc with a rubber seal. Glass lids with rubber bands are also used.  The glass lids are no longer available in stores, but the rubber bands are. All glass lids were made to specifically fit a 78mm jar top.  The jars with this size top are not typically available in stores, but they are a favorite at garage sales and on Kijiji. The rubber rings are still available for purchase.  They are distributed by Viceroy. If using glass lids and rubber rings, the screw bands that usually come with the jar work fine. If you find these 78mm jar top jars without the glass lids, you can purchase the 78mm flat metal discs.  In this case, the old screw bands will not work. They were made to hold down a glass lid which is thicker than the metal disc. You will need to purchase the SNAP LID® with the screw bands in this case. Unfortunately, I learned this the hard way.  The old screw band and the new flat disc do not fit tightly to the jar rim and food leaks out the top during processing resulting in no seal.

Non-Reactive Saucepan

MG203095.jpg
MG203091.jpg

Which can be enamel or stainless steel-clad metal.  Never use aluminum, copper, brass, galvanized or iron equipment for canning.  The acids that occur naturally in foods can react to produce undesirable flavours and cloudy off-colour juices.

Lid Lifter

This small tool has a magnetic end on it for lifting the metal lids out of the hot water.  Keeps your fingers from being burned.

Boiling Water Kettle

MG203110.jpg
MG203112.jpg

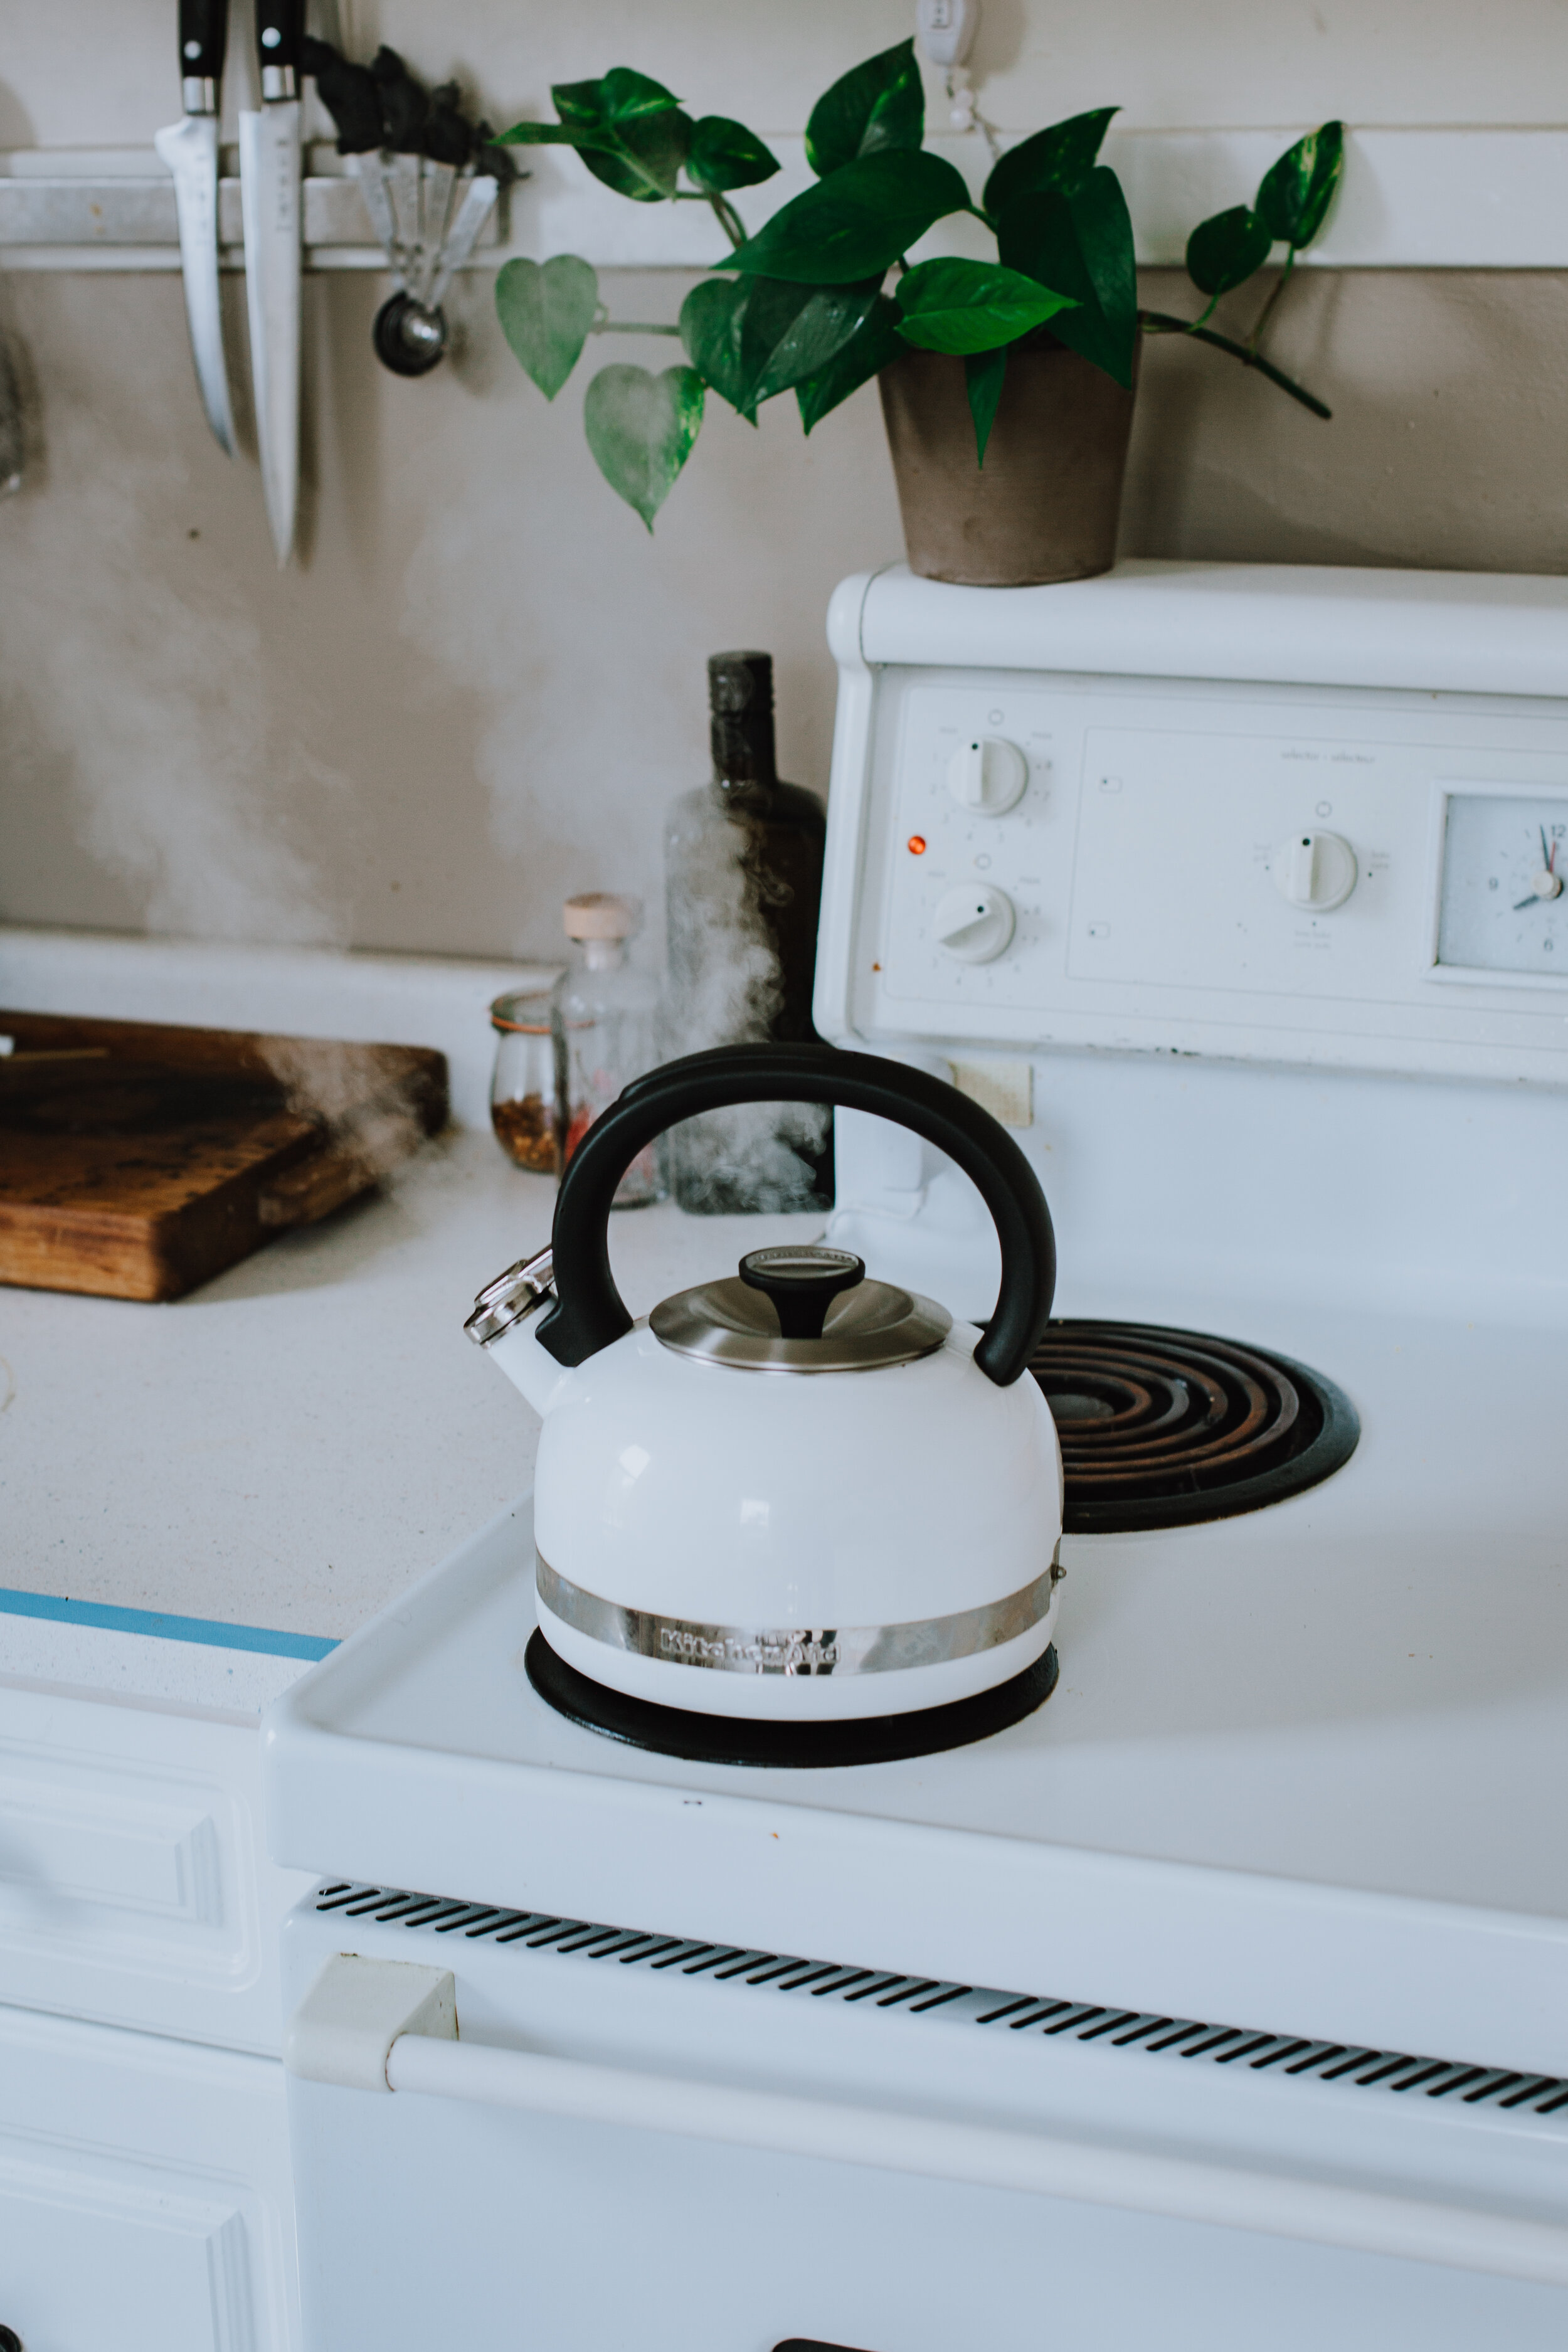
 Always have hot or boiling water available, especially when canning vegetables.  Typically, vegetables are canned in a plain water brine, with or without salt. I also like to heat water for my jar lids in the kettle and if I need to add boiling water to the canner, it is simple to boil a kettle of water to pour into a canner full of jars.

Utensils

Use stainless steel, melamine or wooden spoons, ladles and slotted spoons to avoid chemical reactions with the food.  I personally love my Rosti Mepal® melamine spoons for canning. There are some great ladles available from STATFRIT®. Of course, an old-fashioned wooden spoon, particularly with a long handle, is great for stirring food in those deep pots.

Jar Lifter

Photo 2018-08-08, 7 05 26 PM.jpg
IMG_1272.jpg

This is essential for placing into and removing jars from the hot water in the canner.  Ball® has a really nice jar lifter and so does STARFRIT®.  They can be found at most hardware stores. I also have a couple of vintage jar lifters, so be sure to check out the antique stores and second-hand stores in your neighbourhood.  You can probably pick one up for $5.00 or less. The new jar lifters have a hard plastic handle while the vintage ones have wooden handles. I love going to antique sales and looking for vintage canning equipment.  If you decide to do this, just make sure that if you want to use the equipment for canning, that it is in good repair and still works correctly.

Jar Funnel

MG192951.jpg
MG192949.jpg

I couldn’t get by without my funnels.  I have a multitude of them. Some fold in on themselves for storage, some have wide mouths and some have tiny mouths.  They all serve a purpose. The number one purpose, in my opinion, is that they keep the jar rims clean when adding the food to the jar. 

Measuring Cups, Measuring Spoons and Weigh Scale

Everything in canning is about weighing and measuring out ingredients.  Make sure you have various sizes of liquid measuring cups, dry measuring cups and the whole gamut of measuring spoons. You will need them for any recipe you make.  I also like to have a scale on hand. Sometimes a recipe calls for pounds of an item. For instance, 10 pounds of tomatoes or 5 pounds of peaches. Other times, a recipe will ask for 5 cups of sugar or 7 cups of water and then, of course, you may be adding 1 tablespoon of cinnamon or a teaspoon of garlic powder.  Just be prepared!

Headspace Measuring Tool and Bubble Remover Tool

Is a small tool with ¼ inch increments notched into it.  It sits on the top of the jar rim and measures the liquid level in the jar.  This is called head space. Based on the recipe being used, there is different headspace required.  Once you remove the bubbles in the jar by sliding the tool down the side of the jar in various places around the food, you either add or remove liquid to ensure the proper headspace.  If you don’t have this tool, you can always use a measuring stick to determine the headspace. I also like to use either a plastic or wooden chop stick to remove bubbles.

Tea Towels, Dishtowels, Cloth Dish Drying Mat and Trivet

Use clean dishtowels to wipe the rims of the jars before adding the metal lid.  All jars should be placed on tea towels or a dish drying mat when they are hot, particularly just after removing them from the canner.  I really like the cloth dish drying mat because it has a bit of substance to it. When I put the jar down on the mat, I know it won’t hit my granite countertop underneath with any accidental force.  If using tea towels, I always double them up. The trivet is useful as many recipes require a pot to be removed from the heat. It’s nice to have a convenient place to put that pot without burning anything.

Kitchen Timer

Will ensure that foods are neither under nor over processed.  It’s very important to time the boil.

Sharp Knives and Cutting Boards

 Essential for chopping and dicing, peeling and prepping, a sharp knife is your best friend in the kitchen.  A proper sized cutting board is also necessary. In fact, it’s nice to have a couple of boards. If I am chopping vegetables, I use one board, usually a wood cutting board, but when I am cutting up meat, I like to use a plastic board.  I feel I can clean it after use faster than I can clean a wooden board.

Food Processors, Choppers and Blenders

MG192979.jpg
MG192987.jpg

Make quick work when that type of preparation is needed.  You have to be careful here not to mince the food too much when chopping.  Many recipes require chopped vegetables but food like salsa are really at their best when big chunks of peppers and tomatoes are still visible.  The chunks definitely add to the overall texture. All the chopping can definitely be done by hand, which is what I personally like to do.

Labels and Felt Markers

Filled jars should always be labeled for storage with the contents and the date it was made.  You can either use labels that stick to the jar or use a felt tip marker to write on the metal lid.  I particularly like to add fancy labels when giving jars away as gifts.